Part 1 of Deep Learning with PyTorch: Zero to GANs
This post is the first in a series of tutorials on building deep learning models with PyTorch, an open source neural networks library that has gained a lot of popularity over the last couple of years. The following topics will be covered in this series:
- PyTorch Basics: Tensors & Gradients (this post)
- Linear Regression & Gradient Descent
- Classification using Logistic Regression
- Feedforward Neural Networks & Training on GPUs
- Image Classification with Convolutional Neural Networks
- Data Augmentation, Regularization and ResNets
- Creating Fake Images with Generative Adverserial Networks
This series attempts to make PyTorch a bit more approachable for people starting out with deep learning and neural networks. In this post, we’ll cover the basic building blocks of PyTorch models: tensors and gradients.
System Setup
This tutorial takes a code-first approach towards learning PyTorch, and you should try to follow along by running and experimenting with the code yourself. We’ll use the Conda distribution of Python to install libraries and manage virtual environments. For interactive coding and experimentation, we’ll use Jupyter notebooks. All the tutorials in this series are available as Jupyter notebooks hosted on Jovian.ml: a collaboration platform for Jupyter notebooks and data science projects.
The notebook for this post is available here: https://jovian.ml/aakashns/01-pytorch-basics
Jovian makes it easy to share Jupyter notebooks on the cloud by running a single command directly within Jupyter. It also captures the Python environment and libraries required to run your notebook, so anyone (including you) can reproduce your work.
You can run the notebook online by clicking the "Run" button. You can also run it on your own computer, with a few simple steps:
Step 1. Install Anaconda by following the instructions given here. You might also need to add Anaconda binaries to your system PATH to be able to run the conda command line tool.
Step 2. Install the jovian Python library by the running the following command on your Mac/Linux terminal or Windows command prompt:
pip install jovian --upgrade
Step 3. Download the notebook for this tutorial using the jovian clone command:
jovian clone aakashns/01-pytorch-basics
This creates a directory 01-pytorch-basics containing a Jupyter notebook and and Anaconda environment file.
Step 4. Now you can enter the directory and install the required Python libraries (Jupyter, PyTorch etc.) with a single command using jovian:
cd 01-pytorch-basics
jovian install
jovian reads the environment.yml file, identifies the right dependencies for your operating system, creates a virtual environment with the given name (01-pytorch-basics by default) and installs all the required libraries inside the environment, to avoid modifying your system-wide installation of Python. It uses conda internally. If you face issues with jovian install, try running conda env update instead.
Step 5. Activate the virtual environment by running
conda activate 01-pytorch-basics
For older installations of conda, you might need to run the command: source activate 01-pytorch-basics or activate 01-pytorch-basics.
Step 6. Once the virtual environment is active, we can start Jupyter by running
jupyter notebook
You can now access Jupyter’s web interface by clicking the link that shows up on the terminal or by visiting http://localhost:8888 on your browser.
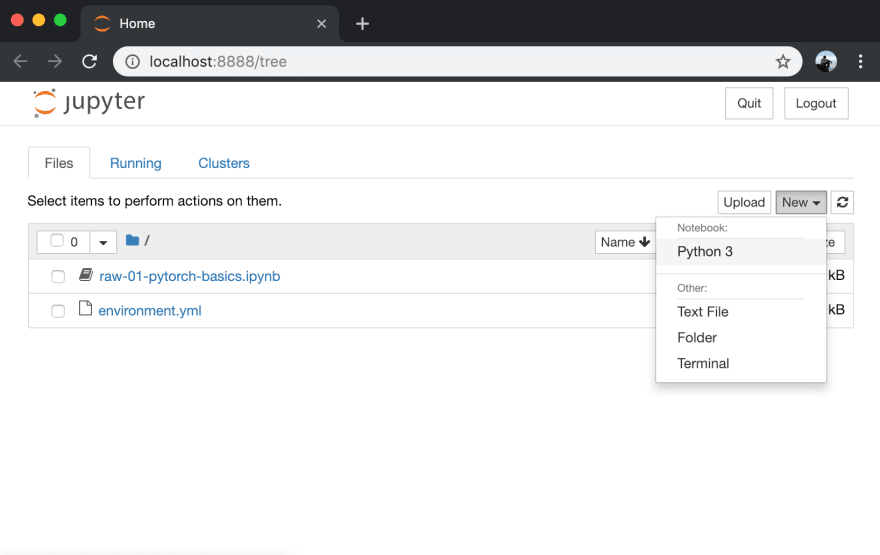
At this point, you can click on the notebook 01-pytorch-basics.ipynb to open it and run the code. If you want to type out the code yourself, you can also create a new notebook using the ‘New’ button.
We begin by importing PyTorch:

Tensors
At its core, PyTorch is a library for processing tensors. A tensor is a number, vector, matrix or any n-dimensional array. Let’s create a tensor with a single number:
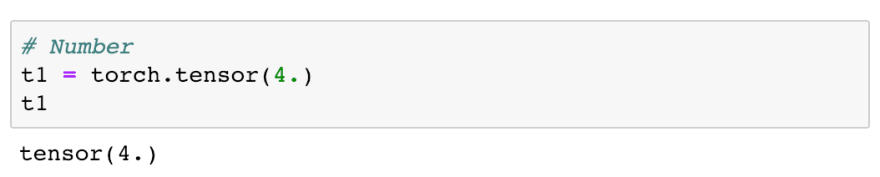
4. is a shorthand for 4.0. It is used to indicate to Python (and PyTorch) that you want to create a floating point number. We can verify this by checking the dtype attribute of our tensor:

Let’s try creating slightly more complex tensors:
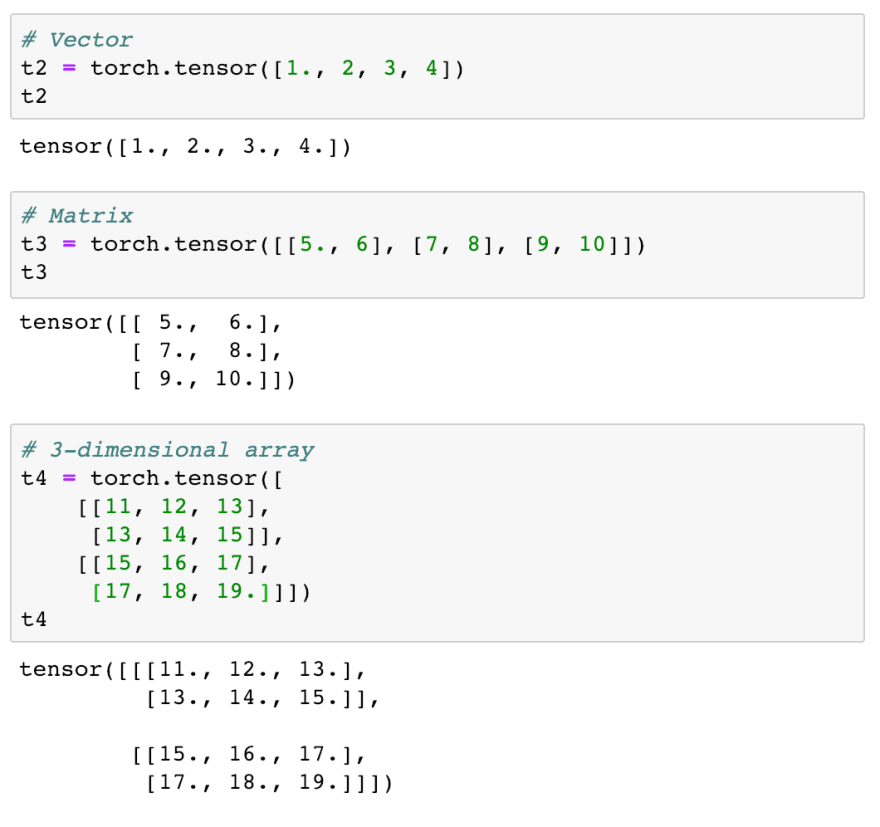
Tensors can have any number of dimensions, and different lengths along each dimension. We can inspect the length along each dimension using the .shape property of a tensor.

Tensor operations and gradients
We can combine tensors with the usual arithmetic operations. Let’s look an example:

We’ve created 3 tensors x, w and b, all numbers. w and b have an additional parameter requires_grad set to True. We'll see what it does in just a moment.
Let’s create a new tensor y by combining these tensors:
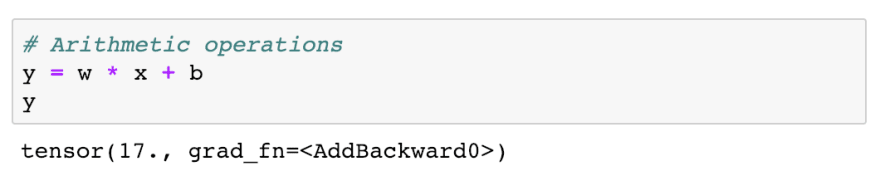
As expected, y is a tensor with the value 3 * 4 + 5 = 17. What makes PyTorch special is that we can automatically compute the derivative of y w.r.t. the tensors that have requires_grad set to True i.e. w and b. To compute the derivatives, we can call the .backward method on our result y.

The derivates of y w.r.t the input tensors are stored in the .grad property of the respective tensors.

As expected, dy/dw has the same value as x i.e. 3, and dy/db has the value 1. Note that x.grad is None, because x doesn't have requires_grad set to True. The “grad” in w.grad stands for gradient, which is another term for derivative, used mainly when dealing with matrices.
Interoperability with Numpy
Numpy is a popular open source library used for mathematical and scientific computing in Python. It enables efficient operations on large multi-dimensional arrays, and has a large ecosystem of supporting libraries:
- Matplotlib for plotting and visualization
- OpenCV for image and video processing
- Pandas for file I/O and data analysis
Instead of reinventing the wheel, PyTorch interoperates really well with Numpy to leverage its existing ecosystem of tools and libraries.
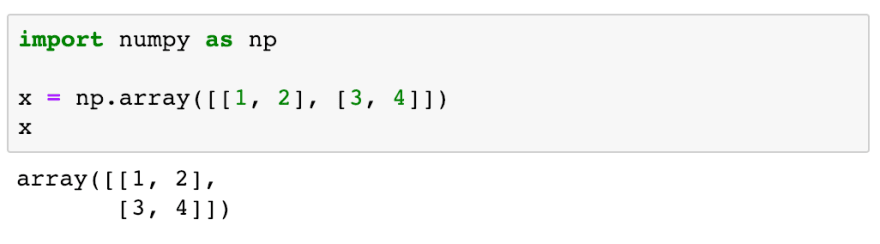
Here’s how we create an array in Numpy:
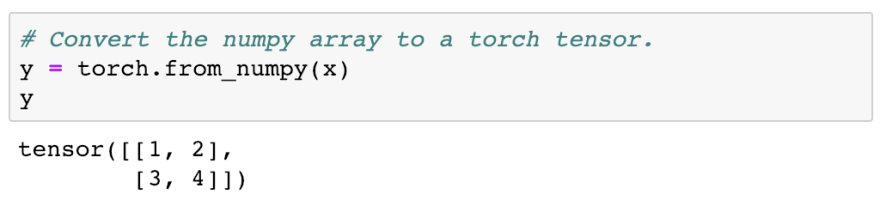
We can convert a Numpy array to a PyTorch tensor using torch.from_numpy.
Let’s verify that the Numpy array and PyTorch tensor have similar data types.

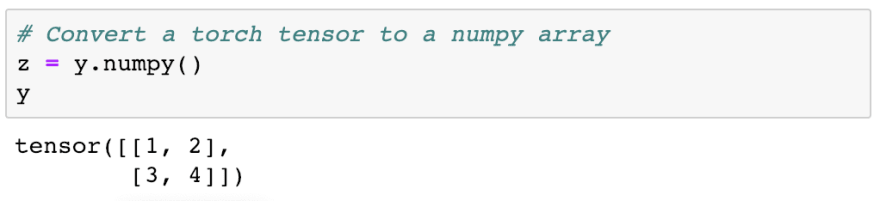
We can convert a PyTorch tensor to a Numpy array using the .numpy method of the tensor.
The interoperability between PyTorch and Numpy is really important because most datasets you’ll work with will likely be read and preprocessed as Numpy arrays.
Commit and upload the notebook
As a final step, we can save and commit our work using the jovian library.
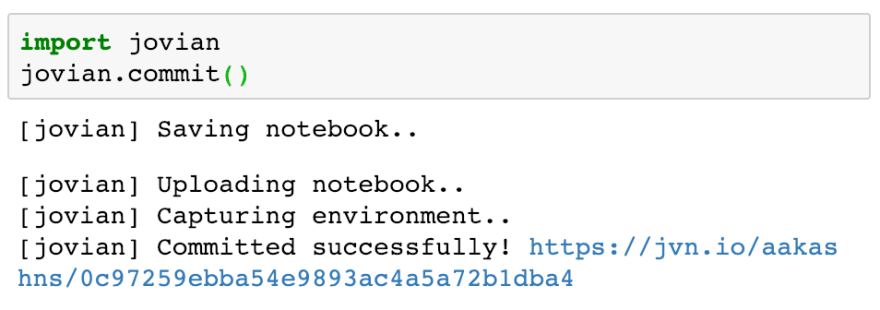
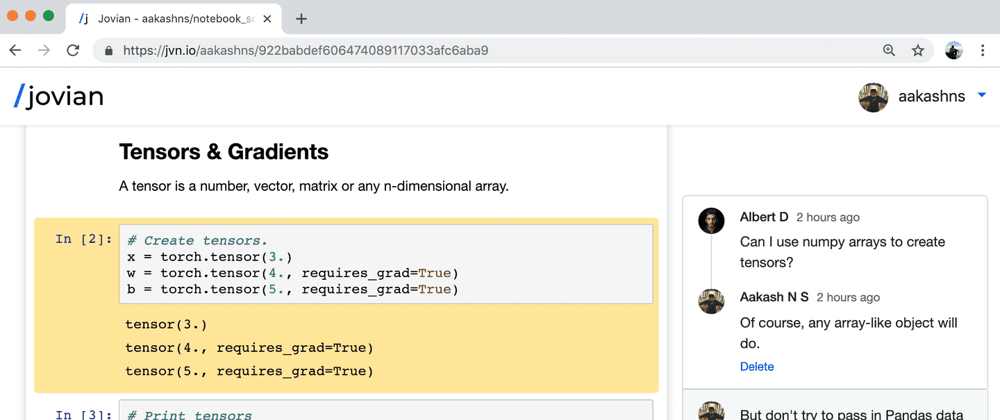
Jovian uploads the notebook to Jovian.ml, captures the Python environment and creates a sharable link for your notebook as shown above. You can use this link to share your work and let anyone reproduce it easily with the jovian clone command. Jovian also includes a powerful commenting interface, so you (and others) can discuss & comment on specific parts of your notebook:

Further Reading
Tensors in PyTorch support a variety of operations, and what we’ve covered here is by no means exhaustive. You can learn more about tensors and tensor operations here: https://pytorch.org/docs/stable/tensors.html
You can take advantage of the interactive Jupyter environment to experiment with tensors and try different combinations of operations discussed above. Here are some things to try out:
What if one or more “x”, “w” or “b” were matrices, instead of numbers, in the above example? What would the result “y” and the gradients w.grad and b.grad look like in this case?
What if “y” was a matrix created using torch.tensor, with each element of the matrix expressed as a combination of numeric tensors “x”, “w” and “b”?
What if we had a chain of operations instead of just one i.e.
y = x * w + b,z = l * y + m,e =c * z + dand so on? What would callinge.backward()do?
With this, we complete our discussion of tensors and gradients in PyTorch. Once again, here's the notebook containing the code for the tutorial: https://jovian.ml/aakashns/01-pytorch-basics . We’re now ready to move on to the next topic: Linear regression.
Credits
The material in this series is inspired by the following resources:
- PyTorch Tutorial for Deep Learning Researchers by Yunjey Choi
- FastAI development notebooks by Jeremy Howard
If you liked this tutorial, please like and share it to show your support. Follow me to get notified when the next tutorial in the series is relased.


Latest comments (0)