I am going to show you how to connect to your Lightsail WordPress instance through SSH. In the case that you do not have a Lightsail WordPress instance, but are interested in learning more. Have no fear! You can learn how to create one here.
Now would be a good time to let you know that this tutorial will only be for Linux and Mac OS X users. Here is the documentation that will be followed for the most part. However, if you are a Windows user, the information on how to SSH with Windows is there as well.
While this tutorial will follow Bitnami’s documentation closely, it will also cover how to connect to phpMyAdmin with SSH as well.
Before I get started though, it would be best to briefly describe what SSH is. Here is the definition from SSH.com:
“The SSH protocol (also referred to as Secure Shell) is a method for secure remote login from one computer to another. It provides several alternative options for strong authentication, and it protects the communications security and integrity with strong encryption. It is a secure alternative to the non-protected login protocols (such as telnet, rlogin) and insecure file transfer methods (such as FTP).”
Be sure to read more from SSH.com to learn more about SSH Protocol.
Connect with SSH to Lightsail Instance through Browser
The easiest way to connect via SSH is through the browser. Simply go to the Lightsail homepage and click on the terminal icon.

Or click on the instance and then under the “Connect” tab, click “Connect using SSH”.

Connect with SSH Client on Linux or Mac OS X to Lightsail Instance
These steps will show you how to use the SSH clients that come with Linux and Mac OS X to connect.
The first step is to download the SSH key for your instance. From the Lightsail home menu, click on “Account”.

Then click “Account” again.

Now click “SSH keys”.

Next click “Download”. Be sure to save it in a good spot.

Lets pretend that you saved it in a convenient spot like this:
/home/dleskosky/Documents/KEY_FILE
KEY_FILE is the private key file (.pem) that you just downloaded.
The next step is to give yourself permission to the file. Enter code that is similar to the code below into your terminal:
$ sudo chmod 600 /home/dleskosky/Documents/KEY_FILE
Next you will have to enter code that is similar to the code below into your terminal:
$ ssh -i KEY_FILE_PATH bitnami@SERVER-IP
Ok, so let me show you where to find the value for SERVER-IP.

I have a blue box around my public static IP address, just to be on the safe side. Let’s pretend that my public static IP address is 00.000.00.0. That means that I would use 00.000.00.0 for SERVER_IP.
Now, I will show the command that you should enter into your terminal to SSH from your computer to your Lightsail instance:
$ ssh -i /home/dleskosky/Documents/KEY_FILE bitnami@00.000.00.0
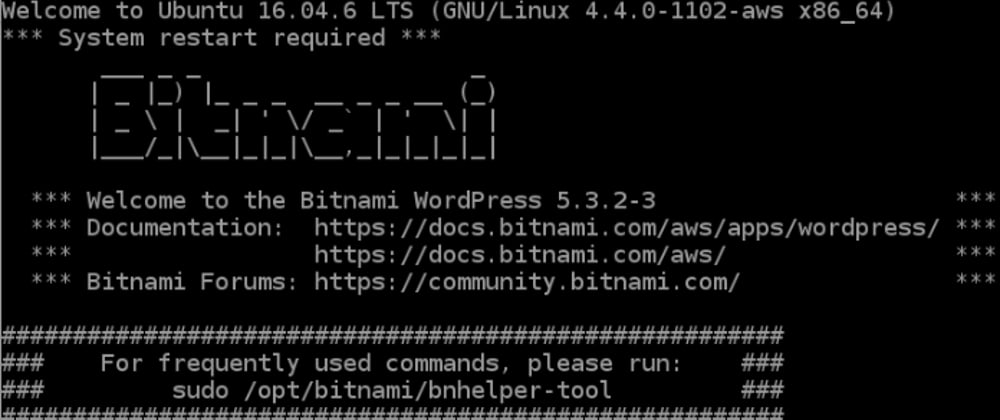
You should now be connected via SSH to your Lightsail instance!
Connect to phpMyAdmin with SSH
Next I am going to show you how to connect to phpMyAdmin with SSH. phpMyAdmin is a powerful tool that can be used to manage MySQL databases.
The first step for connecting to phpMyAdmin is to download your private key file for your Lightsail instance. You will also want to give yourself permission to the file. Luckily, if you were following the tutorial above, you already have these steps done.
The next step is to enter code similar to this into your terminal:
$ ssh -N -L 8888:127.0.0.1:80 -i KEY_FILE_PATH bitnami@SERVER-IP
You will notice that this is similar to the code that we were entering earlier. The main difference is that this time the code includes “8888:127.0.0.1:80”. That simply is indicating that we will be connecting via local host.
Here is what my code might look like if I was trying to connect:
$ ssh -N -L 8888:127.0.0.1:80 -i /home/dleskosky/Documents/KEY_FILE bitnami@00.000.00.0
Now to see if it worked, go to this URL: http://127.0.0.1:8888/phpmyadmin

We made it! Ok now we need to enter the correct username and password.
The default username for phpMyAdmin is: root
To find the password enter this code when connected with SSH to your instance:
$ sudo cat /home/bitnami/bitnami_credentials
You should get output like this:

The password that you will use is hiding under the blue box that is on the right. Enter that password into the phpMyAdmin screen.
We’re in!!!

Great job! We have successfully accessed phpMyAdmin. Make sure that you take the time to learn MySQL and and how to use phpMyAdmin. There are plenty of excellent resources out there. Often, the best place to start is with the documentation. Here is the link to the MySQL documentation and here is a link to the phpMyAdmin documentation.
With this tutorial you should now know how to connect with SSH to your LightSail WordPress instance and to phpMyAdmin as well. I hope that this tutorial was useful for you!


Top comments (0)