
Firing up your website online is not that hard at all. In this article we will show how you can host a little site for free using RoyalityFree.
RoyalityFree has some great features that you can enjoy using, and in my personal experience it is one of the best hosting platforms you can get for free.
So let's dig into the process of hosting a website there.
1. CREATE ACCOUNT OR LOG IN YOUR ACCOUNT
There creating an account is an easy and straightforward process as shown in the following image:

2. Create a Hosting Account
Here you can now create an account with the name of the website you want to host and not your details and you do so by clicking on the Create Account button.

3. Use a Custom Domain or Subdomain Provided by RoyalityFree
Here if you have your custom domain, you can enter it and change your nameservers in your domain providers to point to RoyalityFree. Need help with this? Check out this docs article!
For custom domains, you would click on the Custom Domains tab, then enter your domain name and click Search button.
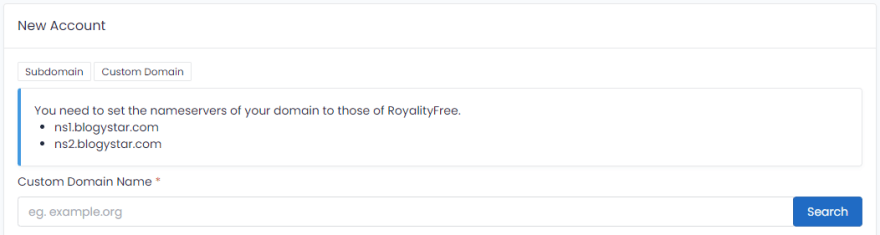
For the subdomains provided by RoyalityFree, click on the Subdomains tab and enter your preferred subdomain name.

4. Simplifying management
We all love to filter stuff in our day to day life. So we brought the account label to help you login to your account for the correct purpose :)

5. Manage your account
After successful creation of your subdomain or domain, your account will appear with a button to manage it. Click on the Manage button.
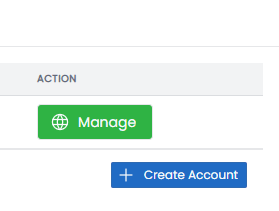
Mine shows two accounts, that's because I have two accounts, yours may show one, if this is the first time.
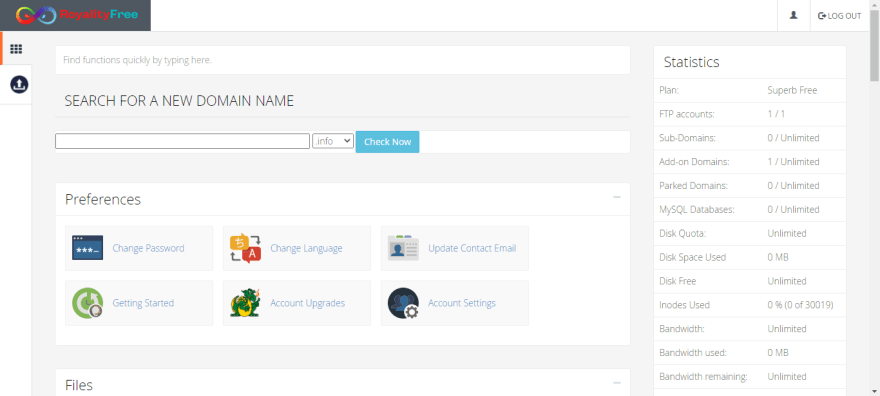
6. Upload Your Files
Another window will open and a screen like this will open:

Click on file manager and you will see a window like this, now go to htdocs and upload your files there.

Your uploaded files should appear there now.

7. Creating Your Database
This is the most important part, some get stuck here.
Click on Control Panel and it will open another tab
Now click on MySQL Database which will open another window as shown below:

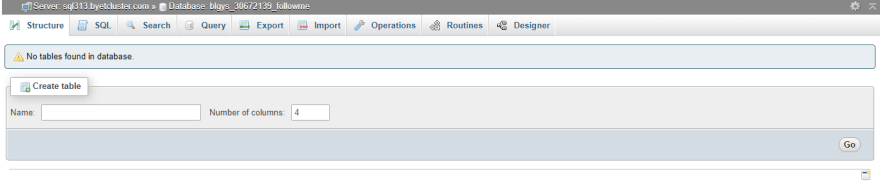
Enter your database name and click Create Database.

Your database will now appear in the current database. Click on admin button and another tab will open as shown below and from there you can start creating your tables or click on import tab and import your already created database.
Password's
There is only one password across all databases, etc. You can find the all in one password in the client area.


Top comments (0)