
If you can put yourself in the shoes of a restaurant cook, then you can understand how common tools like NPM, Webpack and Babel work together.
I am going to be honest with you here. Even though I taught myself front-end and back-end web development over the course of 18 months, I never really understood the different tools I was using in my development environment.
Grunt? Gulp? NPM? Yarn? Babel? TypeScript? Webpack? Stylus? I would simply read a blog online and then copy their development environment exactly.
After a couple of hours of struggle, I would finally get all the pieces to work together, and then I would just avoid touching the darn thing so that I would not break it.
As you can imagine… this made it tough to add any new technologies!
I wanted to understand all the different components, like package managers, module bundlers, transpilers and task runners. If you know all those words but don’t really know what they mean, this guide is for you!
Here is the deal- I am going to show how all of these tools work together in the same way that a head chef ensures that food will be delivered properly to all of the restaurant’s tables.
To understand it, you simply need to have visited multiple restaurants in the past. No chef experience needed 🙂 And, you probably need to have a little experience messing around with tools like NPM and Webpack in the past. That way, you can understand the challenges of getting them all to work together.
The Basics of the Restaurant-Developer Environment Analogy
Let’s think about the two parts of the restaurant, first.

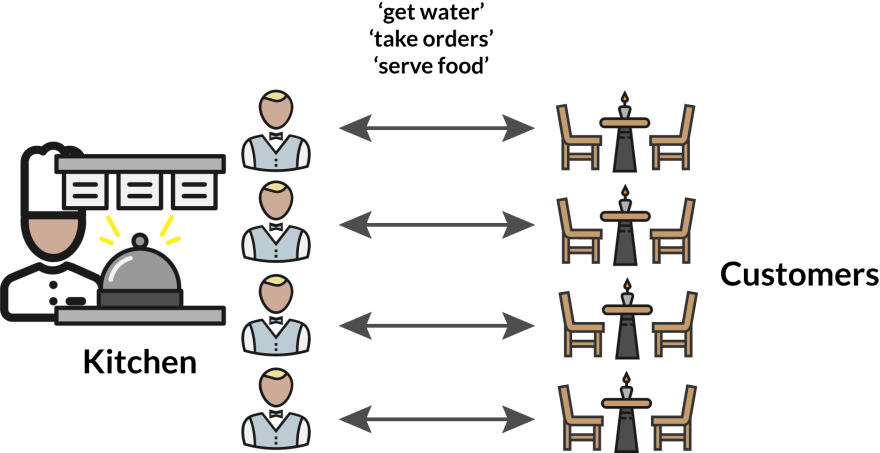
The kitchen wants to produce delicious food, and the customers want to eat delicious food. However, there is a significant difference in the way that each side processes information related to food. The kitchen must have a more complicated understanding in order to quickly produce a variety of dishes. They must be ready to run many processes in order to support this goal.
The customers only need to have a limited comprehension. Each customer only needs to understand the menu well enough to order a dish that they would enjoy personally. And, as the chef, you have no idea how much your customers know about food. You can basically only guarantee that they know how to read. You don’t have much control over it.
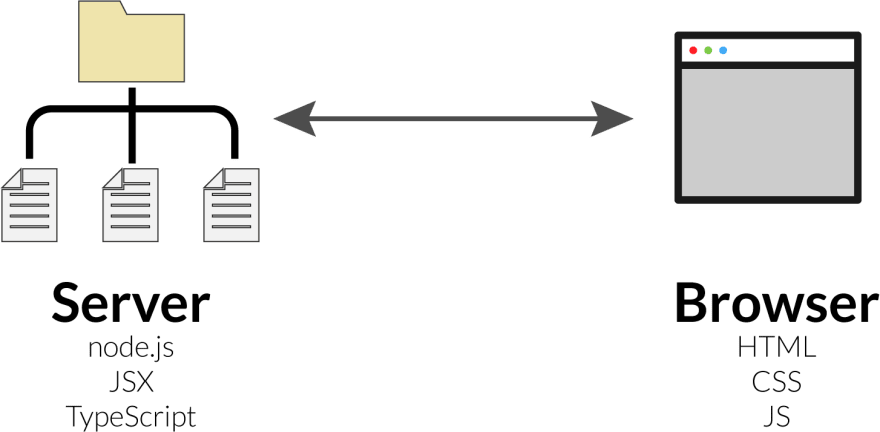
Similarly, there is a difference in the information that can be processed by your server and your browser. There are many languages and frameworks you can use on the server side, depending on how you configure it. You are probably used to node.js, which is a JavaScript runtime. You have quite a bit of control over it.
But, you have much less control over what happens in the browser. Remember, companies like Google, Mozilla and Microsoft must build their browsers to run on all types of computers and follow a (somewhat) consistent protocol. And, legacy versions of their browsers (ahem, IE9) will still be out in the world for years to come. They will only run HTML, CSS and JavaScript. You have much less control over this side, and you need to conform to their standard.
So, let’s get into the individual tools in a typical developer environment!
Understanding the Package Manager (NPM)
Okay, since you are the chef, you are in charge of reliably delivering delicious food for 7 nights a week. It is already hectic enough during peak dining hours, so you want to keep the kitchen running as efficiently as possible.
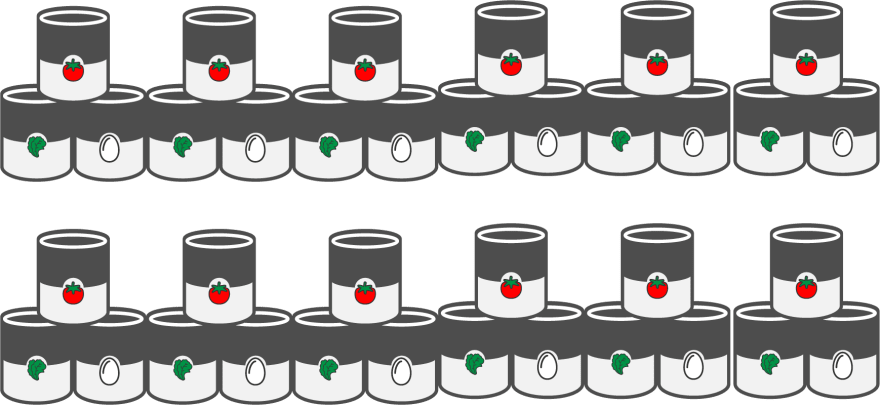
Let’s say that you need to store about 60 different types of food in order to make all your meals: vegetables, meats, garnishes, and whatever else.

(Okay, I hope your restaurant uses fresh ingredients rather than canned ingredients whenever possible, but bear with me.)
Imagine that you need to personally track all of these ingredients and make sure you have sufficient quantities in order to make it through the entire night. This would be an absolute nightmare! You would constantly find yourself running out of ingredients, and scrambling to find a solution.
Instead, you want your kitchen to be fully stocked automatically at the start of every night. You need a staff member to monitor this and make sure you have a consistent set of ingredients so that you never need to improvise.
Now, you might be saying, “Code never ‘runs out’, so how the heck can a package manager be similar to this?”
Here is what life is like without a package manager.
- Download each individual package and add it to your /node-modules/ folder.
- Send out an email to everyone on your team so they can also download the file
- Hope and pray that as months and years pass, it will all work together nicely with all new packages.
That quickly becomes unmaintainable as you add new new tools to your stack.
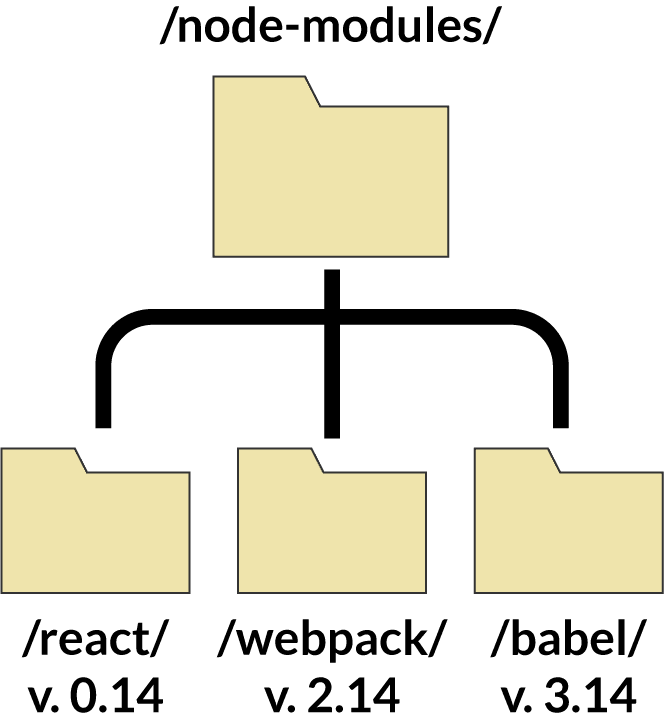
React, Webpack, Babel and Stylus are three common technologies that are being constantly updated. You could try to constantly stay up to date with all 3 by dragging and dropping new versions into your file system. Or, you could use a package manage like NPM to do that automatically for yourself and any teammates. That means no dragging and dropping of new folders with code, and no head-scratching when new packages do not work together.
It is kind of like a constant manifest of all the ingredients you need to have in your kitchen. Your staff will always keep them on hand, and if you change the ingredients that you need, all of your staff will know immediately.
Here is an example of package.json taken from Peter Jang’s guide to modern JavaScript.Package.json is a reliable record of all the tools involved in your server-side code.
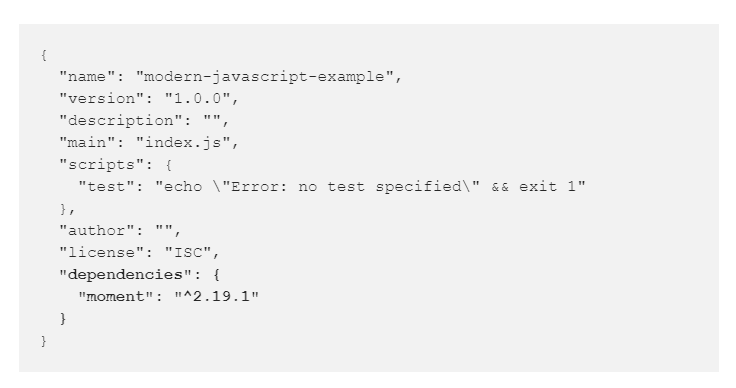
The dependencies property tracks all the packages involved in your production environment.
You use npm install in your command line so that you do not need to constantly copy and paste folders.

Understanding the Module Bundler (Webpack)
So far, your ingredients are in order. But, you have no way to communicate your appetizers, meals and desserts to the customers! All you have are recipes, handwritten notes and whatever other ways that chefs communicate with their kitchen.

Imagine if your waiters and waitresses handed out a stack of recipes to customers, and relied on the customer to figure out what was in each meal? Your restaurant would be empty!
Instead, you need a menu (obviously). A menu presents food information in a concise way that customers can actually understand. Remember, a browser can only understand HTML, CSS and vanilla JavaScript. So you can’t expect to give it JSX files from React, for example, and expect it to work.
Your browser does not have access to the files in your back-end because it does not understand them! Even if you link up the file path to a file that you use on the front-end, it will not be able to figure it out.
That is where the module bundler comes in. As the term ‘bundler’ implies, tools like Webpack will aggregate all the code that is written sever-side and meant for use on the front-end. Module bundlers will compile it into one large vanilla JavaScript file that can be used on the front-end! Kind of like a menu- an understandable, comprehensive summary of recipes.

Here is a basic example, again from Peter Jang and using the Moment.js package.
This is the example file from the back-end.
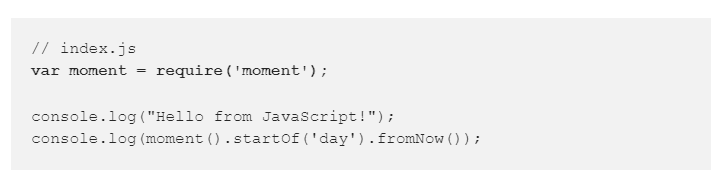
As you can see, there is a require statement, which is not part of normal JavaScript. So, you need a module bundler to make it understandable on the front end.
After you npm install webpack, here is a basic version of your config file.
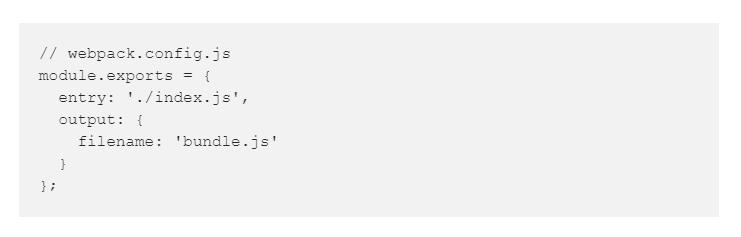
The entry file describes which files need to be compiled. These are the recipes in our analogy. And the output filename is where you can find the result- the menu!
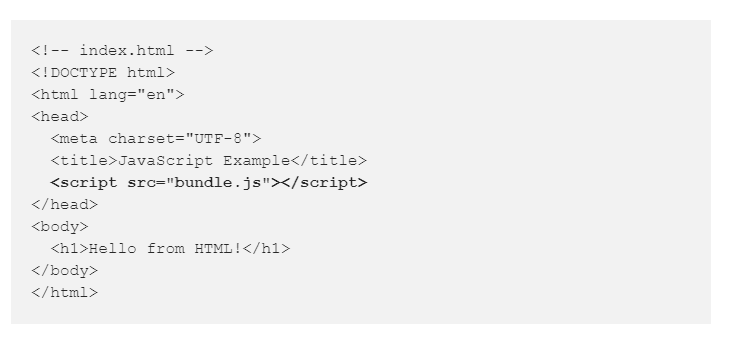
Then you can access that file in your HTML and that code can run in the browser.
Here is a visual representation of that.
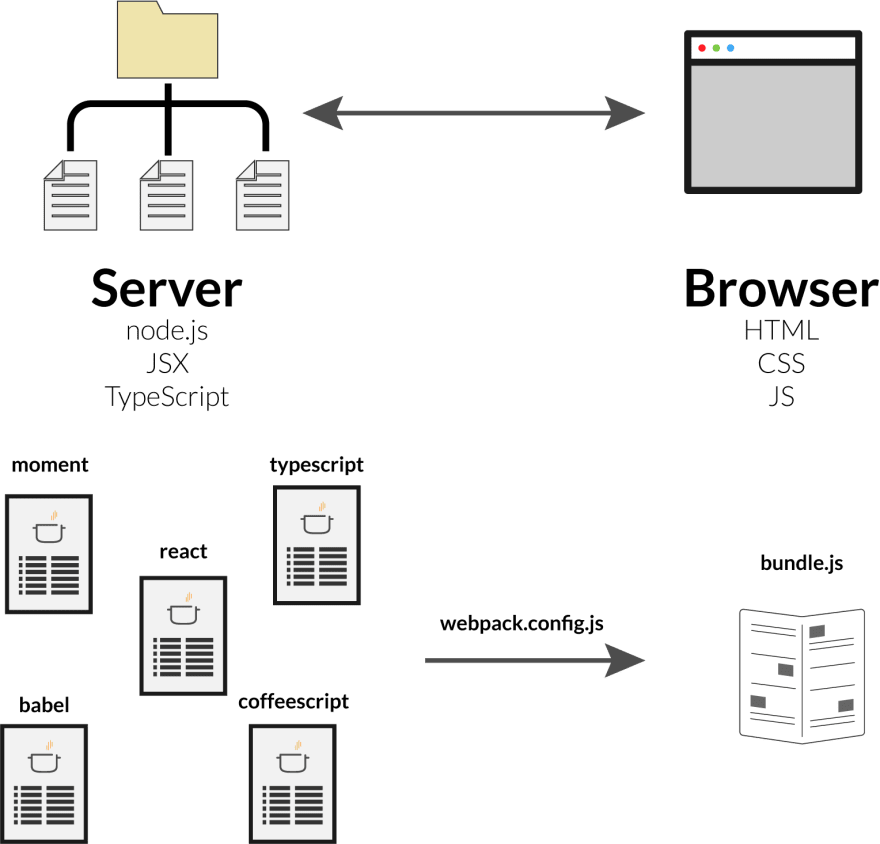
Keep in mind, our example above only uses moment! If you are bundling 5 different tools, expect more complexity and more properties for each type of file.
Understanding the Transpiler (Stylus)
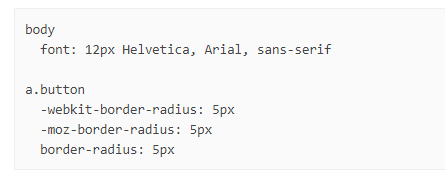
As you gain a better understanding of CSS and JavaScript, you find that the default syntax is missing some key features that would make your life MUCH easier. For example, there are plenty of examples of CSS that could be written more easily if you had a few shortcuts.
For example, Stylus is a popular alternative to CSS that makes the hours of creating styling rules more bearable. Here is a snippet.
But, as we already know, the browser cannot natively read stylus in .styl files. So, we need to transpile our Stylus files to CSS when we bundle our modules.
This one feels like an extension of the module bundler, since it has the same general purpose: make code written server-side usable in the browser. However, this one probably appeals to a more advanced audience, since you need to be using Stylus, Babel or TypeScript before you need to get into transpiling. However, pretty much everyone that uses React needs to use a module bundler.
So, with that in mind, I think of transpiling as the restaurant’s menu designer. You COULD have the chef or the manager, with all their graphic design skill (unlikely), create the menu in Microsoft Paint or something. It would still be understandable, even though it may not be a great decision for the restaurant’s brand.
Or, you could hire a professional menu designer to make your menu look professional. It’s not a requirement, but it allows you to do more with the menu than just some template found on Microsoft Word.

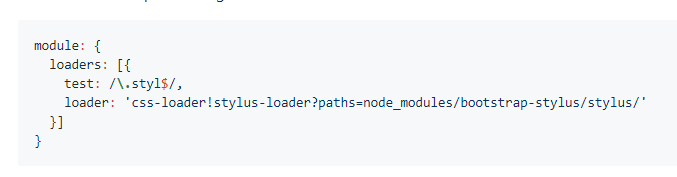
Here is what the code looks like. We would use the stylus-loader package for webpack. First, install it.
npm install stylus-loader stylus --save-dev
Then, you can set it up in a number of ways, depending on the rest of your webpack.config file. Here is one example.
Understanding the Task Runner (NPM Scripts or Grunt)
There is one issue remaining in our dev environment that we have not covered yet. To execute any of the commands above, you would still need to manually type the command in the command prompt to run the code. That is really unscalable!
Imagine if you were editing a React file, and every time that you wanted to reload your local server, you needed to type in a command in the command prompt. That would be a giant pain in the butt.
If you were a chef, this would mean that all the waitstaff and cleaning staff would just wait around the kitchen for your orders. Your restaurant would be pretty inefficient.

Imagine if every member of the waitstaff was waiting on orders like:
“Clean table 3”
“Serve water to table 2”
“Ask for orders from table 1”
Instead, you want the waitstaff to have constant routines. They should be able to track their tables with minimal feedback from anyone else.
In code, that is why you need a task runner. You want to automate a few consistent tasks that you use over and over again so that you do not need to constantly open the command prompt.
You can actually use NPM to do this directly within your package.json file. Let’s look at webpack again. You do not want to run webpack every single time you change a React or Stylus file. You want to automatically re-run the task whenever you change one of the files that webpack is watching.
You can use the scripts section within package.json to do this.
"scripts": {
  "watch": "webpack --watch"
},
Then, you can type the watch command into the command prompt once, and webpack will run every time you change a file in the folders that you specify.
$ npm run watch
What’s Next
Did you enjoy this tutorial? Let me know in the comments or check out my other explanations of common web development challenges!


Top comments (4)
Again, what a awesome article with those analogies and rich in details.
Great job!
Thanks Matheus!
This is really good.
Thanks Wiktoria :)