There are a ton of IoT solutions in the cloud. Azure, AWS, and Google Cloud all have great and complex IoT platforms out there. They're fantastic for doing enterprise IoT.
But what about folks who just want to dip their toes into IoT? What if you just want to do a small hobby project to learn IoT before jumping into the big stuff??
Adafruit has your solution. They have a fully functional, easy to use IoT platform for hobbyists who just like to mess around and learn things. This platform is so good, you could use it for enterprise stuff as well.
I wrote about the Adafruit IO Platform years ago, but a lot has changed since then. It's become more powerful and even easier to use. I had some water damage to a room, and the restoration company put dehumidifiers in it, which inspired me to build this. I found Adafruit.IO to be incredibly easy to use, so I decided to write this article.
What You'll Need
This is a low cost project. To follow this tutorial, you will need:
- a Raspberry Pi Zero
- or Standard Raspberry Pi
- the AM2302 Temperature Humidity Sensor
- Some Jumper Wires
- Optional Header Pins
- A (FREE) Adafruit IO account
So you can build something like this for under $50 USD and learn some IoT. Let's dig in.
Step 1: Device to gather input (Raspberry Pi Zero W)
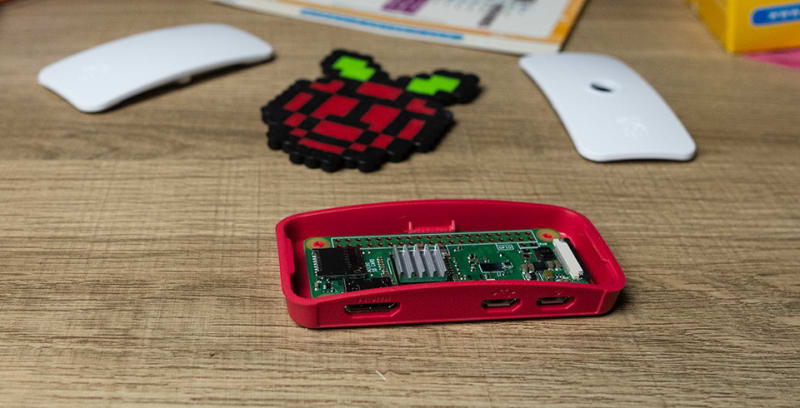
For this project, I will use the CanaKit Raspberry Pi Zero W kit, which is only USD 32.99. A great entry price. However, you can use a standard Raspberry Pi for this project as well. The instructions will be identical, but the Zero is a lower cost option.

I picked this because you don't need a full, high powered Raspberry Pi to gather the data we need. The Raspberry Pi Zero performs this task well, at 1/3rd of the price. However, you will need to solder some things. So if you just want to plug the sensors in, get the full Raspberry Pi.

The kit comes stocked with everything you need, including a few different options for the top of the case.
The first step if you're using the Zero is to solder in some header pins for the GPIO.

If you don't want to solder in your header pins, I recently found this solderless Raspberry Pi connector. I've never used them, but I ordered a few to try out.
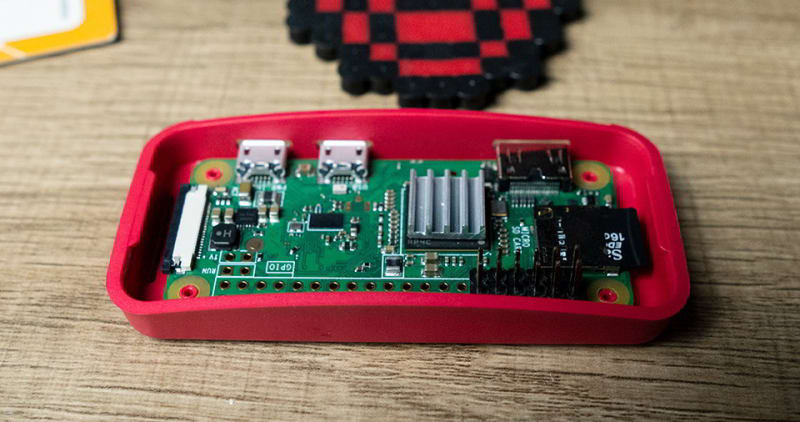
I generally just solder in the first 12 pins, so I have:
- 1 3.3v pin
- 2 5v pins
- 2 Ground
- SDA / SCL
- TXD / RXD
- CLK PCM
- 6 GPIO Pins
If I need to expand from that, it's relatively easy, but we're only doing one sensor here.
That sensor is the AM2302 Temperature and Humidity Sensor (USD 9.69).

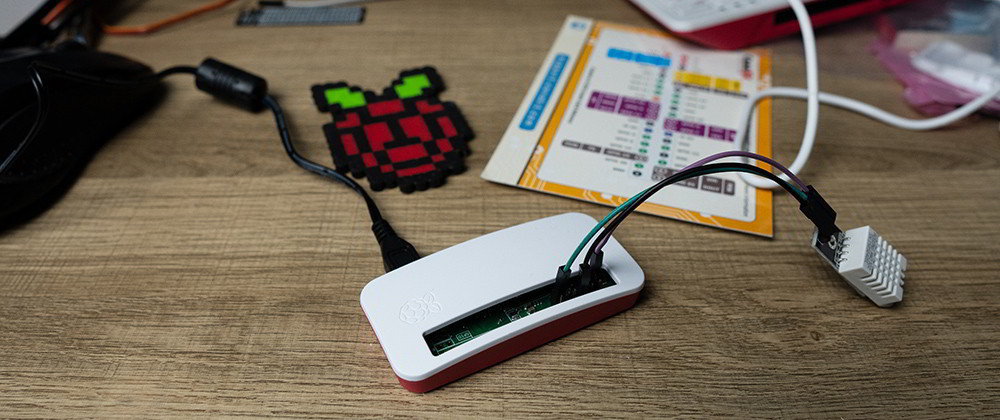
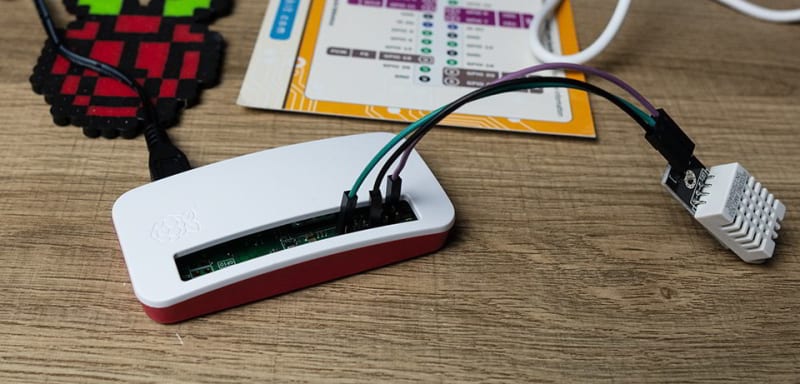
Here is how I've wired it to the GPIO:

The power wire goes to pin 1.
Ground goes to pin 6.
Data and goes to Pin 11.
None of the colors of the wires matter as long is it's wired in this fashion.
Now that we set up the device, let's get an Operating system on it.
Step 2: Installing the Raspberry Pi OS
At this point, you'll want to insert your card and plug the Raspberry Pi into a monitor. By default, most Raspberry Pis and Pi Zeros have Noobs installed. If you don't have a preloaded card, you can get Noobs here.
You'll be greeted by Noobs screen, with two options. You don't want either of them.
Instead, click the Wifi networks button and connect to your Wifi.
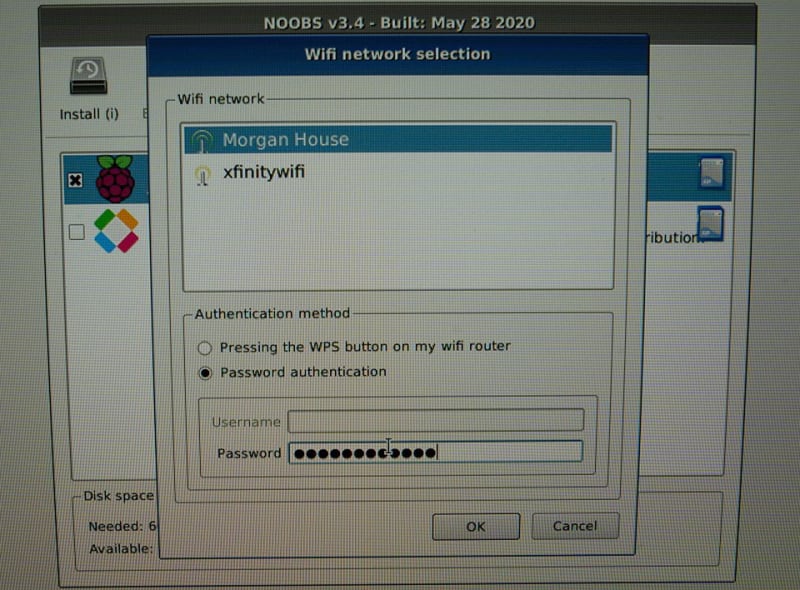
This is a straightforward procedure, then you'll see some more options once connected:
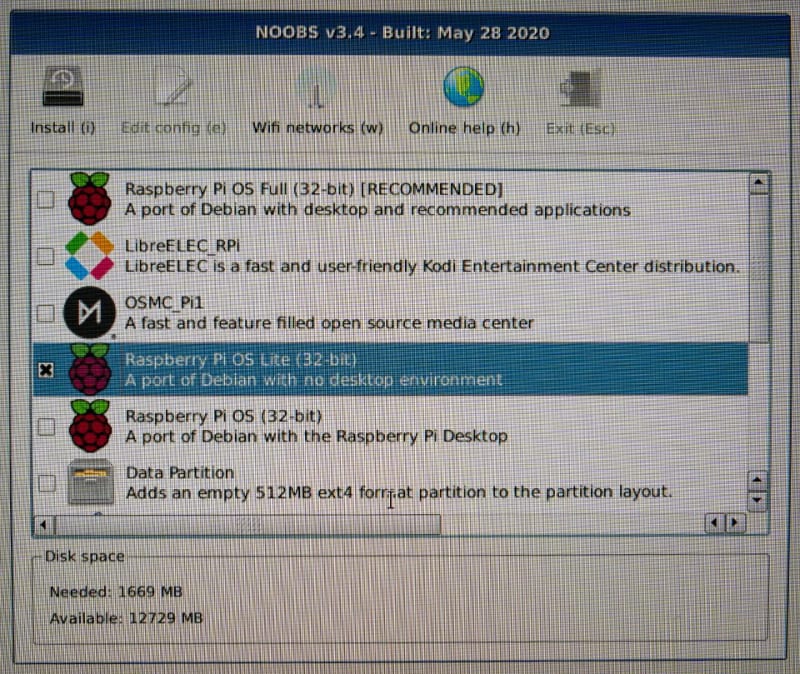
Choose the Raspberry Pi OS Lite version. You don't need a desktop for this, but just the core OS.

It will then download, extract and install the operating system onto your Pi.
These instructions are the same for the Pi Zero, and conventional Raspberry Pi.
Step 3: Enable SSH
Once you have your OS installed, log in to the prompt.
- Username: pi
- Password: raspberry
Then type in
sudo raspi-config
and load up the Pi configuration.

Now's a good time to change that default password.
Then scroll down to Interfacing options:

And enable SSH connections:

You'll see the following warning. Click yes:

And exit the program. Now you can disconnect this from the monitor and communicate with the Pi via SSH.
Step 4: Gather Data from AM2302
First off, you'll need Pip. Some Raspberry Pi OS distributions come with it, but this one does not so run the following commands:
sudo apt-get update
sudo apt install python3-pip
Next, we'll add the Adafruit libraries to our pi:
pip3 install adafruit-circuitpython-dht
sudo apt-get install libgpiod2
These libraries will help us extract the data from the sensor.
Now, let's write a quick script to test it.
mkdir ~/sensor && cd ~/sensor
Now create a script that looks like this:
import board
import adafruit_dht

dhtDevice = adafruit_dht.DHT22(board.D17)

temperature_c = dhtDevice.temperature
temperature_f = temperature_c * (9 / 5) + 32
humidity = dhtDevice.humidity

print(
      "Temp: {:.1f} F / {:.1f} C    Humidity: {}% ".format(
      temperature_f, temperature_c, humidity
      )
)
Let's walk through this.
This script will load in the libraries, board, and adafruit_dht, for the script.
import board
import adafruit_dht
Then we establish the device:
dhtDevice = adafruit_dht.DHT22(board.D17)
The "Board D17 indicates we're using GPIO17 on the board (pin 11)"
Next, we'll pull some readings:
temperature_c = dhtDevice.temperature
temperature_f = temperature_c * (9 / 5) + 32
humidity = dhtDevice.humidity
Here we are grabbing the temperature from the sensor, which defaults to Celcius. We then convert the Celcius to Fahrenheit for the next variable, then grab our humidity.
Finally we print it out:
print(
      "Temp: {:.1f} F / {:.1f} C    Humidity: {}% ".format(
      temperature_f, temperature_c, humidity
      )
)
Now, we're ready to save the file and run it.
python3 test.py
Your output should look like this:
Awesome! We have some data. Now we'll need to send it to Adafruit IO.
Step 5: Setting Up Adafruit.IO
The first thing you'll need to do is sign up for an Adafruit IO account. It's free.
Then, you'll navigate to feeds, which should be:
io.adafruit.com/[Your username]/feeds
Click "New feed"
Create a new feed for humidity, and name it whatever you like. I'm choosing "RoomHumidity"

Do the same thing for temperature:

So now you have two feeds established on AdafruitIO. Let's modify our script.
Step 6: Send Data to Adafruit.IO
Next, we're going to need to get our key for connecting to Adafruit IO:

Copy your username and key:

Keep your username and key in a safe place. If you like, you can set them as environment variables on the pi.
Next, install the Adafruit IO Library on the pi:
pip3 install adafruit-io
Let's build a new script. Name it sensor.py or whatever you like.
We're going to build a script that samples the temperature and humidity every 30 seconds and sends it to Adafruit.io.
There are other ways of doing this, such as Cron jobs and the like, but I've found this way to be pretty straightforward.
First, we want to make sure we can run this script like an executable:
#!/usr/bin/env python3
Then we'll import our libraries:
import time
import adafruit_dht
import board
We'll establish our device again:
dht = adafruit_dht.DHT22(board.D17)
Next, we'll establish an instance of the REST client to communicate with Adafruit:
from Adafruit_IO import Client
aio = Client('[Your Username]', '[Your Key]')
Next, we'll create a while loop that runs continuously and samples the information, and sends it to adafruit:
while True:
    try:
        temperature = (dht.temperature * 9/5) + 32
        smalltemp = round(temperature, 2)
        humidity = dht.humidity

        humfeed = aio.feeds('roomhumidity')
        aio.send_data(humfeed.key, humidity)

        tempfeed = aio.feeds('roomtemperature')
        aio.send_data(tempfeed.key, round(temperature,2))

    except RuntimeError as e:
        print("Reading from DHT failure: ", e.args)
    time.sleep(30)
Now we can save the file. This is all you'll need to start pushing data.
Let's do a test run.
chmod +x sensor.py
python3 sensor.py
Start up the script and it should send data:
The full sensor.py script:
#!/usr/bin/env python3

import time
import adafruit_dht
import board

dht = adafruit_dht.DHT22(board.D17)

from Adafruit_IO import Client
aio = Client('[ Your Username ]', '[ Your Key ]')

while True:
    try:
        temperature = (dht.temperature * 9/5) + 32
        smalltemp = round(temperature, 2)
        humidity = dht.humidity

        humfeed = aio.feeds('roomhumidity')
        aio.send_data(humfeed.key, humidity)

        tempfeed = aio.feeds('roomtemperature')
        aio.send_data(tempfeed.key, round(temperature,2))

    except RuntimeError as e:
        print("Reading from DHT failure: ", e.args)
    time.sleep(30)
Now that we know we're sending data let's set up a dashboard for it!
Step 7: Setting up an Adafruit.IO Dashboard
Alright, time for the fun stuff. The visuals. It's incredibly easy to set up a dashboard on Adafruit.IO.
Navigate to dashboards

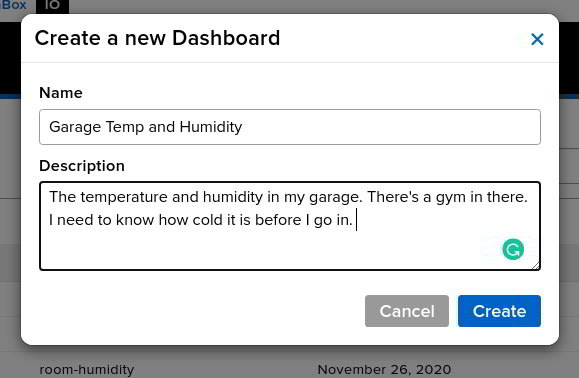
Click "new dashboard" and add a name and description:
Now we have a new dashboard and a clean slate. Let's add a new block:
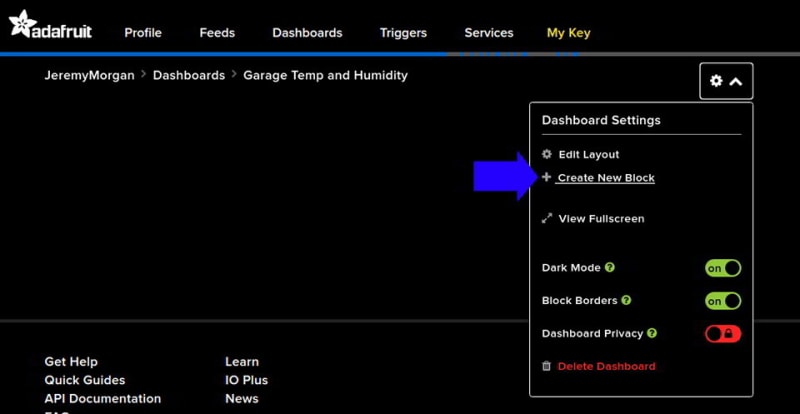
I think I'll choose a gauge for this one:

Then select the feed:

Now I can add some settings for the display of the gauge:

And save it. I've done the same thing for temperature, so now I have two nice gauges for a layout:

I added in a couple of line graphs, and we have a dashboard. I also set my privacy settings to be public because I don't care who knows the temperature of my garage:

And here's the public dashboard!

Summary
In this tutorial, we wired up a Raspberry Pi to a cheap sensor, installed some libraries to gather the data, sent it to Adafruit.IO, and then created a dashboard.
Though this tutorial looks long, it's something you can do in an hour or so. This is the perfect project for folks wanting to get into IoT and learn about it. Adafruit is the ultimate hobbyist platform.
I hope this has inspired you to do more cool IoT stuff! I will add more projects like this in the future. What do you think about this tutorial? Have questions? Let me know!!
Good luck with your project!
Want to learn more about the Raspberry Pi? Check out this Raspberry Pi for Developers course!


Top comments (0)