
This is a long-awaited rewrite of my original post on the perfect setup to use Phoenix with React, originally posted on my website. Phoenix 1.4 ships with Webpack by default, therefore making the setup much more straightforward than before. The long-overdue rewrite has been finished, and has also been made up-to-date following recent updates to Phoenix. The sample repo has also been updated.
For those looking for Part 2 of my Migrating to TypeScript guide, rest assured! It will be finished within the next week.
I've been playing around with Elixir a lot lately. Recently a friend showed me this blog post by the Discord engineering team about how they could scale their platform through the power of Elixir, and after reading it I was convinced to give it a try. If you're about to learn the language, and you came from Node.js like me, I suggest you go watch this introductory video.
If Ruby has Rails, and PHP has Laravel, then Elixir has Phoenix. If you've ever used Rails before, you'll feel right at home. It has the bare essentials of your typical web framework, although it has some neat additional features like Channels, which makes building web apps with sockets much easier.
My ideal stack for a web app usually includes a React frontend. So naturally, I wanted to know how I could build a Phoenix app with a React frontend. Unfortunately, setting up React with Phoenix isn't as straightforward as many people think. Almost every guide that I came across on the internet only goes as far as rendering a single React component and doesn't cover essential things like routing and API fetching. It took me a while, but finally, I found a setup that Actually Works™.
So if you're like me and have been wondering how the heck do you actually get it to work, I'm going to show you how. Hopefully this will answer this question once and for all.
TL;DR
If reading's not your thing, I have prepared the end result of this guide here. Once you're all set up, you should have a working Phoenix setup with the following stack:
- Elixir (
^1.7.4) - Node.js (
^10.15.0) - npm (
^6.4.1) - Phoenix (
^1.4.0) - React (
^16.7.0) - TypeScript (
^3.0.0) - Webpack (
^4.0.0)
Getting started
In this guide, I will assume that you already have Elixir, Phoenix, and Node.js installed. If you haven't already, open the links above in a new tab and do it. Don't worry, I'll wait.
We're also going to use Phoenix 1.4, the latest version available at the time of writing.
The boilerplate
We're going to set up a new Phoenix project, complete with the build environment we're going to use.
As of version 1.4, Phoenix ships with Webpack by default. By running the following command we'll have a Phoenix setup with built-in support for JS bundling.
$ mix phx.new phoenix_react_playground
When you're asked if you want to fetch and install dependencies as well, answer No. We'll get to it later.
By default, the package.json file, the Webpack config, and the .babelrc file are located in the assets/ folder instead of the project root. This is not ideal, since it could fuck up with IDEs like Visual Studio Code. So let's move them to the project root instead.
$ cd phoenix_react_playground
$ mv assets/package.json .
$ mv assets/webpack.config.js .
$ mv assets/.babelrc .
This means we'll need to change some of the defaults provided by Phoenix:
.gitignore
@@ -26,7 +26,7 @@ phoenix_react_playground-*.tar
 npm-debug.log

 # The directory NPM downloads your dependencies sources to.
-/assets/node_modules/
+node_modules/

 # Since we are building assets from assets/,
 # we ignore priv/static. You may want to comment
package.json
@@ -6,8 +6,8 @@
     "watch": "webpack --mode development --watch"
   },
   "dependencies": {
-    "phoenix": "file:../deps/phoenix",
-    "phoenix_html": "file:../deps/phoenix_html"
+    "phoenix": "file:deps/phoenix",
+    "phoenix_html": "file:deps/phoenix_html"
   },
   "devDependencies": {
     "@babel/core": "^7.0.0",
@@ -18,7 +18,7 @@
     "mini-css-extract-plugin": "^0.4.0",
     "optimize-css-assets-webpack-plugin": "^4.0.0",
     "uglifyjs-webpack-plugin": "^1.2.4",
-    "webpack": "4.4.0",
-    "webpack-cli": "^2.0.10"
+    "webpack": "4.28.4",
+    "webpack-cli": "^3.2.1"
   }
 }
webpack.config.js
@@ -13,11 +13,11 @@ module.exports = (env, options) => ({
     ]
   },
   entry: {
-      './js/app.js': ['./js/app.js'].concat(glob.sync('./vendor/**/*.js'))
+    app: './assets/js/app.js'
   },
   output: {
     filename: 'app.js',
-    path: path.resolve(__dirname, '../priv/static/js')
+    path: path.resolve(__dirname, 'priv/static/js')
   },
   module: {
     rules: [
@@ -36,6 +36,10 @@ module.exports = (env, options) => ({
   },
   plugins: [
     new MiniCssExtractPlugin({ filename: '../css/app.css' }),
-    new CopyWebpackPlugin([{ from: 'static/', to: '../' }])
-  ]
+    new CopyWebpackPlugin([{ from: 'assets/static/', to: '../' }])
+  ],
+  resolve: {
+    // Add '.ts' and '.tsx' as resolvable extensions.
+    extensions: ['.ts', '.tsx', '.js', '.jsx', '.json']
+  }
 });
The above Webpack configuration works for the ideal Phoenix setup of placing unbundled assets on the assets/ folder. We need to make sure that Phoenix correctly runs the Webpack command as our watcher. To do so, modify config/dev.exs as follows:
-  watchers: []
+  watchers: [
+    {"node", [
+      "node_modules/webpack/bin/webpack.js",
+      "--watch-stdin",
+      "--colors"
+    ]}
+  ]
To make sure everything works, run the following commands:
$ mix deps.get
$ npm install
Does everything work? Good! Next, we'll set up our TypeScript environment.
First, we'll install the TypeScript + React preset for Babel, and put it into our .babelrc.
$ yarn add --dev @babel/preset-react @babel/preset-typescript @babel/plugin-proposal-class-properties @babel/plugin-proposal-object-rest-spread typescript
@@ -1,5 +1,10 @@
 {
-    "presets": [
-        "@babel/preset-env"
-    ]
-}
+  "presets": [
+    "@babel/preset-env",
+    "@babel/preset-react",
+    "@babel/preset-typescript"
+  ],
+  "plugins": [
+    "@babel/plugin-proposal-class-properties",
+    "@babel/plugin-proposal-object-rest-spread"
+  ]
+}
Then, we'll create a standard tsconfig.json file and fill it up with the following.
{
  "compilerOptions": {
    "allowJs": true,
    "allowSyntheticDefaultImports": true,
    "esModuleInterop": true,
    "isolatedModules": true,
    "lib": ["dom", "esnext"],
    "jsx": "preserve",
    "target": "es2016",
    "module": "esnext",
    "moduleResolution": "node",
    "preserveConstEnums": true,
    "removeComments": false,
    "sourceMap": true,
    "strict": true
  },
  "include": ["./**/*.ts", "./**/*.tsx"]
}
And finally, modify our Webpack config so that the babel-loader accepts JS and TS files. Don't forget to change the extension of your Webpack entry file too!
@@ -13,7 +13,7 @@ module.exports = (env, options) => ({
     ]
   },
   entry: {
-    app: './assets/js/app.js'
+    app: './assets/js/app.tsx'
   },
   output: {
     filename: 'app.js',
@@ -22,7 +22,7 @@ module.exports = (env, options) => ({
   module: {
     rules: [
       {
-        test: /\.js$/,
+        test: /\.(js|jsx|ts|tsx)$/,
         exclude: /node_modules/,
         use: {
           loader: 'babel-loader'
Once you've got your boilerplate set up, your Phoenix project's folder structure should now look like this.
phoenix_react_playground/
├── assets/
│   ├── js/
│   │   ├── ...
│   │   └── app.tsx
│   ├── scss/
│   │   ├── ...
│   │   └── app.scss
│   └── static/
│       ├── images/
│       │   └── ...
│       ├── favicon.ico
│       └── robots.txt
├── config/
│   └── ...
├── lib/
│   └── ...
├── priv/
│   └── ...
├── test/
│   └── ...
├── .gitignore
├── mix.exs
├── package.json
├── README.md
├── tsconfig.json
└── webpack.config.js
Setting up React
Let's now hook up React with Phoenix the right way. First, of course, we'll need to install React.
$ yarn add react react-dom react-router-dom
$ yarn add --dev @types/react @types/react-dom @types/react-router-dom
Then, we can set up our base React boilerplate. In our assets folder, rename app.js to app.tsx, and rewrite the file as follows.
assets/js/app.tsx
import '../css/app.css'

import 'phoenix_html'

import * as React from 'react'
import * as ReactDOM from 'react-dom'
import Root from './Root'

// This code starts up the React app when it runs in a browser. It sets up the routing
// configuration and injects the app into a DOM element.
ReactDOM.render(<Root />, document.getElementById('react-app'))
assets/js/Root.tsx
import * as React from 'react'
import { BrowserRouter, Route, Switch } from 'react-router-dom'

import Header from './components/Header'
import HomePage from './pages'

export default class Root extends React.Component {
  public render(): JSX.Element {
    return (
      <>
        <Header />
        <BrowserRouter>
          <Switch>
            <Route exact path="/" component={HomePage} />
          </Switch>
        </BrowserRouter>
      </>
    )
  }
}
assets/js/components/Header.tsx
import * as React from 'react'

const Header: React.FC = () => (
  <header>
    <section className="container">
      <nav role="navigation">
        <ul>
          <li>
            <a href="https://hexdocs.pm/phoenix/overview.html">Get Started</a>
          </li>
        </ul>
      </nav>
      <a href="http://phoenixframework.org/" className="phx-logo">
        <img src="/images/phoenix.png" alt="Phoenix Framework Logo" />
      </a>
    </section>
  </header>
)

export default Header
assets/js/components/Main.tsx
import * as React from 'react'

const Main: React.FC = ({ children }) => (
  <main role="main" className="container">
    {children}
  </main>
)

export default Main
assets/js/pages/index.tsx
import * as React from 'react'
import { RouteComponentProps } from 'react-router-dom'
import Main from '../components/Main'

const HomePage: React.FC<RouteComponentProps> = () => <Main>HomePage</Main>

export default HomePage
That should do it.
Now, open our project's router.ex folder, and modify our routes in the "/" scope as follows.
-    get "/", PageController, :index
+    get "/*path", PageController, :index
Then, modify our template files so that it properly loads up our React code. In the base layout template, we can everything inside the <body> tag with our script.
templates/layout/app.html.eex
  <body>
    <%= render @view_module, @view_template, assigns %>
    <script type="text/javascript" src="<%= Routes.static_path(@conn, "/js/app.js") %>"></script>
  </body>
And now the Index page template. Be sure you set the id attribute to the one you set as the application entry point specified on app.tsx.
templates/page/index.html.eex
<div id="react-app"></div>
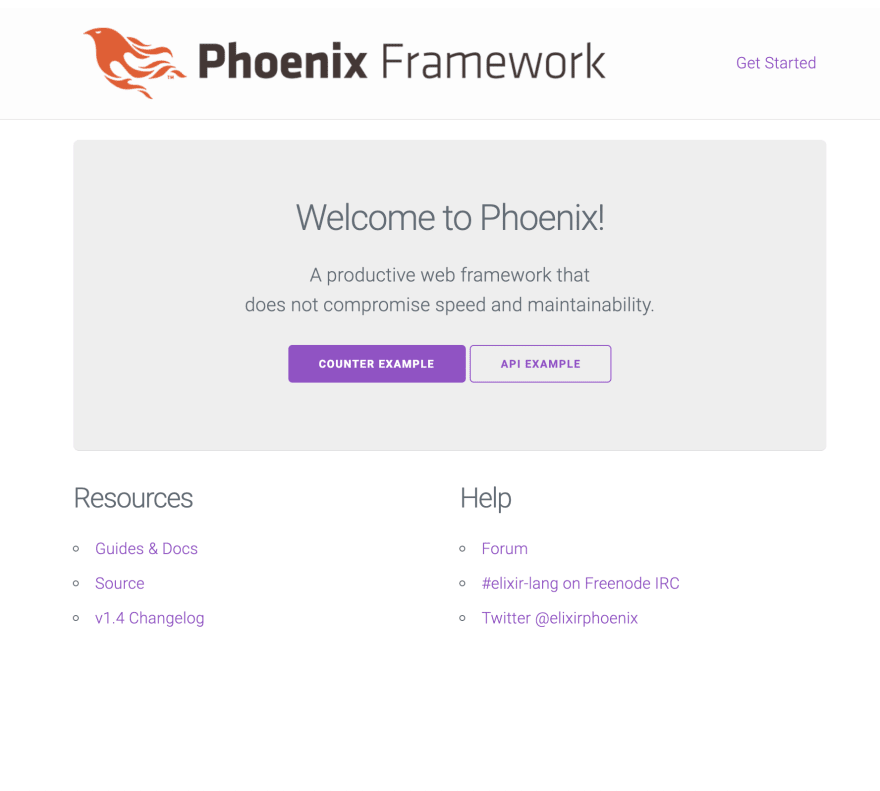
Sanity check
Now we're going to check if everything works. Run mix deps.get and npm install once again just to make sure, then run mix ecto.setup to build our database (if we have any set up). Then run mix phx.server, wait until the Webpack process is complete, then head over to localhost:4000.
If it works and you can see your webpage loading up, congratulations! Let's move on to the fancy part.
Creating additional pages with react-router
Now that we have our basic Phoenix server running, let's create several examples of the nifty things you could do with React. The most common example that people make when demonstrating the capabilities of React is a Counter app.
First, we're going add the Counter route to our Root.tsx file.
 import * as React from 'react'
 import { BrowserRouter, Route, Switch } from 'react-router-dom'

 import Header from './components/Header'
 import HomePage from './pages'
+import CounterPage from './pages/counter'

 export default class Root extends React.Component {
   public render(): JSX.Element {
     return (
       <>
         <Header />
         <BrowserRouter>
           <Switch>
             <Route exact path="/" component={HomePage} />
+            <Route path="/counter" component={CounterPage} />
           </Switch>
         </BrowserRouter>
       </>
     )
   }
 }
Then, we'll add the Counter component.
assets/js/pages/counter.tsx
import * as React from 'react'
import { Link } from 'react-router-dom'

import Main from '../components/Main'

// Interface for the Counter component state
interface CounterState {
  currentCount: number
}

const initialState = { currentCount: 0 }

export default class CounterPage extends React.Component<{}, CounterState> {
  constructor(props: {}) {
    super(props)

    // Set the initial state of the component in a constructor.
    this.state = initialState
  }

  public render(): JSX.Element {
    return (
      <Main>
        <h1>Counter</h1>
        <p>The Counter is the simplest example of what you can do with a React component.</p>
        <p>
          Current count: <strong>{this.state.currentCount}</strong>
        </p>
        {/* We apply an onClick event to these buttons to their corresponding functions */}
        <button className="button" onClick={this.incrementCounter}>
          Increment counter
        </button>{' '}
        <button className="button button-outline" onClick={this.decrementCounter}>
          Decrement counter
        </button>{' '}
        <button className="button button-clear" onClick={this.resetCounter}>
          Reset counter
        </button>
        <br />
        <br />
        <p>
          <Link to="/">Back to home</Link>
        </p>
      </Main>
    )
  }

  private incrementCounter = () => {
    this.setState({
      currentCount: this.state.currentCount + 1
    })
  }

  private decrementCounter = () => {
    this.setState({
      currentCount: this.state.currentCount - 1
    })
  }

  private resetCounter = () => {
    this.setState({
      currentCount: 0
    })
  }
}
Now go to localhost:4000/counter and test your creation. If it works, we can continue to the next part.

Fetching APIs - a painless example
As mentioned earlier, almost every React + Phoenix tutorial that I ever found on the internet only went as far as rendering a single React component. They never seem to explain how to make both React and Phoenix properly so that they could communicate with each other. Hopefully this will explain everything.
Before you start, please please please make sure that on router.ex, you have the "/api" scope declared on top of the /*path declaration. Seriously. I spent a whole week figuring why my API routes aren't working, and then only recently realised that I had the routing declarations the other way around.
router.ex
  # ...

  scope "/api", PhoenixReactPlaygroundWeb do
    pipe_through :api

    # ...your API endpoints
  end

  # ...

  scope "/", PhoenixReactPlaygroundWeb do
    pipe_through :browser # Use the default browser stack

    # This route declaration MUST be below everything else! Else, it will
    # override the rest of the routes, even the `/api` routes we've set above.
    get "/*path", PageController, :index
  end
When we have them all set, create a new context for our sample data.
$ mix phx.gen.json Example Language languages name:string proverb:string
router.ex
    scope "/api", PhoenixReactPlaygroundWeb do
      pipe_through :api

+     resources "/languages", LanguageController, except: [:new, :edit]
    end
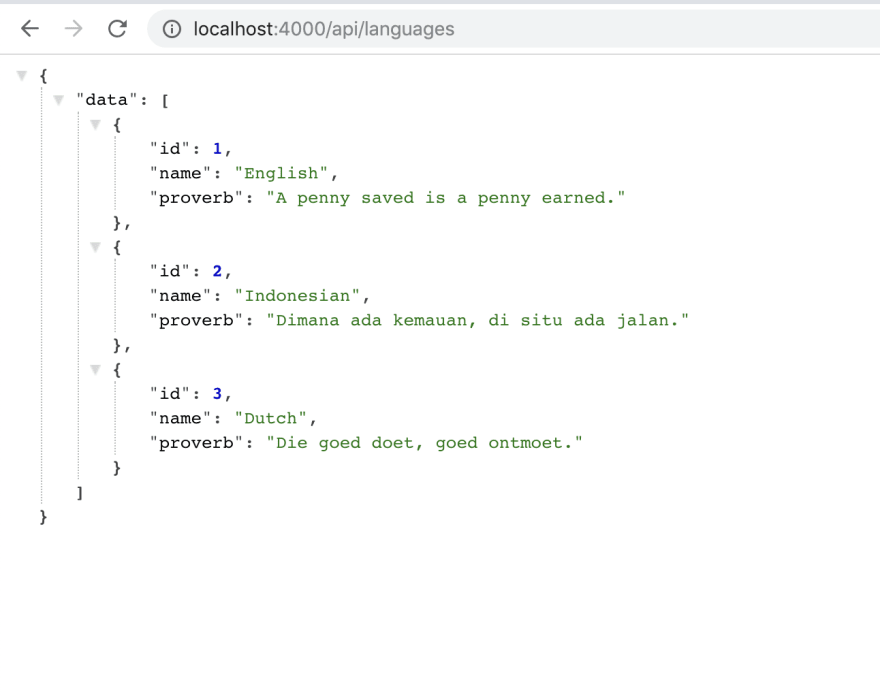
You can also create a database seed to pre-populate the data beforehand. More information on how to do that is available on this Elixir Casts course.
Time for another sanity check! Run the Phoenix server and go to localhost:4000/api/languages. If everything works correctly, you should see either a blank or populated JSON (depending on whether you preloaded the database first or not).
If everything works well, we can now proceed to our component.
Root.tsx
 import * as React from 'react'
 import { BrowserRouter, Route, Switch } from 'react-router-dom'

 import Header from './components/Header'
 import HomePage from './pages'
 import CounterPage from './pages/counter'
+import FetchDataPage from './pages/fetch-data'

 export default class Root extends React.Component {
   public render(): JSX.Element {
     return (
       <>
         <Header />
         <BrowserRouter>
           <Switch>
             <Route exact path="/" component={HomePage} />
             <Route path="/counter" component={CounterPage} />
+            <Route path="/fetch-data" component={FetchDataPage} />
           </Switch>
         </BrowserRouter>
       </>
     )
   }
 }
pages/fetch-data.tsx
import * as React from 'react';
import { Link } from 'react-router-dom';
import Main from '../components/Main';
// The interface for our API response
interface ApiResponse {
data: Language[];
}
// The interface for our Language model.
interface Language {
id: number;
name: string;
proverb: string;
}
interface FetchDataExampleState {
languages: Language[];
loading: boolean;
}
export default class FetchDataPage extends React.Component<
{},
FetchDataExampleState
> {
constructor(props: {}) {
super(props);
this.state = { languages: [], loading: true };
// Get the data from our API.
fetch('/api/languages')
.then(response => response.json() as Promise<ApiResponse>)
.then(data => {
this.setState({ languages: data.data, loading: false });
});
}
private static renderLanguagesTable(languages: Language[]) {
return (
<table>
<thead>
<tr>
<th>Language</th>
<th>Example proverb</th>
</tr>
</thead>
<tbody>
{languages.map(language => (
<tr key={language.id}>
<td>{language.name}</td>
<td>{language.proverb}</td>
</tr>
))}
</tbody>
</table>
);
}
public render(): JSX.Element {
const content = this.state.loading ? (
<p>
<em>Loading...</em>
</p>
) : (
FetchData.renderLanguagesTable(this.state.languages)
);
return (
<Main>
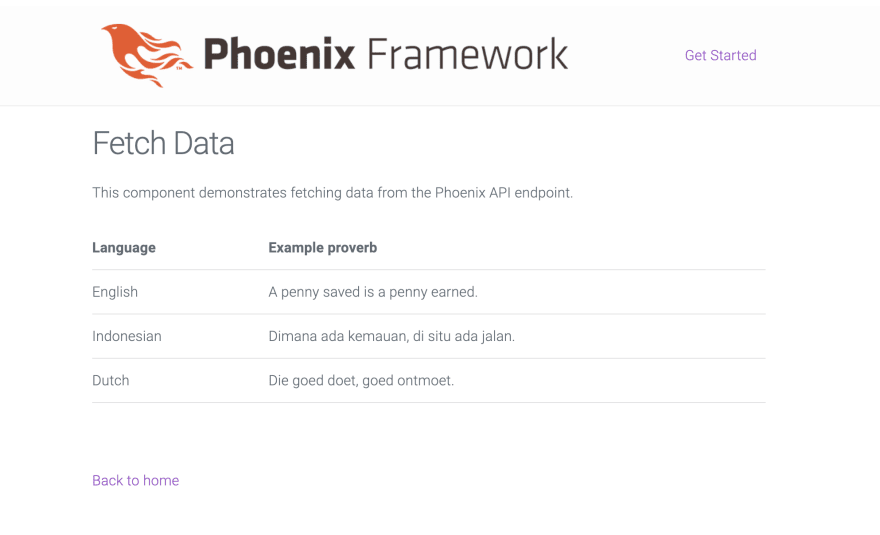
<h1>Fetch Data</h1>
<p>
This component demonstrates fetching data from the Phoenix API
endpoint.
</p>
{content}
<br />
<br />
<p>
<Link to="/">Back to home</Link>
</p>
</Main>
);
}
}
All good! Now go to localhost:4000/fetch-data and give it a try.
The result
If you're still here, congratulations, your setup is complete! Run mix phx.server again and go through everything. If everything works, double congratulations!
You can now use this knowledge to build your next React + Phoenix application. The end result of this guide is available here for everyone to try out.
Good luck! Feel free to tweet at me if you have any questions.
Thanks to ~selsky for their help on proofreading this post!


Top comments (6)
Where is the demo?
It's linked in the post?
github.com/resir014/phoenix_react_...
It's not a demo, it's just a link to the repository to try it manually.
Do you have a demo in real-time?
Unfortunately no, haven't gotten around to hosting this somewhere.
You can use github.pages for this.
GitHub Pages only works for static pages. This is a dynamic Elixir app so it won't work there, I'm afraid.