
Have you ever had an app idea but got stuck spending hours figuring out the layout, writing backend code, or connecting everything together?
What if you could skip all the setup and let AI build your app for you?
That's exactly what tools like Webcrumbs Frontend AI and Lovable can do. One helps you quickly make a clean, responsive UI. The other turns that UI into a full-stack app with authentication, APIs, and a database.
In this article, we'll use Webcrumbs and Lovable to build an image-sharing social media app, step by step, without spending too much time thinking about layouts, libraries, coding practices, or setting up database schemas. So, let's get started.
What is Frontend AI?
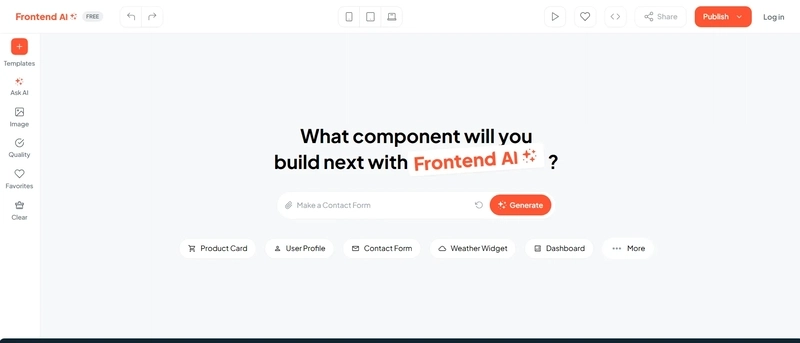
Webcrumbs Frontend AI is a tool that lets you build user interfaces visually in your browser. You can click on elements like buttons or text and edit them directly, move components around using drag and drop, and change the design without writing code. It also lets you create your own themes and export your work to different frontend frameworks like React. You can see and edit the actual code behind the design if needed, making it useful whether you're designing or coding.
With Frontend AI, you can:
- Drag and drop UI components
- Customize styles and themes
- Export code to other frameworks
- Preview and edit code in-browser
- Build interfaces without writing code
- And it even provides AI suggestions for the UI to maintain a consistent design across different screen sizes.
What is Lovable?
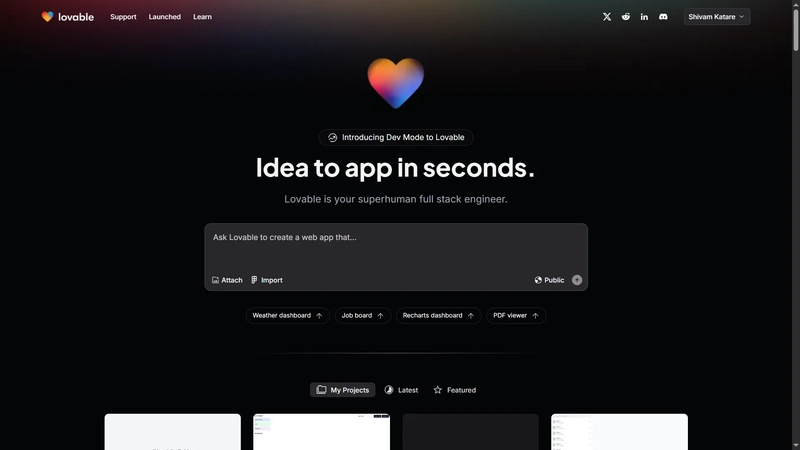
It is a platform that helps you create web apps without writing any code. It takes care of everything from designing the interface to setting up the database. It's designed to be easy for non-developers and flexible enough to build complex apps quickly.With Lovable, you can:
- Build apps 20x faster
- Connect your app to the database using Supabase
- Push your code to your github repository
- Or even, directly deploy your app to make it live from Lovable itself.
What are we building?
Now that we're familiar with what Frontend AI and Lovable can do, it's time to use these tools to turn our app idea into a reality. With these tools, you can create anything you want, turning your imagination into reality. In this article, we're going to build a social media app. You can see a demo here.
In this app, we used Webcrumbs Frontend AI to create the UI and Lovable AI to build all the features, from making all the app pages to writing the database schema, RLS policies, and other app logic. Everything you saw here was built in just 20 minutes. The power of AI is amazing, so let's get into it and learn how you can build any app with these powerful AI tools.
Step-by-Step Guide to Building the App
Now that you know what we’re going to build, you can set up your Webcrumbs and Lovable accounts before proceeding.
For Webcrumbs Frontend AI:
- Go to the Webcrumbs landing page.
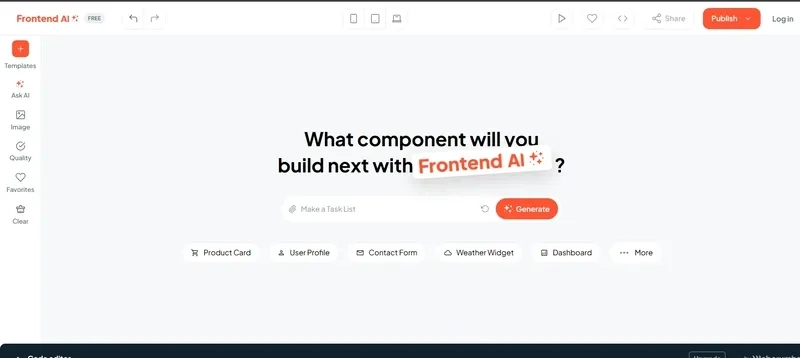
- Click on "Get Started." You’ll be redirected to the Frontend AI page.
- (Optional) Log in or sign up for Frontend AI to save your creations.
💡 Note: Free users will get limited generation per day, and Pro users will get unlimited generation. Check out the plans here.
Now, you’ll see multiple suggestions for what you can build, or you can write a prompt to create your own.
For Lovable AI:
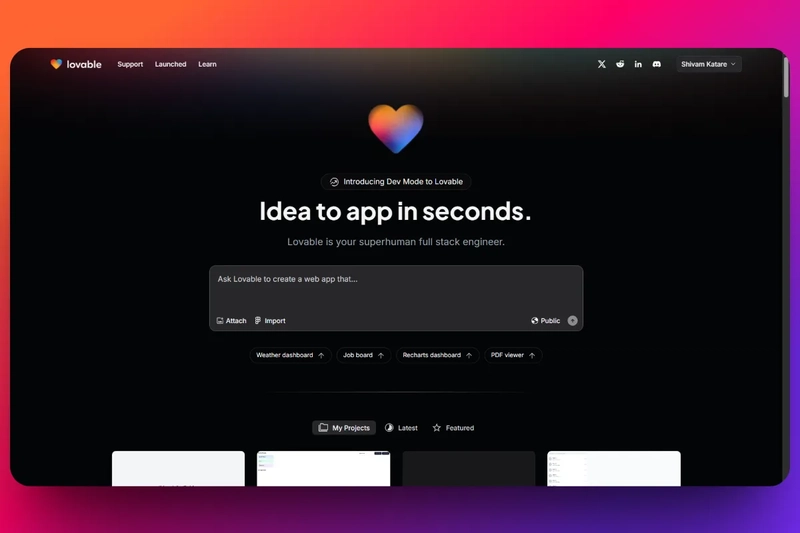
- Go to the Lovable AI landing page
- Click on Sign up/Sign in. For signing up, you can use any method, I prefer using Github so that later you can also push the generated code to your repo.
💡 Note: Free users will get 5 credits per day and a total of 30 free credits each month. Check out the plans. here.
Now, you’ll see a prompt area, where you can write a prompt and get started with it.
Generate the UI with Webcrumbs
As we set up our accounts for both tools, let's start using them. Our first step will be to create a layout of our entire app. When you start building anything using AI tools from scratch, make sure you have a clear idea in mind. Sometimes, we might lack ideas, so at least have an end goal in mind. Jumping directly into AI tools to build something is not a good plan. Instead, stop, think, and ask yourself what you are building.
So, having a clear goal helps AI tools give you the results you want. Since we know what we're building, let's start with the layout. Go to Frontend AI and describe the kind of layout you want. You can either write prompts for each page one by one or write a detailed prompt explaining what you're looking for.
I’ve used this prompt:
Design a modern and responsive UI for an image-sharing platform where users can upload, explore, and interact with images effortlessly. The home feed should feature a clean masonry/grid layout with a floating upload button, a top navbar for navigation, and an optional side menu for trending, following, and explore sections. The image upload page should support drag-and-drop functionality, image previews, and input fields for captions, tags, and privacy settings. Each image detail page should display the image in full view with like, comment, and share buttons, along with a threaded comment section. The user profile page should include a profile picture, bio, and user stats, with tabbed sections for posts, liked images, and comments, along with a follow/unfollow button. The authentication pages should have a sleek and minimal login/signup UI with social login options. A settings page should allow users to update profile details, toggle dark mode, and log out. The design should be modern, smooth, and intuitive, ensuring a visually engaging and user-friendly experience.
As you hit enter, it will start generating it.
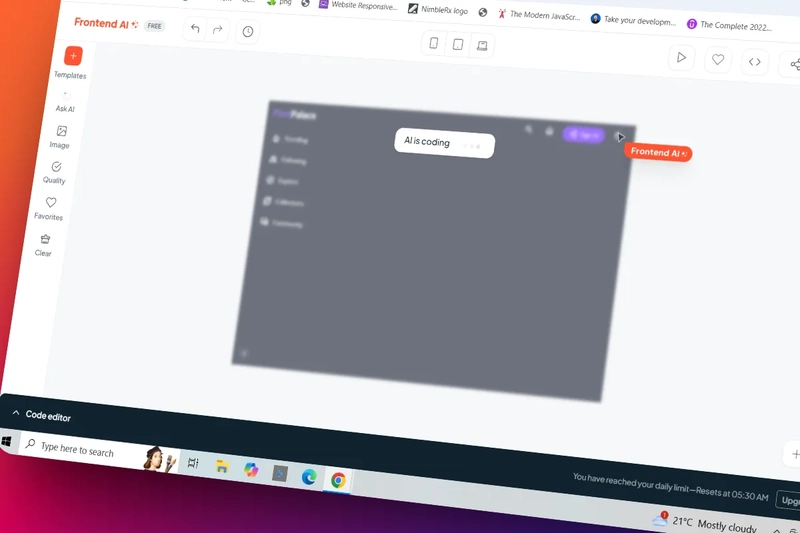
It only takes a few seconds, and it's done. As you can see, it created a nice-looking UI based on my prompt.
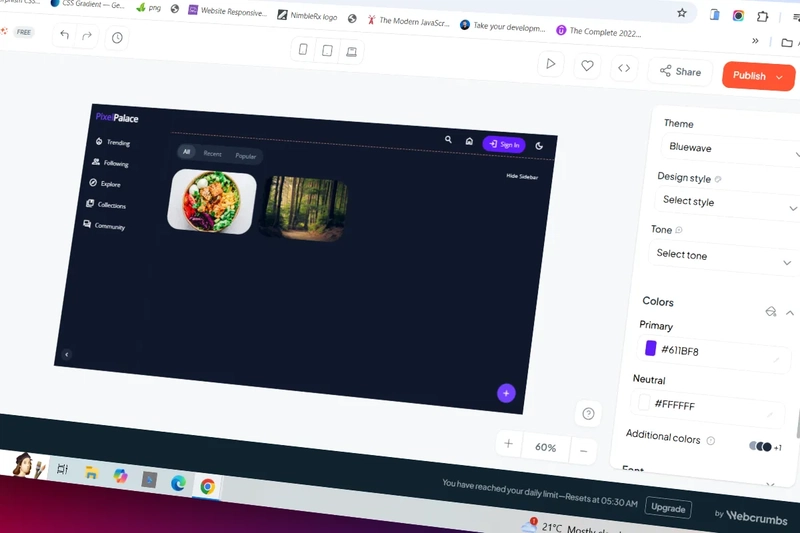
You can improve the UI using the right sidebar, try different theme options, or even change the entire design style with just one click using Frontend AI. To learn more about the design style feature, check out this article.
I'm happy with this design, so I'll use it as a reference in Lovable to build the next part of the app.
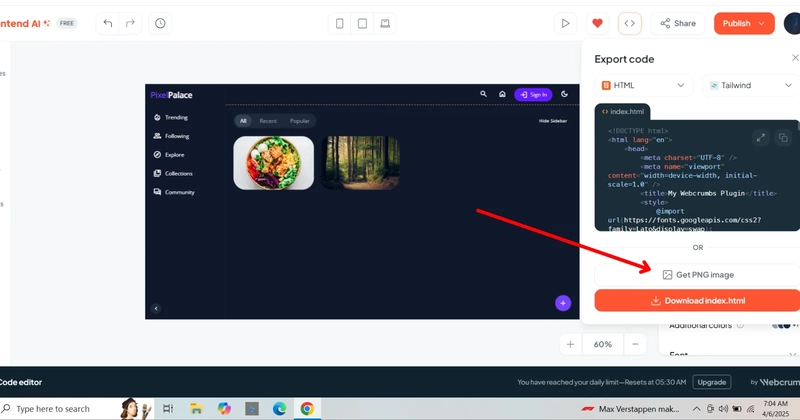
You can export this design as an image to use in Lovable. Click here👇
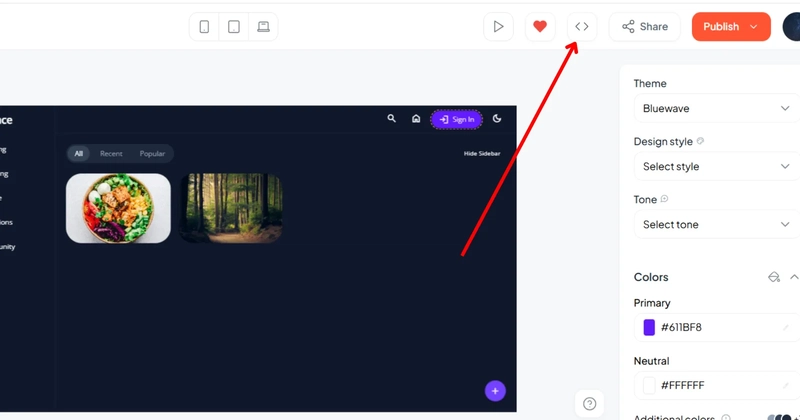
A dialog will open, then click on Get PNG Image to download the image for reference.
Convert the UI into a Full-Stack App with Lovable
Now that the UI is ready, let's make it a full-stack app. Go to Lovable.dev, click the Attach button to add an image or paste it directly, then write a prompt in the prompt box.
As you can see, I've added the image and explained clearly what I want. The more detailed your description, the better results Lovable AI will give.
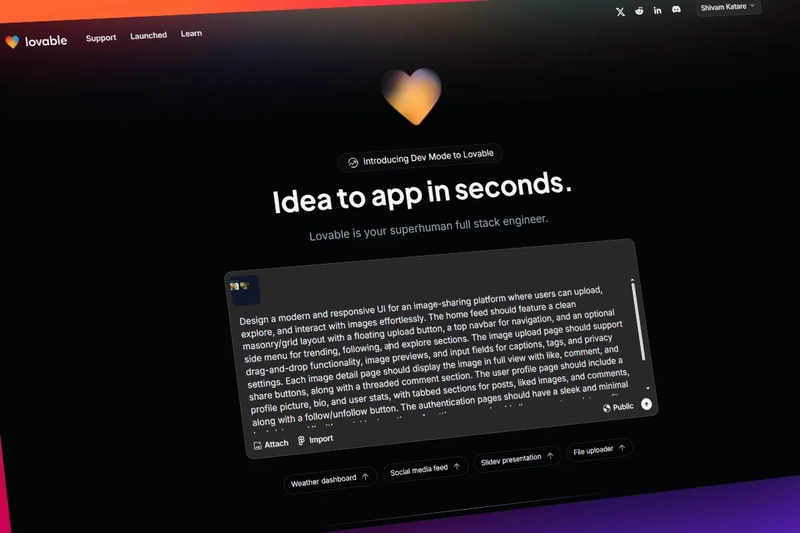
This is the prompt that I used here(almost the same as the previous one):
Design a modern and responsive UI for an image-sharing platform where users can upload, explore, and interact with images effortlessly. The home feed should feature a clean masonry/grid layout with a floating upload button, a top navbar for navigation, and an optional side menu for trending, following, and explore sections. The image upload page should support drag-and-drop functionality, image previews, and input fields for captions, tags, and privacy settings. Each image detail page should display the image in full view with like, comment, and share buttons, along with a threaded comment section. The user profile page should include a profile picture, bio, and user stats, with tabbed sections for posts, liked images, and comments, along with a follow/unfollow button. The authentication pages should have a sleek and minimal login/signup UI with social login options. A settings page should allow users to update profile details, toggle dark mode, and log out. The design should be modern, smooth, and intuitive, ensuring a visually engaging and user-friendly experience.
Hit enter, and as you can see, it started building it.
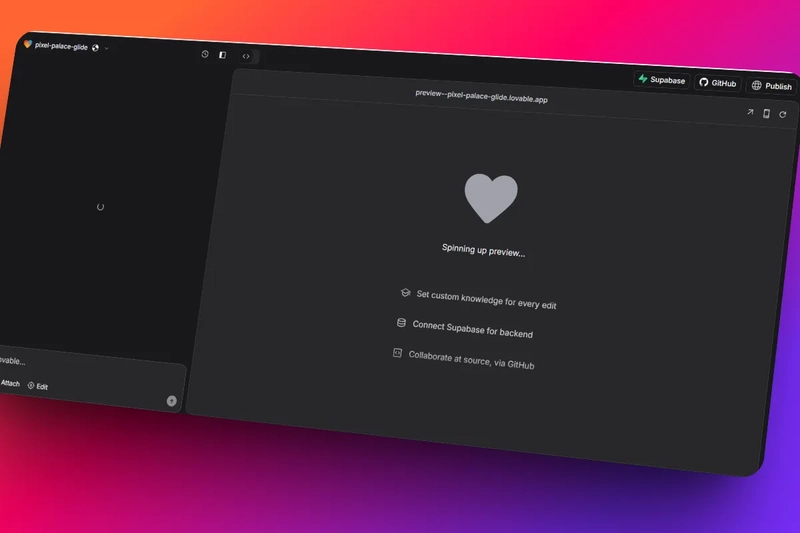
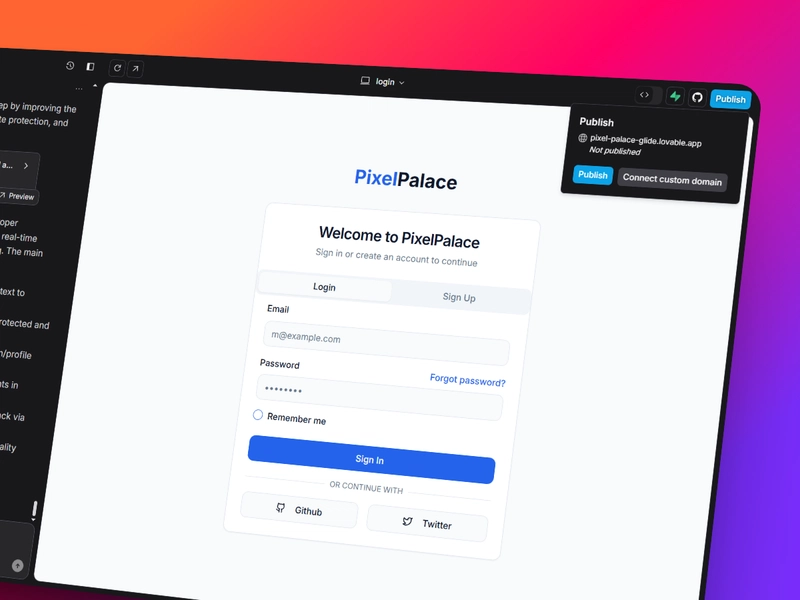
It takes a few seconds, and as you can see, it created a complete UI of the application.
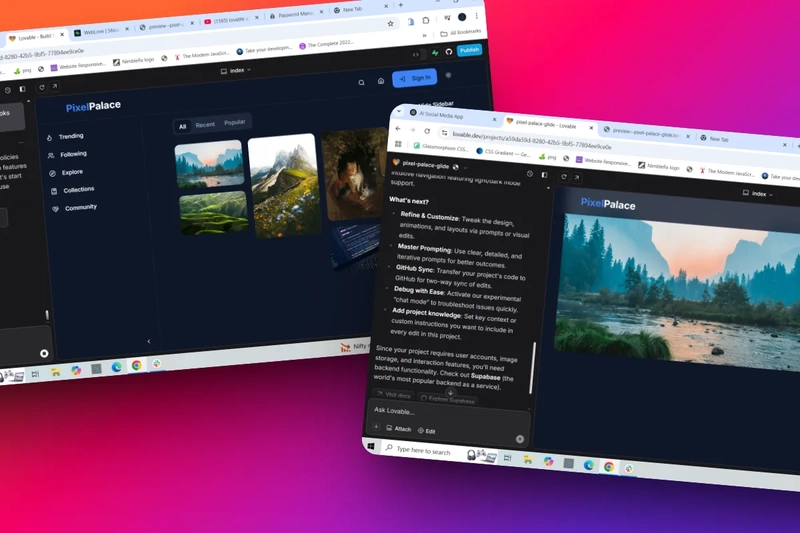
With Auth screens
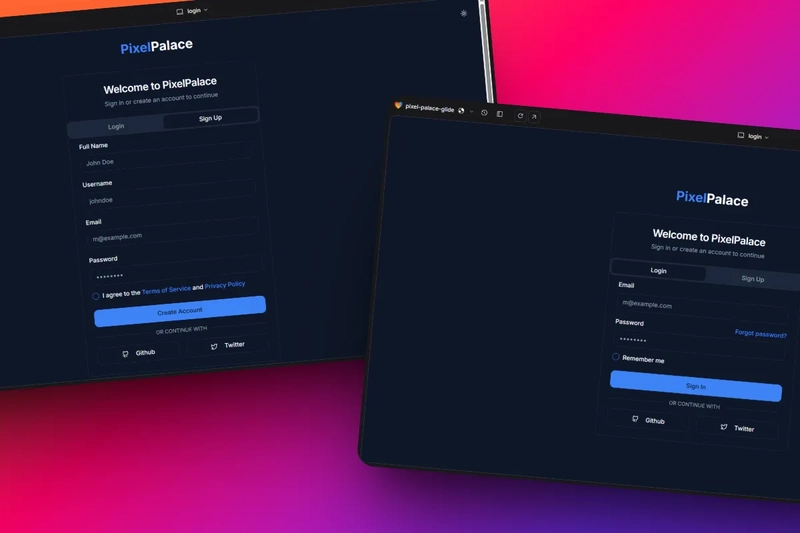
So, the UI looks good and is working now. There are some pages we don't need, but we can remove them manually later, so we'll keep them for now.
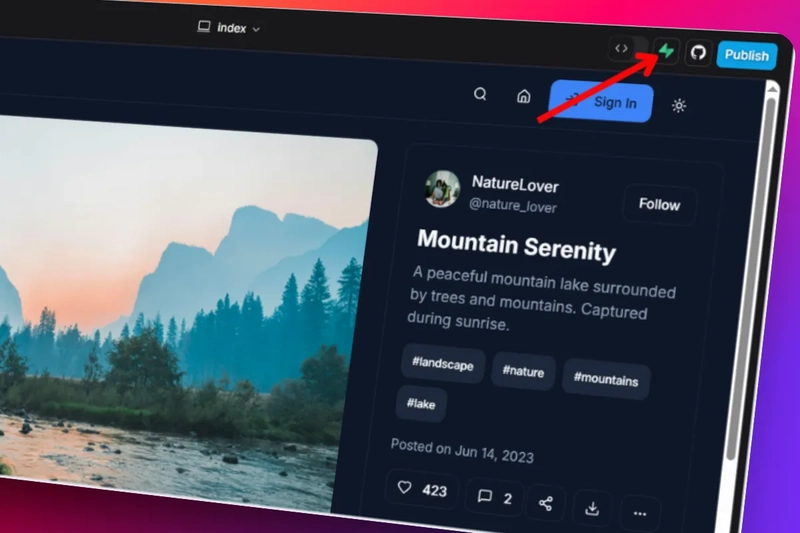
Integrations with Supabase
Now the UI part is done. Its time to integrate all the functionalities for our app. So, before moving forward, you first need to connect Lovable with Supabase. Click on the Supabase icon.
Authorize Lovable with Supabase
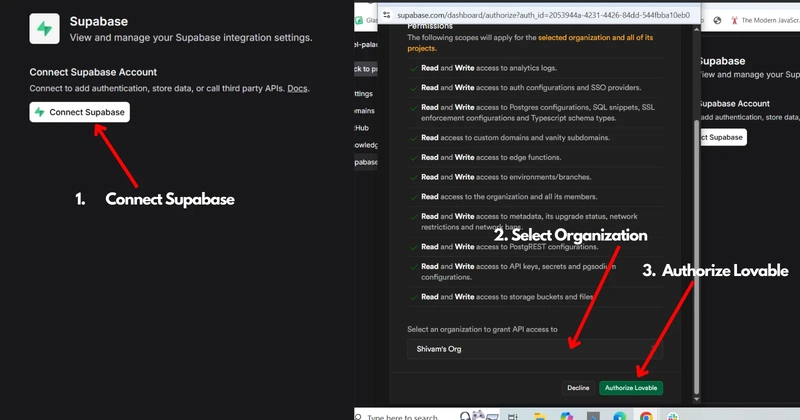
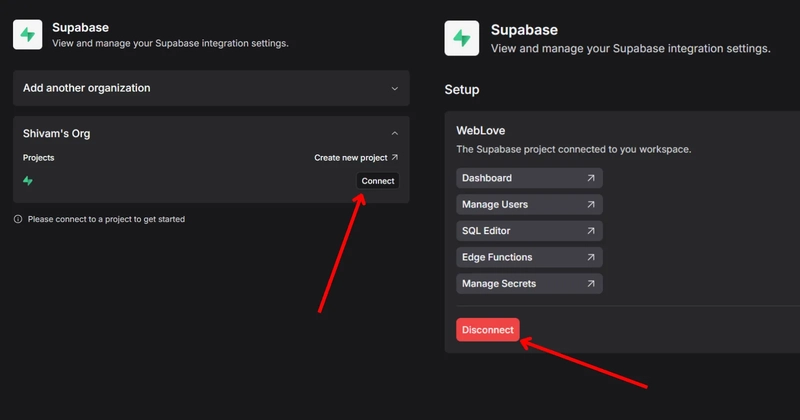
You can either connect a new organization, any other project, or even disconnect the connected one.
Supabase is connected, you can enter a new prompt for Lovable about adding functionalities. I used this prompt:
Next, integrate core social features to bring the UI to life.

1. **User Authentication:**
Add signup and login functionality with email/password and optional social login. Ensure authenticated users have access to upload, like, comment, and follow features. Redirect unauthenticated users to the login page when accessing protected routes like profile or upload.

2. **Image Upload & Storage:**
Set up Supabase Storage to handle image uploads directly from the upload page. When a user uploads an image, store the image in Supabase Storage and save metadata—such as the image URL, user ID, caption, tags, and upload timestamp—in the Supabase database.

3. **Like, Comment, and Follow Functionality:**
Implement real-time "like" and "comment" features using Supabase's real-time subscriptions. Each image should have its own likes and threaded comment section that updates live as users interact. Add follow/unfollow functionality on user profiles, enabling users to build their own network and view content from followed users in a personalized feed.

4. Add a option to follow the user add a option to view your own  profile with the followers and following list add a option to upload the image show the image uploading in real time properly do error handing handle no data scenarios beautify the profile page user can see itself and other user's profile after each signup a new profile will be created add option for forgot password show properly toast message to give high and rich user experience. The image should upload it high quality failing image uploading should also show proper messages properly set middleware for protected and non protected routes.

The Recent all and popular should properly calculate according to the time and likes and should work on clicking on then, they should filter the images accordingly

And, set up the appropriate RLS policies
Here, I've mentioned what needs to be implemented next. For example, users should not be able to like, comment, or follow, and they cannot upload images without logging in.
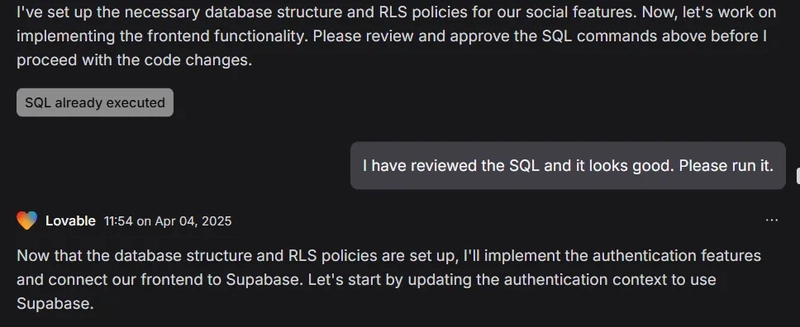
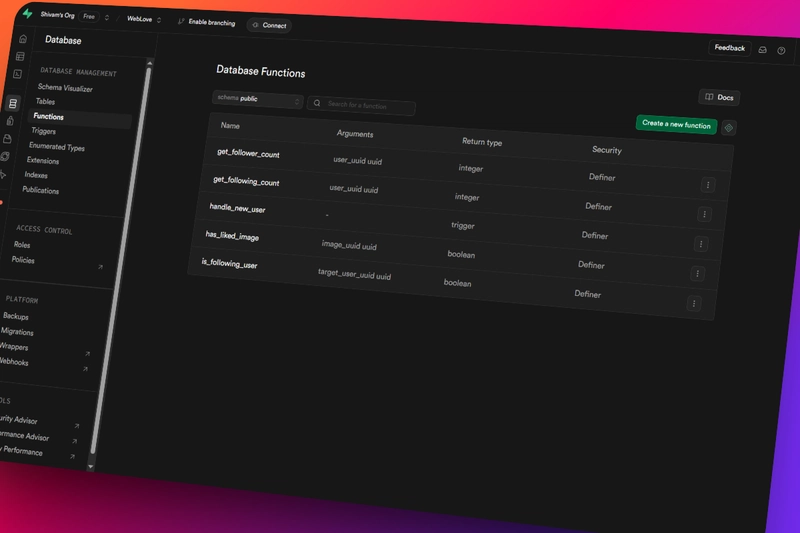
Now, it started to write the correct RLS Policy and SQL for the database setup.

Before moving forward, it asks if you want to make any changes or stick with the current schema design. It looks good to me, so I'm going to continue with it.
Now, it's moving on to the next steps by setting up all the backend logic, like creating tables, edge functions, and setting up the bucket. You can check your Supabase as it updates things in real time.
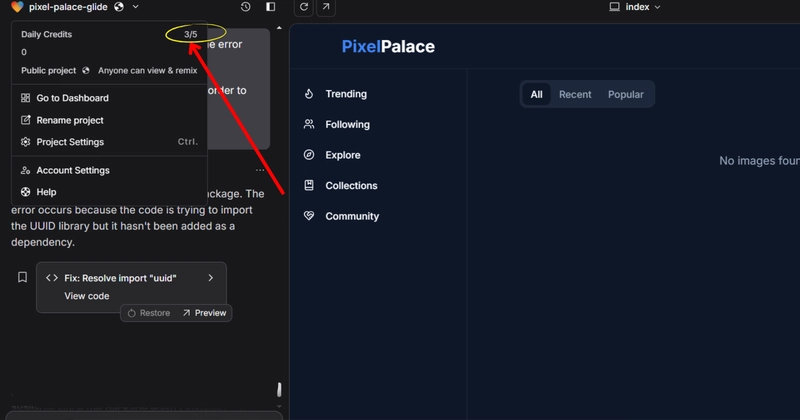
Now it's done, but we got a build error. Here's the best part about Lovable. We get 5 free daily credits, and if the AI makes a mistake, fixing it doesn't cost us credits. Lovable doesn't deduct credits for its own errors.
As you can see, I got an error because the uuid package wasn't installed. You just need to click the Try to Fix button, and it will automatically fix it

As you can see, I still have 3 credits remaining, and even after the fix, it stays at 3 since Lovable doesn't deduct credits for errors and mistakes.
Now, everything we mentioned is working perfectly. You can check out the working demo below. We didn't specify how some pages would look, like the notification page and other sections, but Lovable smartly handles these with 404 pages.
🎥 Watch the video here: Result Video
So, as you saw, with just 2-3 prompts, we built our entire social media application. Now, the next step is to deploy our working project.
Deploy and Share
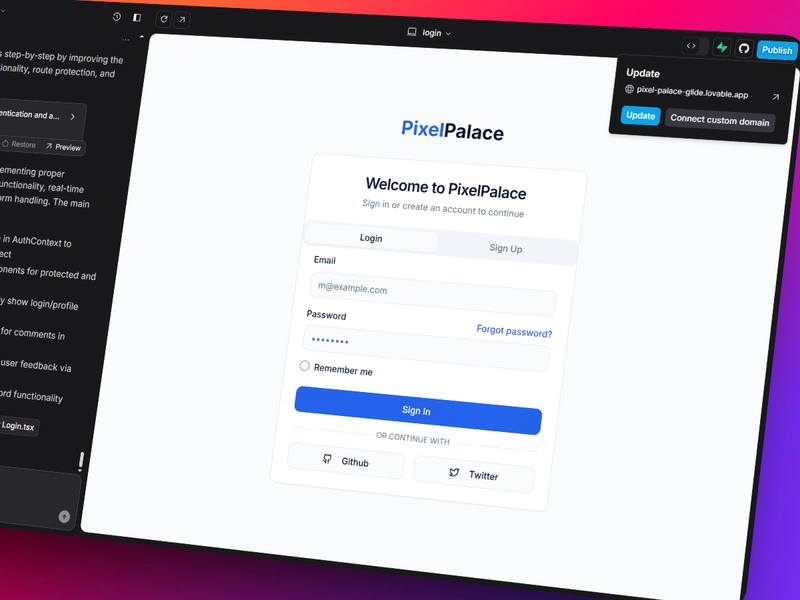
After building the app, you can deploy it directly from Lovable. Just click the Publish button at the top right, and after confirming, your site will be live.
Once published, you can view your site or even update it.
👉 Important Step!
After publishing, make sure to add a redirect URL in your Supabase configuration. Otherwise, every time you confirm your email after signing up, it will take you to the localhost:3000 URL. You need to update this in Supabase.
To add a redirect URL.
- Go to Supabase and select the project connected with Lovable.
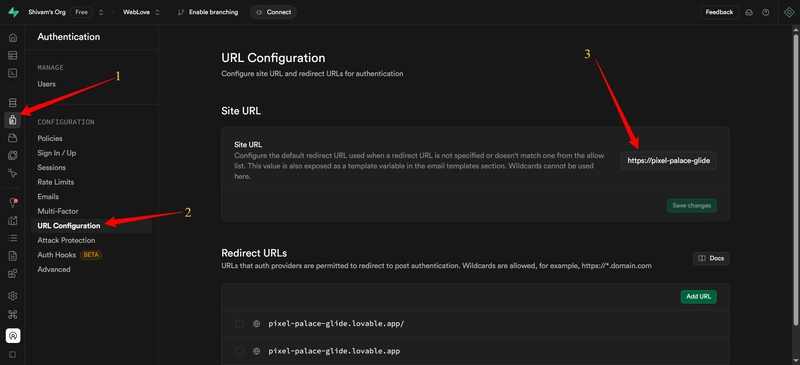
- Go to the Authentication Tab.
- Click on URL Configuration.
- Update the site URL. It currently redirects to
localhost:3000. You need to change it tohttps://pixel-palace-glide.lovable.app/and make sure to add a slash at the end.
And that's it. We've built an image-sharing social media app using Lovable + Frontend AI
You can now check out the live app here.
Conclusion
That’s it for this article. In this article, we learn how AI tools, Webcrumbs Frontend AI, and Lovable make app development easier. Webcrumbs helps users design responsive interfaces visually, and Lovable turns these designs into full-stack applications with features like authentication and database integration. Now things become easier to build and create, and it’s now all up to our imaginations and creativity.
We can improve the app further by adding more features and pages, as we currently have only a single page for exploring. However, with the strong foundation we have built, we can make this app even better.
You can find all the code in our GitHub repo, where you can fork it and clone it to make improvements. Make sure to read the README file to learn how to run this app locally and what environment variables you need to set.
That’s it for this blog, and I’ll see you in the next one.
Checkout:

Top comments (10)
Impressive demonstration of building an app efficiently!
Thanks for Supporting Nevo! Means a lot!
Love the New Banner.
Haha, Thanks!
Nice Banner, Ghibili one! Also great article
Thanks David, Glad you liked it!
Vibe coding🔥
Yes! Going with the Flow!
Impressive demonstration of building an app efficiently!
Hi, just wanted to know, if we could make this using mongodb instead of SQL, by the help of these AI tools ?
BTW, loved reading the article...