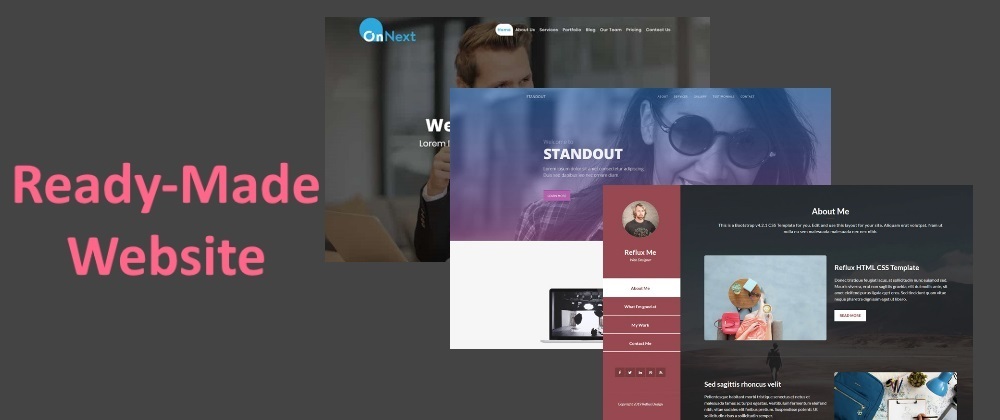
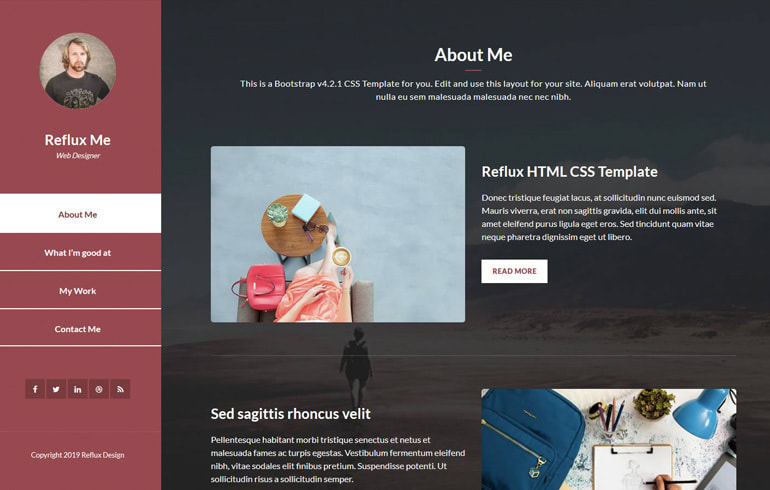
The images below are examples of several ready-made websites that are on the TOO CSS website.
There are many such websites on the Internet.
You can find a modern set of ready-made HTML, CSS and JavaScript templates on these websites and get them without registration.
In this article, we want to teach you how to put these static templates into the powerful CodeBehind framework and make them dynamic.
Please read the article to the end and tell us and other users how it is to put ready-made templates in the framework you use (Laravel, Django, ASP.NET Core, etc.); then compare it with the CodeBehind framework.
Step 1: Choose and download your favorite template.
We selected the Purple Buzz template from the website below.
https://templatemo.com
We got the Purple Buzz template zip file and unzipped it. The content of this file is shown in the image below.
The Purple Buzz template contains several html files. The assets directory also contains images, css, javascript and font files.
Step 2: In Visual Studio 2022, we create a new empty project under ASP.NET Core version 7.0.
Step 3: We install the latest version of CodeBehind framework through NuGet packages.
Step 4: Configure the Program.cs class as follows.
using CodeBehind;
using SetCodeBehind;

var builder = WebApplication.CreateBuilder(args);

var app = builder.Build();

app.UseStaticFiles();

CodeBehindCompiler.Initialization();

app.Run(async context =>
{
    CodeBehindExecute execute = new CodeBehindExecute();
    await context.Response.WriteAsync(execute.Run(context));
});

app.Run();
Step 5: Add the wwwroot directory to the Visual Studio project and then copy the template files into it.
Step 6: We rename the index.html file to Default.aspx and change the html extension of other html files to aspx.
Step 7: We create the header.aspx file and separate the header and add it to the header.aspx file. We set the attributes of the header.aspx page as follows
@page
@break
    <!-- Start Header -->
    ...
    <!-- End Header -->
Note: Adding the @break attribute will prevent the page from being included in the direct call list. For example, the path below will show a blank page.
https://example.com/header.aspx
Step 8: According to the header, we create the footer.aspx file and separate the footer and add it to the footer.aspx file. We set the attributes of the footer.aspx page as follows
@page
@break
    <!-- Start Footer-->
    ...
    <!-- End Footer -->
Step 9: In the header and footer files, we replace the path of the link to index.html with the slash (/) character and convert the html extensions to aspx
Example: href="about.html" to href="about.aspx"
Step 10: We create a file named layout.aspx and, apart from the values between header and footer, we add the html tags of one of the aspx files (such as Default.aspx) in it. We also call the header and footer values using the LoadPage method.
The layout.aspx file is as follows
+@page
+@islayout
<!DOCTYPE html>
<html lang="en">

<head>
+    <title>Purple Buzz - @ViewData.GetValue("title") Page</title>
    <meta charset="utf-8">
    <meta name="viewport" content="width=device-width, initial-scale=1">
    <link rel="apple-touch-icon" href="assets/img/apple-icon.png">
    <link rel="shortcut icon" type="image/x-icon" href="assets/img/favicon.ico">
    <!-- Load Require CSS -->
    <link href="assets/css/bootstrap.min.css" rel="stylesheet">
    <!-- Font CSS -->
    <link href="assets/css/boxicon.min.css" rel="stylesheet">
    <link href="https://fonts.googleapis.com/css2?family=Open+Sans:wght@300;400;600&display=swap" rel="stylesheet">
    <!-- Load Tempalte CSS -->
    <link rel="stylesheet" href="assets/css/templatemo.css">
    <!-- Custom CSS -->
    <link rel="stylesheet" href="assets/css/custom.css">

<!-- TemplateMo 561 Purple Buzz https://templatemo.com/tm-561-purple-buzz -->
</head>

<body>
+    @LoadPage("/header.aspx")

+    @PageReturnValue

+    @LoadPage("/footer.aspx")

    <!-- Bootstrap -->
    <script src="assets/js/bootstrap.bundle.min.js"></script>
    <!-- Templatemo -->
    <script src="assets/js/templatemo.js"></script>
    <!-- Custom -->
    <script src="assets/js/custom.js"></script>

</body>

</html>
Step 11: In all aspx files (except layout, header and footer), we add the page attribute and set the layout path for them, also we add the title value by calling ViewData.Add.
@page
@layout "/layout.aspx"
@{
    @ViewData.Add("title", "Page Title");
}
<!-- Start Main -->
...
<!-- End Main -->
Step 12: Run the project and see the result.


Top comments (0)