Overview
The goal of this tutorial is to give a very simple explanation of how to set up a HarperDB Cloud account and a free instance of HarperDB.
Signing Up
- Go to https://studio.harperdb.io/sign-up
- Fill out the form with your details
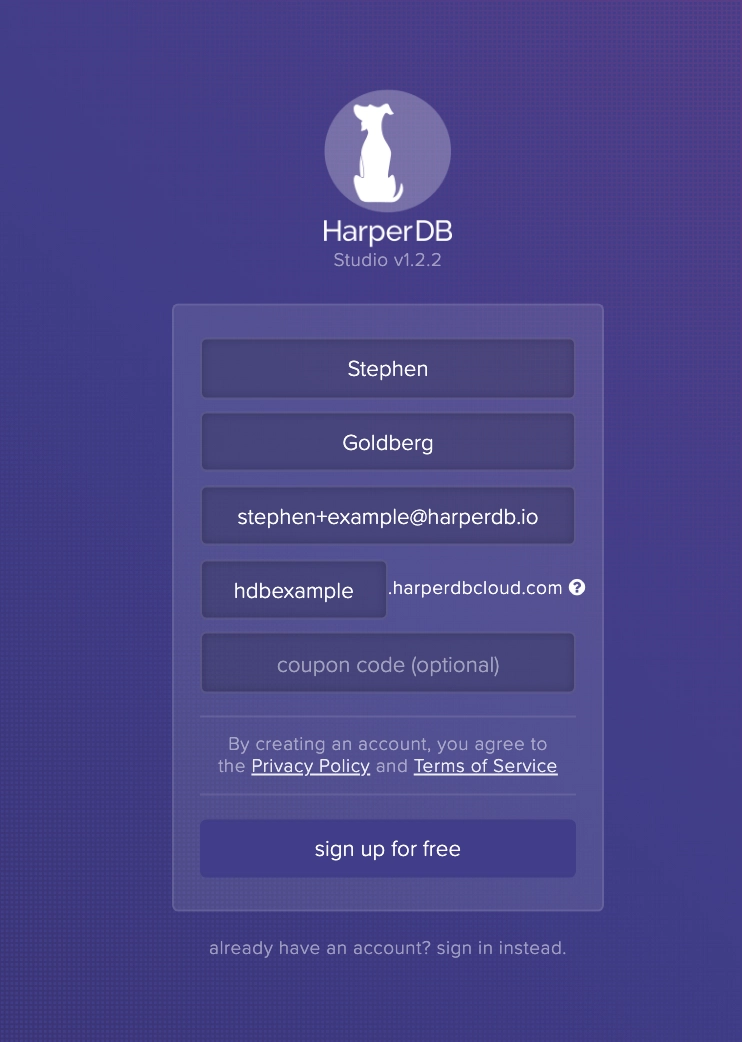
- Click Sign Up For Free
- You will then receive an email that looks like this:

- Make sure to copy your temporary password and then click Log into HarperDB Studio
- Type in your email and temporary password
You will then be asked to create a new password
Note: This is only for the management studio. Your database creds are separate for each db instance. Additionally, you will be able to invite other users to your organization once you login. *
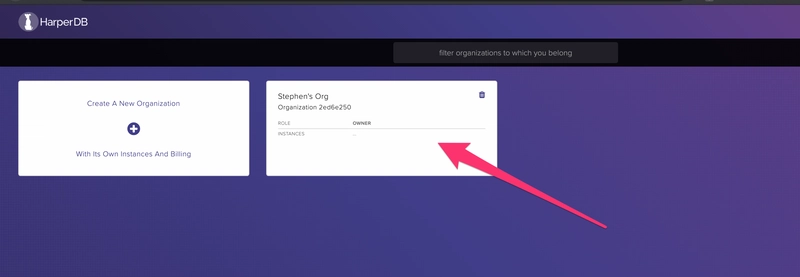
Now click on your org
Creating an Instance
- Now click on Create New HarperDB Cloud Instance

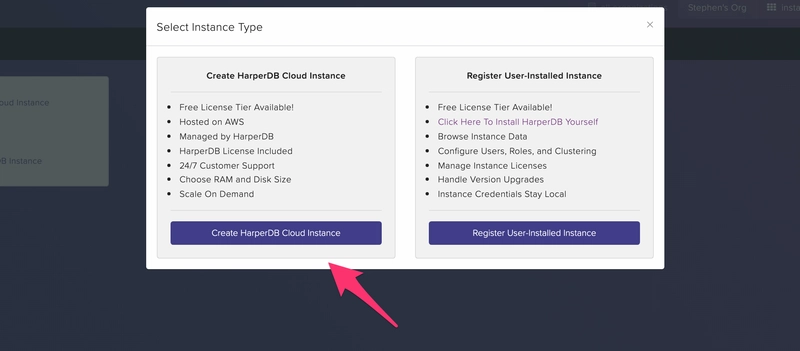
Click on Create HarperDB Cloud Instance
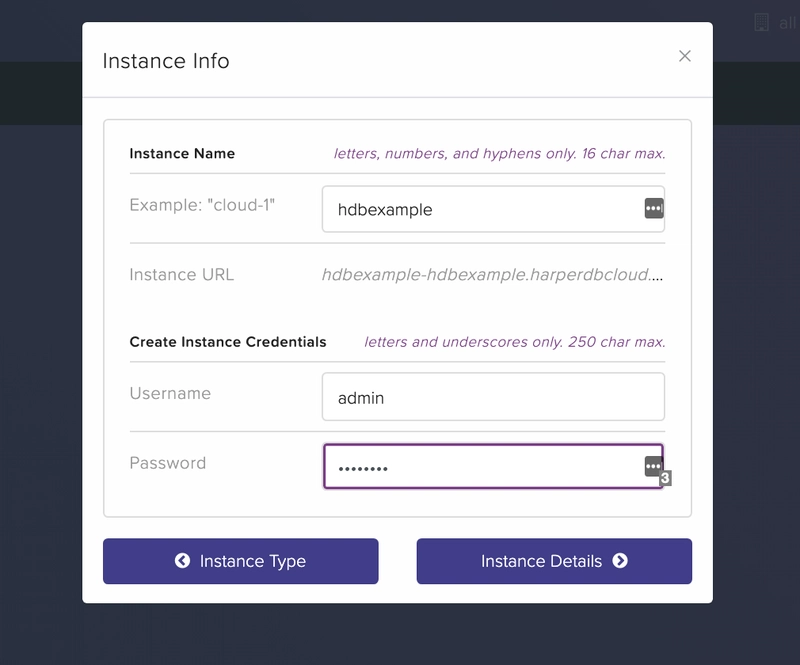
Enter your Credentials
Note: these are NOT the same as your Studio account. This is for the super user you are creating on this database instance. Username should NOT be in the form of an email. Instance Name is for reference only.
- Pick your instance specs. You can start with a free version and always upgrade later. Also pick the AWS region closest to you to reduce latency.

- Click Confirm Instance Details
- Review your instance details
Note: The Instance URL is how you will access HarperDB with REST calls

- Select I agree
- Click Add Instance. Note: Your HarperDB Cloud instance will be provisioned immediately, but it takes a few minutes to setup
- In 5 to 10 minutes you will receive an email letting you know that your instance is ready. In the background we are spinning up a cloudformation template, a network load balancer, a vpn, and an ec2 instance all with HarperDB running on it.

- Log back into the Studio
- Click back into your org
- Click on your instance

- You are all set! Make sure to check out the example code for help getting started!


Top comments (0)