
How to create a Fake REST API with JSON-Server
We currently do not have any real business exposed APIs with us for testing, so we will be creating dummy APIs (which will be provided by the developers in the real time scenario) using NodeJS. The npm package in Node JS will help us even more by installing JSON Server, which will allow us to create dummy APIs for practise.
To install Json server, first install nodejs and npm (npm is installed automatically when we install nodejs).
Installation and Configuration of NodeJS:
Go to google.com and search “download Node JS
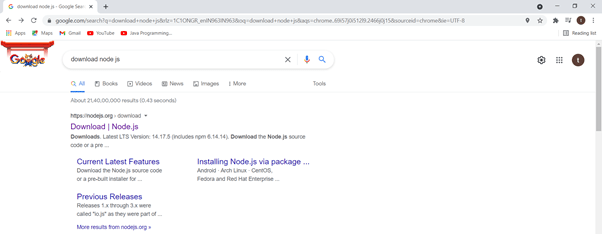
Download Node.js from the link https://nodejs.org/en/download/
Select the installer based on your system, I am downloading
windows installer

After successfully downloading, install by clicking next -> next -> next till finish
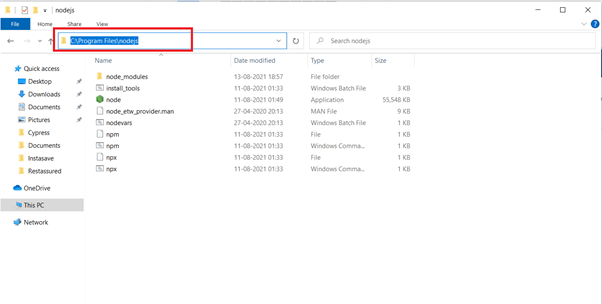
The nodejs setup can be found in the nodejs folder, which is usually created by default at C:\Program Files\nodejs. Start the setup. Copy the path C:\Program Files\nodejs from the nodejs folder.
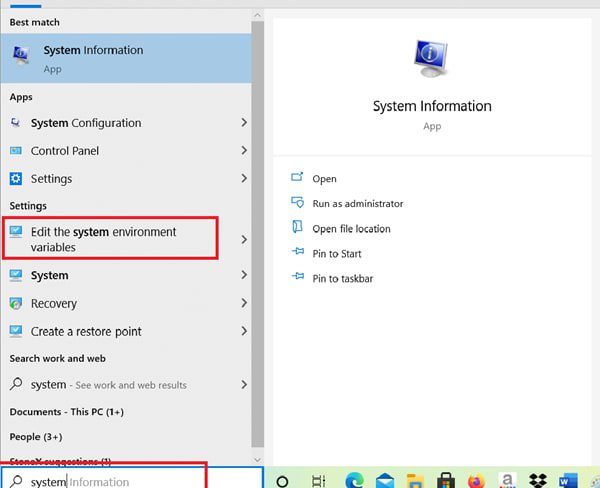
Now set up the path variables as shown below
In the search bar, enter sys and select Edit the system environment variables.
Click on Advanced tab and Environment variables

Under system Variables, click on new and add as below

Select Path Variable under the System variables and click on Edit Button
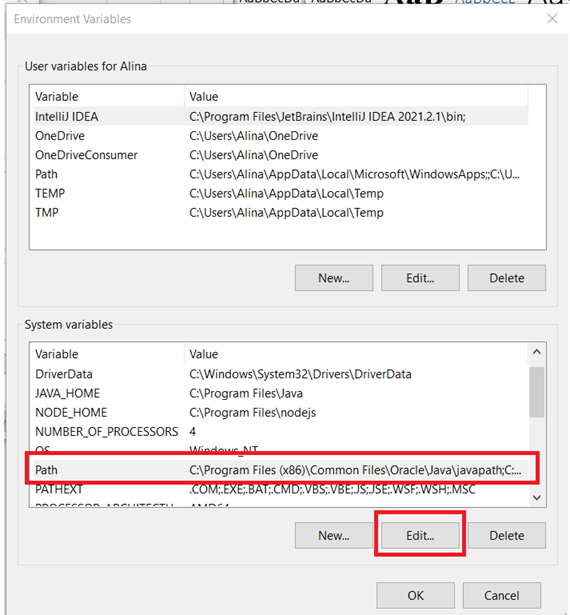
Click on New and Paste the path that was copied earlier in step 5 C:\Program Files\nodejs and click Ok…Ok and Ok.

Verify the installation in command prompt by entering node -v

Please note that after installing nodejs, another file named npm (node package manager) is installed under the nodejs folder, and this npm facilitates the installation of various nodejs packages.
verify npm installation by typing the following command: C:>npm - -version

Installing Json Server
JSON Server is available as a NPM package. The installation can be done by using the Node.js package manager:
$ npm install -g json-server
By adding the -g option we make sure that the package is installed globally on your system.
JSON File
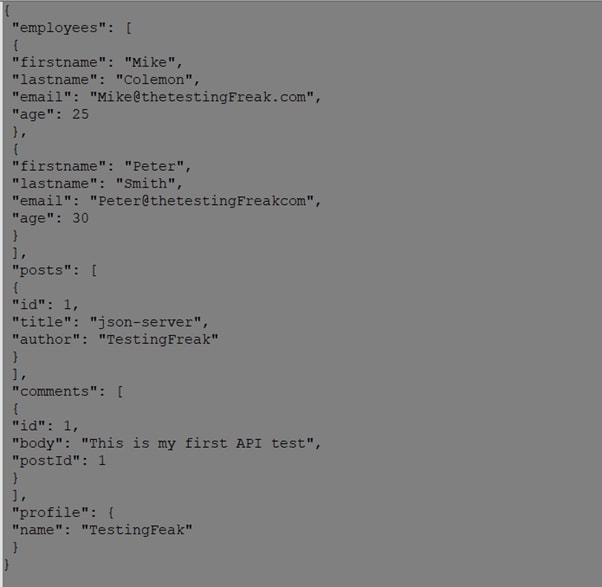
Let's make a new JSON file called db.json. This file contains the data that the REST API should expose. CRUD entpoints are automatically created for objects contained in the JSON structure. Take a look at the sample db.json file below:
Running The Server
Let’s start JSON server by executing the following command:
$ json-server --watch db.json
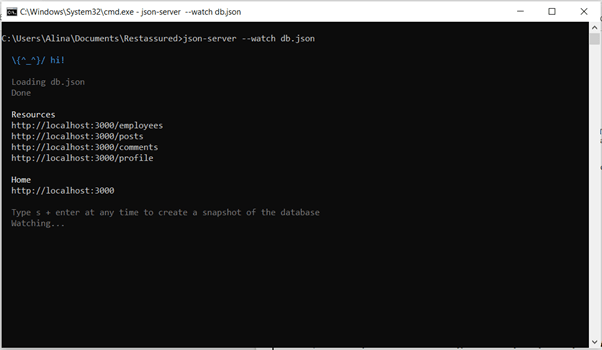
As a parameter, we must supply the file containing our JSON structure (db.json). In addition, we're employing the — watch parameter. By using this parameter, we ensure that the server is started in watch mode, which means that it monitors for file changes and updates the exposed API as needed.
The json server is up and it has created four dumpy API’s for us as per the json data present in file:
• http://localhost:3000/employees
• http://localhost:3000/posts
• http://localhost:3000/comments
• http://localhost:3000/profile
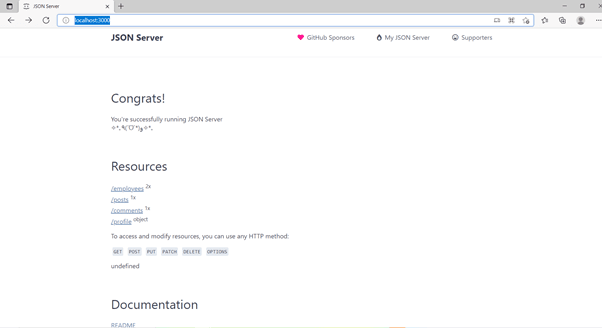
Now we can open URL http://localhost:3000 in the browser and we’ll get to see below result.
To terminate the server we have to type Ctrl+C command and then press Y as per confirmation message prompted below


Top comments (0)