
(Note: these posts are migrated from my previous medium.com blog)

I’ve recently come across some e-paper display modules and thought they were the coolest thing ever. For those not familiar with e-paper, it’s a display technology similar to what’s used in e-readers (such as the Amazon Kindle).

These displays don’t require any power to stay on, it’s only when you need to update the image do you need to give it power. The image on the left shows a high-level concept diagram of how these displays work.
For battery powered IoT devices, there are many advantages to using these type of displays; you can pretty much shut off everything to preserve battery life and wake up only when you need to perform some action, all while displaying pertinent information to the user.
So what can you do with an ESP8266, a battery, some buttons, and an ePaper display?
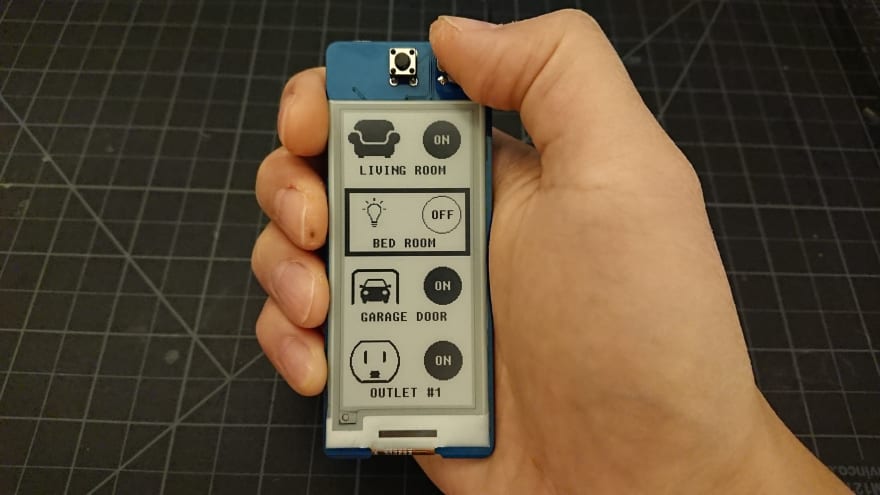
Smart Home Remote (Note the 5-way switch, up/down/left/right/center)
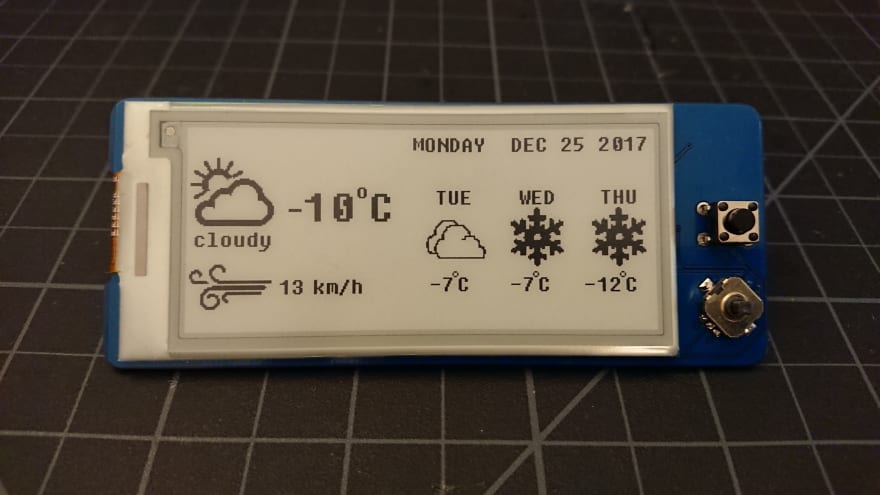
Weather Dashboard
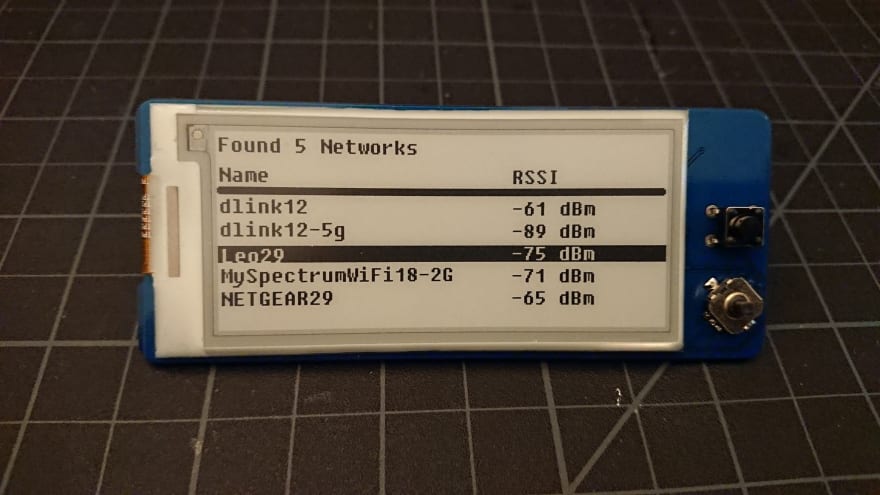
WiFi Manager
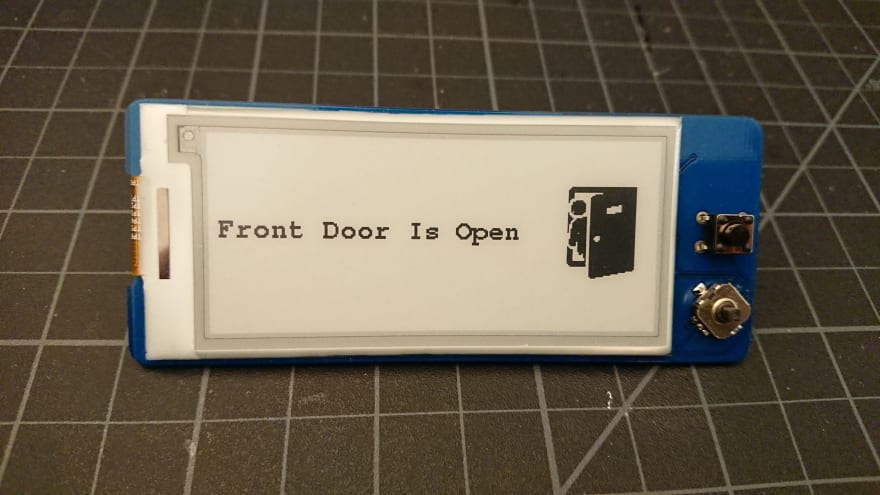
Display Notifications (IFTTT or other integrations)

Name Tag
…and pretty much anything you can think of. It’s a tiny battery powered computer with WiFi connectivity!
Building the badge
These e-paper displays support the SPI protocol, so you’ll need to connect the right wires to the right pins on your microcontroller (the ESP8266 in our case) to drive the display. The display also requires a driving circuit to work, of which you can either get an adapter board for , or build your own. I decided on the latter, as the documentation was sufficient, and I didn’t want messy wires.
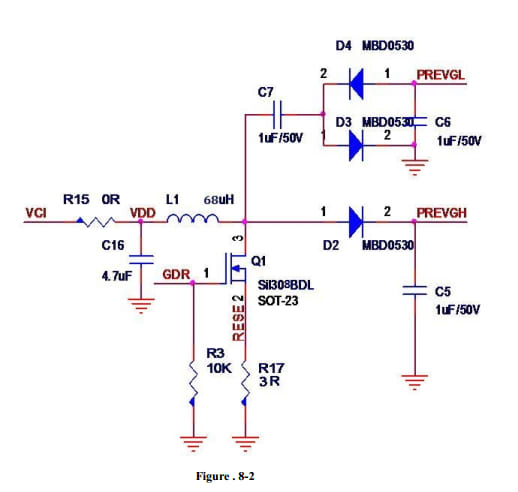
As with many of my recent projects, I usually skip the breadboarding phase and jump straight to designing the PCB on KiCad (hurrrray for open source software!). While building the driver circuit, I also threw in a coin cell battery + USB charger to make our little badge portable.
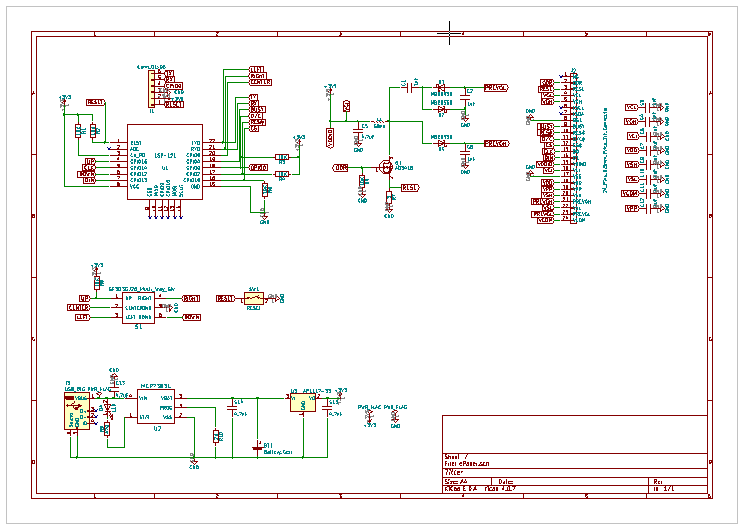

After double/triple/quadruple checking everything, I sent the design off to a PCB fab to have the boards made…
The datasheet also thoroughly describes the timing and signals over SPI on how to control the display, but luckily for us, GitHub user ZinggJM created an Arduino library that abstracts all of that away :)
It also leverages the Adafruit-GFX library, so you can use graphics primitives to do your drawing and rendering of images/text.
After 5 long days, the boards finally arrived!
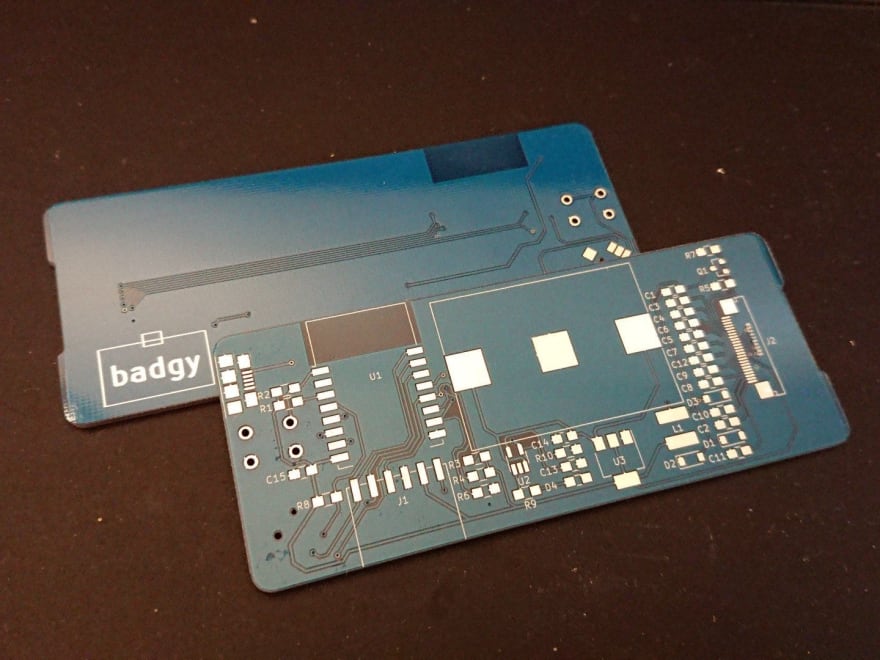
I used 0805 footprints for most of the components so they’re easier to hand solder, though there was no getting away with the 24 pin FPC connector (drag soldering did the trick)
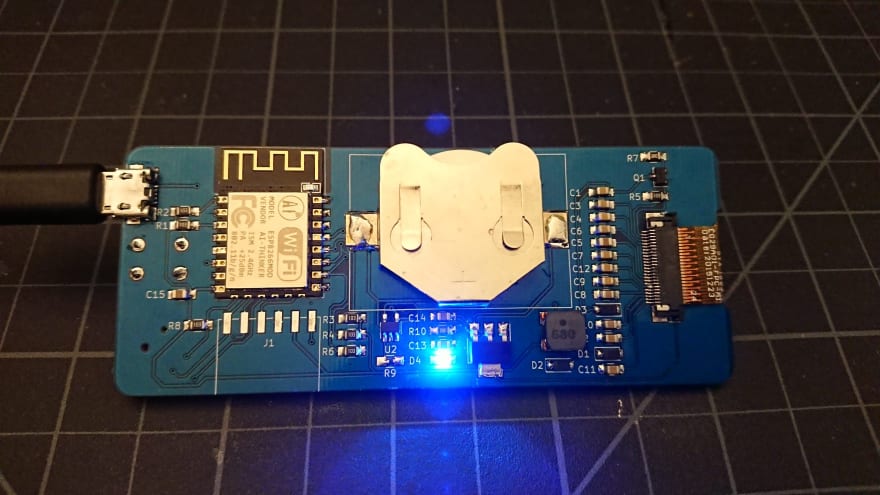
Notice the empty pin headers on J1; these are connected to the TX/RX/GPIO0 pins of the ESP8266 and used for programming the chip with a USB-Serial adapter. You can either solder on pin headers and have a permanent programming connector, or you can do what I did and simply pushed pins against the pads to load the OTA firmware once, then you could always upload any new sketches over WiFi (as long as the new sketch doesn’t crash/fail).
Right now, I’m doing some real world tests on battery life, but based on my calculations I should get about 40 days of battery life in deep sleep mode:
120 mAh coin cell battery / (60uA regulator + 20uA deepsleep ESP8266) x 0.70 miscellaneous factors = 1050 hours ~= 43 days
Switching up the battery technology may also extend this a bit further; a 500 mAh LiPo has a similar footprint, and should theoretically offer a 4X battery life.
All source files will be available on GitHub, feel free to contribute and build your own! If you support Badgy, you can get one today on Tindie. Enjoy :)

Top comments (0)