
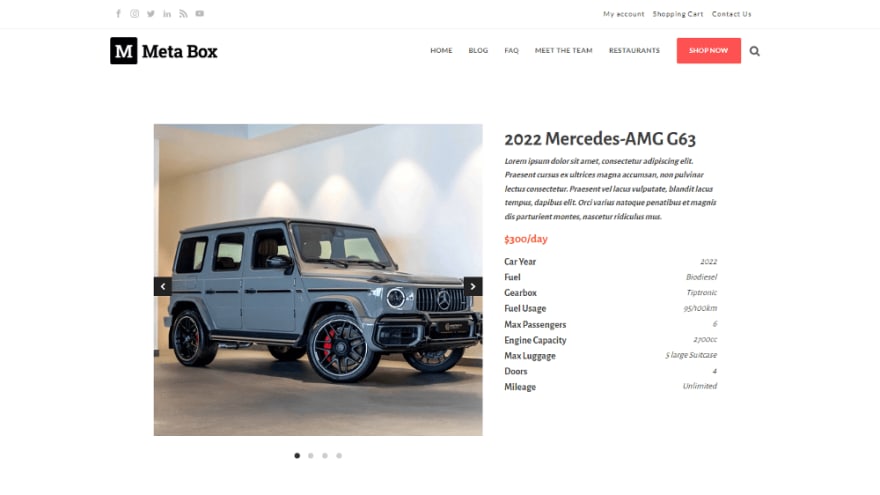
For an e-commerce website, a product page is considered the most essential page. If this page is full of information and beautifully presented, it'll attract many customers and direct them to purchase quickly.
Technically, there are many ways to build a product page. We’ve had a tutorial on doing it with Meta Box only. In this post and the next one of this series, we’ll dig in how to do it with page builders.
I also take a car rental page built with Oxygen as an example in this tutorial.
Video Version
Before Getting Started
The product is a kind of custom post type. In this case, each car for the rental will be a post in that post type. Besides the default information such as title and content of the post, we’ll need some extra information about the cars such as price, image gallery, type of fuel, etc. So, we use custom fields to save that information.

To create a custom post type and custom fields, we use the Meta Box core plugin. It’s free and available on wordpress.org.
We also need some Meta Box extensions for more advanced features. You can use Meta Box AIO or install the following extensions individually:
- MB Custom Post Type: to create custom post types.
- Meta Box Builder: to have a UI on the back end to create custom fields easily.
Don’t forget that we’ll build the page using Oxygen. You should use the 3.9 version or upper, which has had the native integration with Meta Box already.
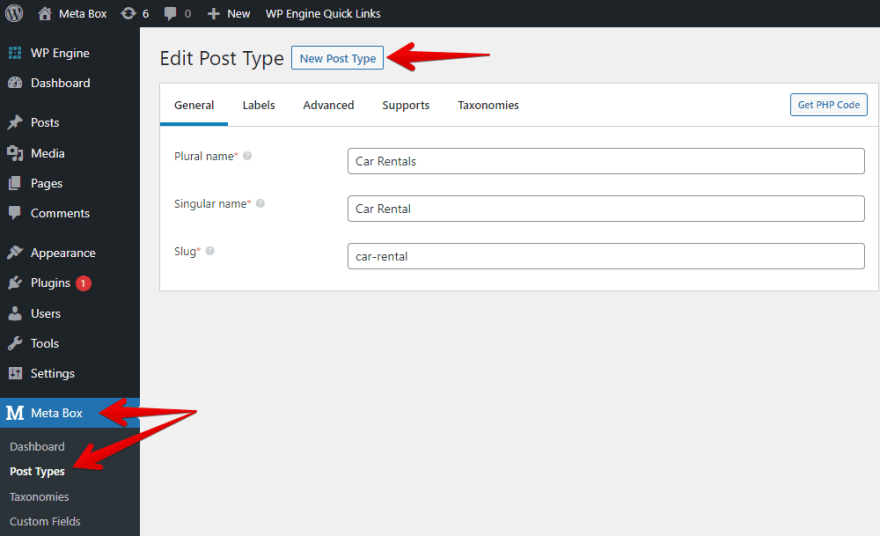
Step 1: Create a New Custom Post Type
Go to Meta Box > Post Types > New Post Type to create a new custom post type for the product.
Step 2: Create Custom Fields
Go to Meta Box > Custom Fields, then create fields as you want.

In this tutorial, I just take a typical example of car rental with some common fields. They are all quite basic fields with no special configuration.

Next, move to the Settings tab > Location > choose Post Type as Car Rental to apply these fields to this post type.

Back to the post editor, you will see all of the newly created custom fields.

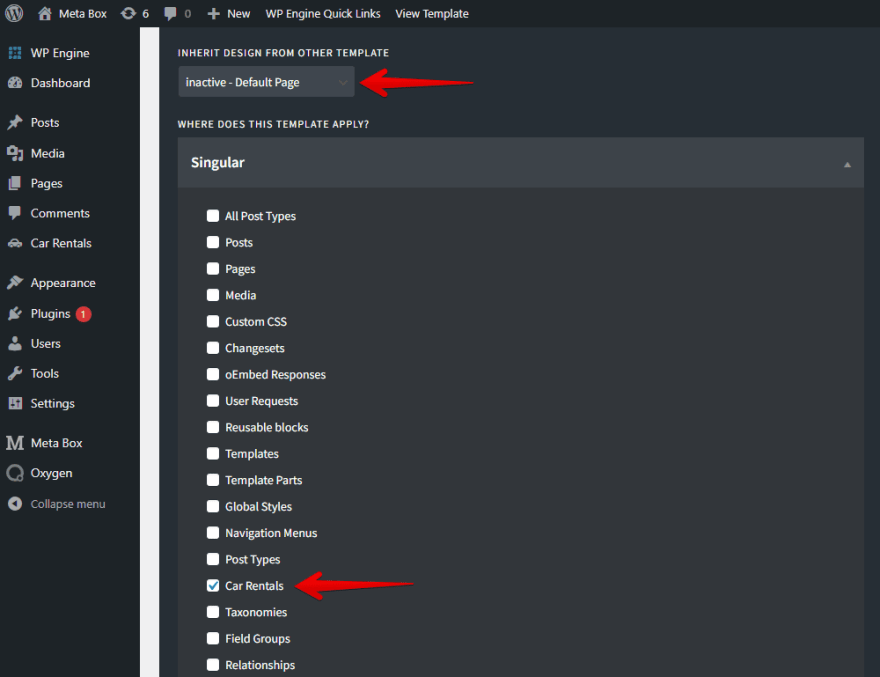
Step 3: Create a Template with Oxygen
Go to the Oxygen menu and choose to create a new template.
In the settings of the template, choose a design that you want the template to inherit from, then choose your post type in the Singular section to apply the template to it.
Move to the post editor and create a new post in the newly created post type. Pay attention that we can see the template is already rendered for this product page.

After filling in the information for the product, let’s edit the template.
First, select a Section component to contain all of the product information.

If you want to set columns for the content as below, let’s add a Column component.


Just set the Column Layout as you want.
In this Column component, there’ll be 2 div tags available, equivalent to 2 columns. In the first div tag, select the Carousel Builder component to display the image gallery as a slider.
Choose Meta Box gallery in the Carousel content section, and fill in the ID of the gallery field in the Meta Box image field section. Then, all the images saved in that field will be displayed.

You can move to the Advanced tab to set the slider display as you want.
Move to the second column with the 2nd div tag. To get the title of the post, means the name of the product, add a Heading component. Then, insert data from the post title to this component.

For the product description, choose the Text component and connect it with the content of the post.
Also, choose the Text component for the price of the product. The pricing includes the currency, so you can type some text and symbols in this component to get the right format, then insert data from the field.

For all of this section, I’ll add a div component.

For each row in this section, I also use a div component.


In the div for a row, choose the Heading component and name it as the name of the characteristic. Then, add a Text component, and connect it to the field which saves the corresponding data to the characteristic. Last one, style these two components and the div that covers them in your own way.
For the remaining characteristics, just clone this div, which is used for a row by duplicating. Then, just change the headings and link the Text components to the right fields.
We’ve finished getting all of the information about the product and displayed them on the product page. You can style them as you want. After styling, I got this one.
Last Words
It seems to be so easy to create a product page with Meta Box and Oxygen, right? With custom fields, you can easily save extra information about products and display them in a more beautiful style on the product page. Let’s try and share the result with us in the comments.
Don’t forget to follow our channel to see other ways to use other page builders!

Top comments (0)