The first thing we observe after writing our blogs is its traffic and analytics.
In simple terms blog analytics means to measure the number of users who have visited your blog or website. But there's more into analytics than only measuring the number of users.
Hello everyone, in this blog I will be showing you how you can integrate Google Analytics into your Hashnode Blog. The process is super simple and it will not take more than 2 minutes of your time.
Having a google account is all that is required for it.
Firstly let us see why you need to integrate Google Analytics to your blog:
- It offers robust features for free.
- Get an idea where your top readers are located so that you get an idea of your blog publish time.
- Get an idea of reading time, top performing content, bounce rates and much more. The features of Google Analytics are endless and having Analytics account integrated to your blog is very helpful.
Now let's see the process to actually integrate it step by step:
1. Open Google Analytics site and login using your gmail account you want to use.
The site link is: Google Analytics
2. After logging in you would have reached the page shown below. Click on Set Up For Free!
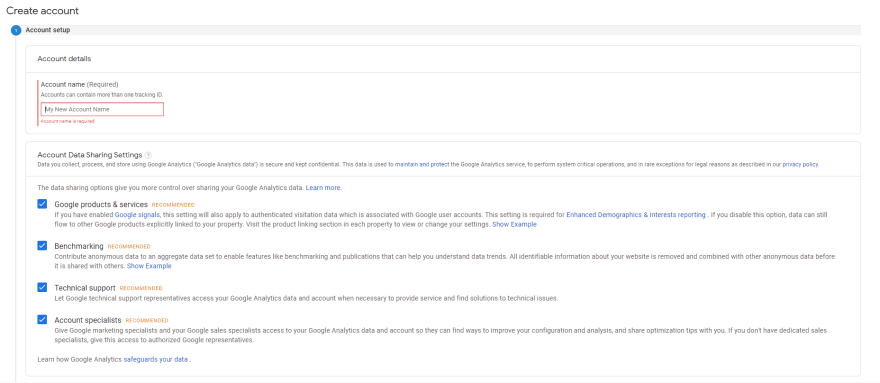
3. Then you will be asked to fill a few entries, first one is Account Setup.
Fill in account name with anything you want like your name,last name any random name. Leave the rest of the checkboxes selected as it is.
4. After that in the next section you will be asked What you want to measure? Here just select Web as we wish to measure our hashnode website.
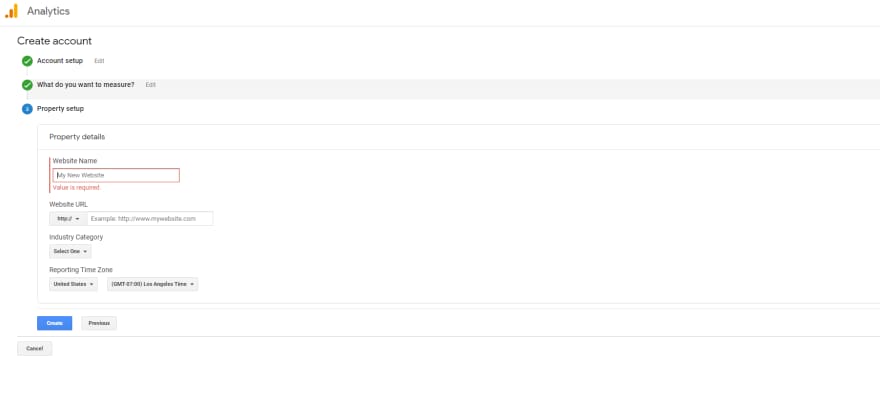
5. Next is the profile setup,this is an important section and fill it carefully. The section should look like this:
- Fill the website name same as the title of your hashnode website.
- In the website URL fill your hashnode URL. And take note that http:// or https:// is already there so exclude that when you fill your URL.
- Select industry according to what your site is all about and the reporting time as your local time zone.
- That's it. CLICK ON CREATE and your analytics account is ready. You will get a Trackning ID which you need to copy because that we need to integrate in our Hashnode.
Okay, till now we have made our Google Analytics account and got a ID. Now next step is:
Go to your Hashnode account setting and click on Integrations, there you will see a field asking Google Analytics Tracking ID.
Enter the ID you copied before there.
So, our blog is now connected with Analytics and now all our site stats can be monitored via it.
One more final setting remains and that is to know how and where do we see the analytics because now what you would see is everything zero. This scared me a bit that I have done a mistake. But the fix is quite simple.
On your left you will see a field named Audience, Click on it and then click Overview.
You would be redirected to a page as shown below.

After that as depicted in the arrow there you can select the date or a period you want to see the statistics for. Since by default it will be selected as next day's date and therefore everything was showing as zero.
That's it, everything is done and you are all set to get a good analysis of your website traffic and other info you need to see related to traffic.


Top comments (0)