
This article was originally published on the Sentry blog here.
Welcome to the third article in my Unity series where we are developing a Unity game. You can check out my intro article, where I dive into Unity editor basics, and then part 1 of our “Developing your first Unity game”, where we begin developing our Frog Unity game and I dig a bit deeper into a couple important game object components.
In this article, we are going to walk-through how to add the falling effect, how to instantiate several prefabs in random places, & how to make a score counter (and display it) for our Frog game.
The following should be installed on your computer to follow along this tutorial:
Unity Unity Hub Visual Studio
In this tutorial, Unity Version “2020.3.23f1” is used.
How to add the falling effect to your Unity game
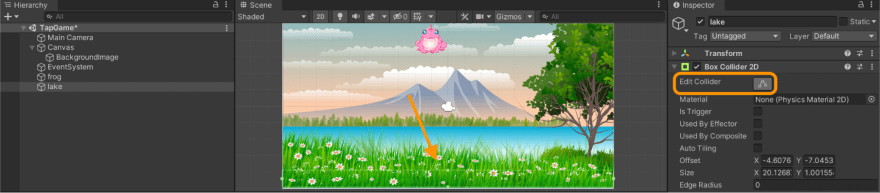
Let’s say we want to add a water effect for when the frog falls into the lake. But the lake is a background image and we want the frog to be able to collide with the lake. To do so, we will simply create an empty object by right clicking in the hierarchy, and give it the name: “lake”. For a game object to collide with another, we need to add the “Box Collider 2D” component as I explained in my previous article (deep link for your convenience).
We need to edit the collider to be located at the bottom of the scene and make it as wide as the scene (as shown in the image below):
Now let’s add a script so that when the frog collides with the lake game object it gets destroyed.
Open the “KillFrog” script and write the following code.
private void OnCollisionEnter2D(Collision2D collision)

    {
        Destroy(gameObject);
    }
Let’s save the code and run the game to check if the frog will get destroyed.
So far, so good. Now let’s instantiate the water effect for when the frog falls into the lake. As I introduced previously, we can visit the Unity Assets store and import the “Cartoon FX free” asset. For this, we will use the water effect. Open JMO Assets folder > CFX2 Prefabs folder > Water. We will do exactly as we did in my last article with the smoke effect, but we will write the code inside the OnCollisionEnter2D() function.
Write the following code in the “KillFrog” script:

Let’s drag and drop the water effect in the empty field in the inspector:

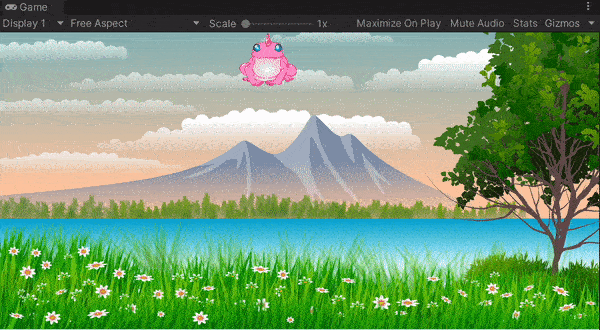
Time to run the game again. As you can see, the frog is destroyed and there is a water splash effect when it nears the bottom.

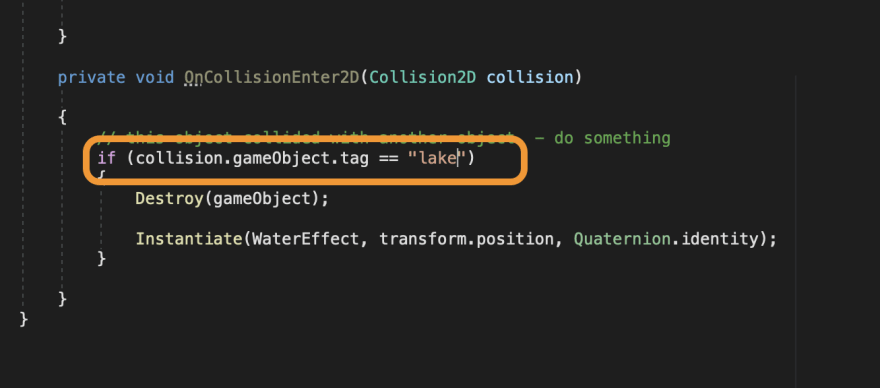
The above code we added will be problematic in the future; it will destroy the frog if it collides with any game object with a collider component attached to it. So, when we add more frogs later, and when they collide with each other, the frogs will get destroyed. To fix this problem, simply add a tag to the lake in the inspector and in the script check if the frog collided with the game object with the tag “lake”.
We’ll add a tag and name it “lake” in the inspector as shown in the image below.

Let’s write the following code in the “KillFrog” script to make sure the frog collides only with the game object with the “lake” tag.
Now the frog is ready to be a prefab.
How to create a prefab
Before creating a prefab, create a new folder inside the assets folder and name it “Prefabs”. To create a prefab, simply drag the game object (in this case, the frog) from the hierarchy into the prefabs folder. And voila – you have a frog prefab.
C# script: Instantiate a prefab in a random place
Before instantiating several frogs into the scene, delete the frog currently in the scene. To do so, just right click on the frog and then delete. We don’t need it anymore as we will instantiate several frogs from the prefab we just created.
We want to instantiate the frog within the bounds of the screen right. To do so, we need to determine the width and height of the screen. We will generate a random number between 0 and the width of the screen for the X position and random number between 0 and the height of the screen for the Y position.
To do this, write the following code in a new script file called “Spawn”.

For this script to work it has to be attached to a game object. We can attach it to the main camera and drag and drop the frog prefab into the empty field.
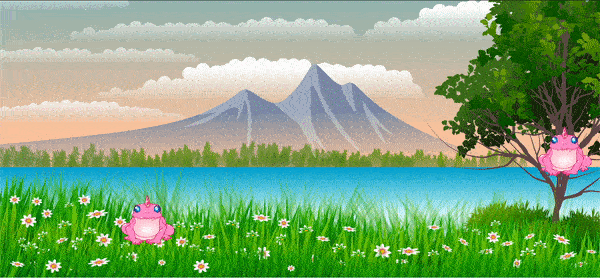
Let’s run the game and check where the frog will appear:

Now we can generate several more frogs.
How to instantiate several sprites
There are several ways to do this. First, we can write the code in the update function. In this case we will get a frog in every game frame. That will probably be too much – but let’s check it out.
Now cut the code you wrote in the start function and paste it in the update function.
See what happened here? The reason for this is the default rate for a Unity game is 60 frames per second. And in our code above, we generate a frog every frame.
The second way to do this is to specify a certain number of frogs you want to instantiate in the current scene. We can use afor loop for this case so cut the code and paste it in the start function cause we want it to work only one time.
Check the code below and run the game.


A third way to do so is to use IEnumerator function and StartCoroutine. They are used if you want to pause a running function for a few seconds and call that function again. In this code, we wait for 0.8 seconds before instantiating a frog so every 0.8 second a frog is spawned in the scene. This code runs forever, as long as the game is running. Let’s check the code below and run the game.


How to create a Score Counter
Now we want to count the score for when we kill the frogs and keep this number so we could display it later.
First, we need a public integer variable for the score. Second, we need a player preferences variable to keep this score across the game and this one will be accessed from any script. It will be saved on the player’s device. We have to save the public integer in the player preferences variable after the player kills a frog.
Let’s go back to the script attached to the frog, “KillFrog”, and write the code below. What we need to do is, after we kill the frog, we increase the score and save it in the player preferences variable.

For now (before displaying the score), we can log the score into the console to see if it is working.
Debug.Log("Score "+ TotalScore.ToString());

Now let’s display the score in the scene.
We need a text game object for the score. To add one, just right click on the canvas object in the hierarchy and select UI then Text. Name it “ScoreText”. The text is so small and in the middle of the scene. Let’s drag it to the top left of the scene, increase the font size to 50, change the text to “Score”, change the color to black, make it bold, and change the vertical overflow to “Overflow”. It should look like the image shown below.
Now we need to change the score text dynamically. Let’s go back to the “Spawn” script and write the following code. We will need to drag the text object into the empty field in the inspector.
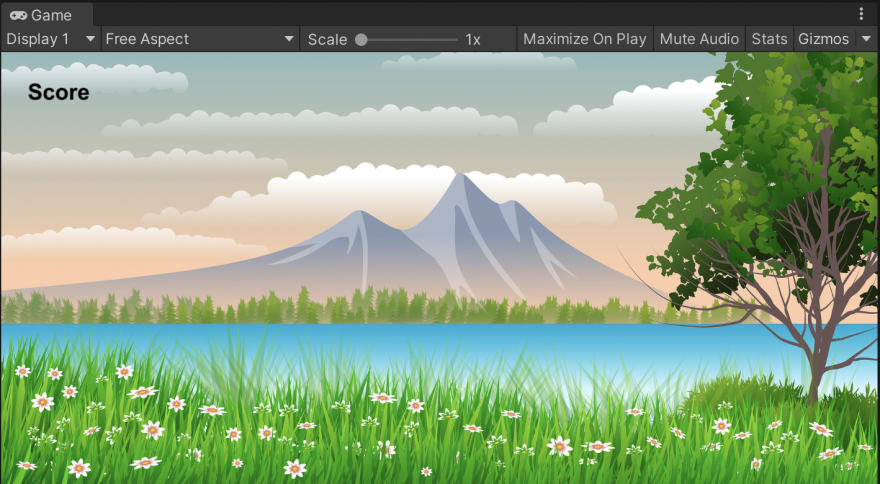

Let’s run the game and see the score changing dynamically.

Setting up Issue Alerts to monitor errors
If we want to get alerted when errors occur in our Unity game, we can set up Issue Alerts in Sentry so we’ll know when our code is breaking. We’d like to monitor for errors while avoid getting spammed by tons of alerts about the same errors. With Sentry you can group errors together in a single issue and get notified about the issues you care most about. You can create conditions, for example (to name a few):
- when you want to be notified
- who will receive this notification from your team
- what error type(s) you want to get notified about
With Sentry, we can create two types of alerts: Issue Alerts for errors and Metric Alerts for performance issues as shown in the image below.
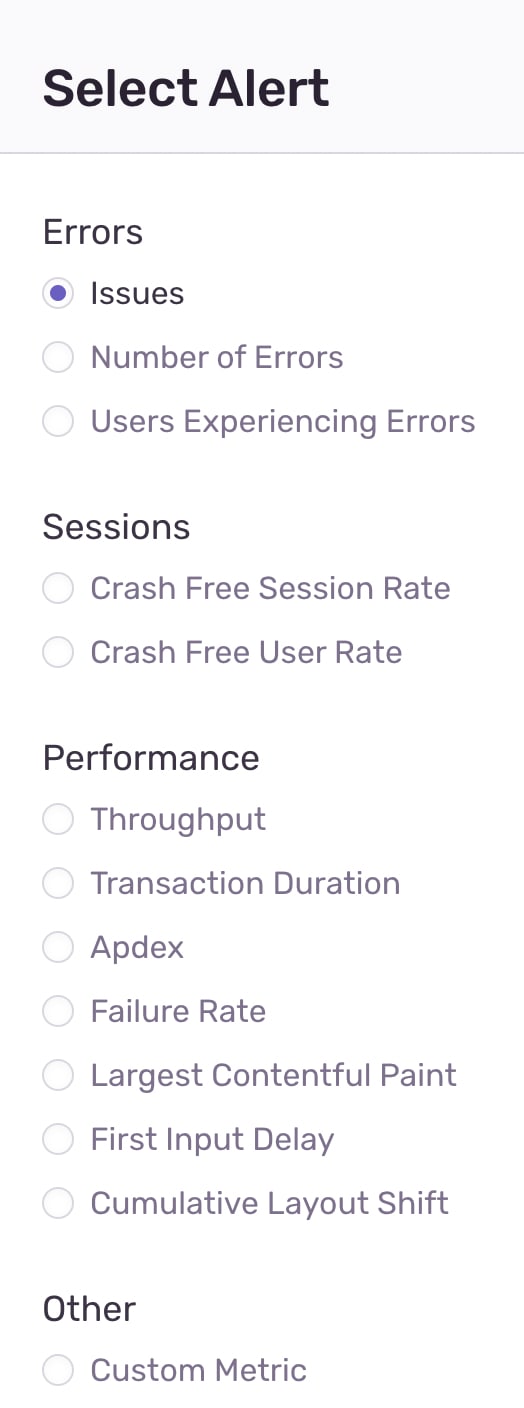
Let’s quickly define all the specific issues or metrics we can create alerts for:
- Issues: It is used for a group of errors and you can check an example of creating one below these bullet points.
- Number of Errors: This one is self explanatory, it is when the number of errors exceeds a certain number you specified. Users Experiencing Errors: When you want to monitor if the number of users having errors exceeded a certain number.
- Crash Free Session Rate: When you want to monitor the rate of a session without crashing. A session is when the application starts and ends by either getting closed or goes into the background. Crash Free User Rate: The number of users who haven’t experienced a crash while using the application.
- Throughput: When you want to monitor the number of transactions in a specified amount of time.
- Transaction Duration: When you want to know how long a transaction takes to complete.
- Apdex: When you want to monitor the user satisfaction rate and that is measured through the response time of your application.
- Failure rate: When you want to monitor the rate of failed transactions.
- Largest Contentful Paint: When you want to monitor the loading time of the largest content to render in the viewport.
- First Input Delay: When you want to monitor the response time of when the user interacts with the application.
- Cumulative Layout Shift: When you want to monitor the visual layout shift. For example, if an image is taking time to load and when it loads it shifts other items on the page.
- Custom Metric: When you want to monitor a metric not included the list above, you can create a custom one.
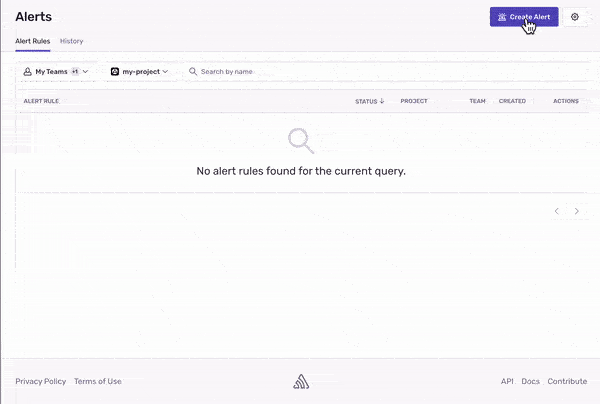
Let’s create a new alert.
You can set rules for Issue Alerts on the alerts page in Sentry. To create an Alert rule simply click on “Create Alert” then the “Set Conditions” button.
We’ll set two types of triggers which will determine the activity type we want to monitor.
- Issue state change, and
- Frequency

I want to get an email when there is an event and it is seen more than 5 times in 1 hour. Select from the filter options. Filter is for adding “if” conditions to rule out unneeded errors.

And I want to select the level of this event to be error. There are several levels for the events and they are: sample, debug, info, warning, and fatal.
Next we’ll add an action for this alert. You have the option to set up Slack notifications, send a notification to another team member, send via email, create tickets in Microsoft Teams or create a ticket in Jira.


Finally, you can set an interval for this action. As I mentioned earlier, I’d like an email to be sent every hour.

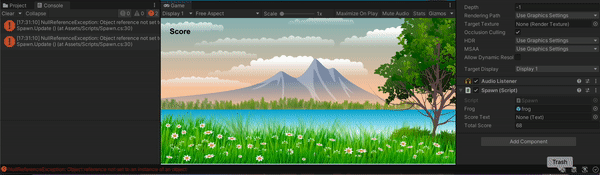
Now let’s trigger an intentional error and see if we get an alert and an email.
Go back to the Unity project and remove the score text game object from the field in the Main Camera inspector in the script component. Now run the game and play it for a bit. You can see that the score is not updating and you are getting tons of errors.
Back in Sentry, you will find 1 alert triggered, and you can check your email to find a notification sent from Sentry about this alert. The image shown below is the Alert page after getting 1 Alert triggered. You will find a graph showing the number of times this alert has been triggered over a specified date range. On the right, you will find last time this alert was triggered, the alert conditions that you specified, plus more details about this alert.

Now go fix the error by dragging the text object into the empty field in Unity, and close it out in Sentry by clicking resolve. We’ll keep our alert settings in place in case we experience this error again in the future.
That’s all for now. Stay tuned for my next article where we will finalize our frog game.

Top comments (0)