I always wanted to have my own domain and so with a cool email address. And so, I came across Ionos with its relatively cheap domain name and email hosting. With $1/month, it came with 2GB email storage and a customised .net domain, and 1000 subdomain. What a deal! And, so I this post will walk you through all the process.
| Table of Content |
|---|
| 1. Firebase Hosting |
| 2. Create new Jekyll site |
| 3. Deploy site to Firebase |
| 4. Add to your Github |
| 5. Travis CI to trigger new build |
1. Hosting on Firebase
I have mine through Ionos. You can choose any domain provider as well. Now, with your domain ready, it's time to choose a hosting provider. In this case, I choose Firebase Hosting, because "IT'S GOOGLE". Seriously, it's because of it's relatively cheap rate and some generous free tier. Also, Google CDN is fast and Firebase is just simply Awesome! The pricing is available here.
Create a new project in Firebase
Step 1, choose your project name.

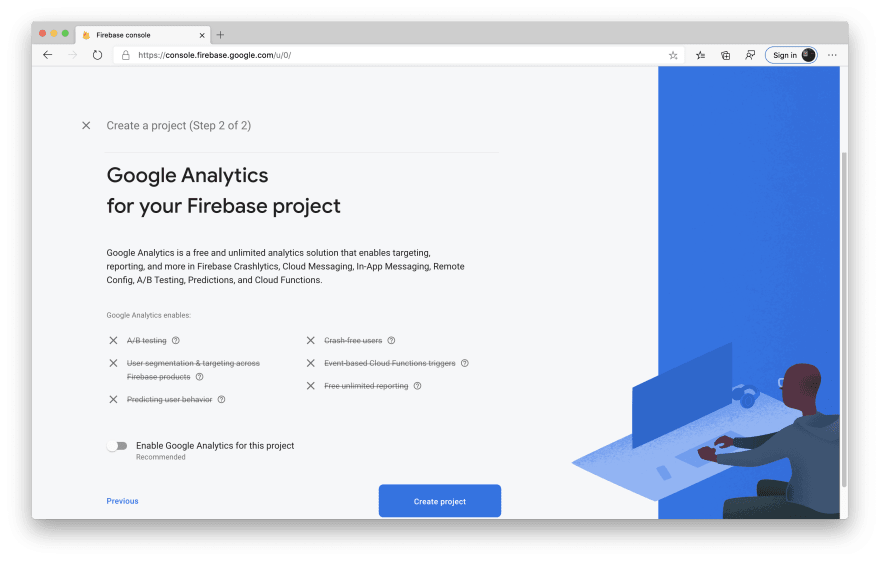
Step 2, this is optional. To make things easier, we will just turn off the option.
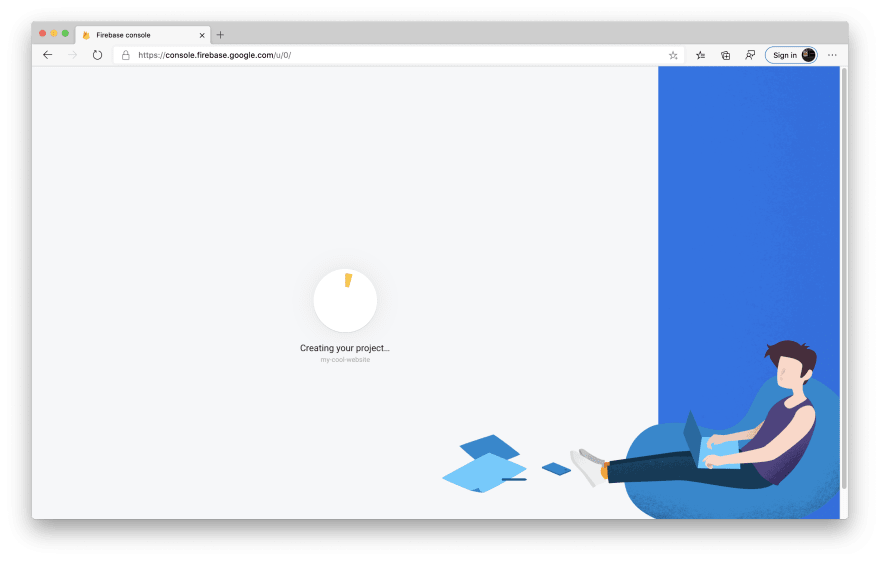
Step 3, wait the project to be created.
Link your domain with Firebase Hosting
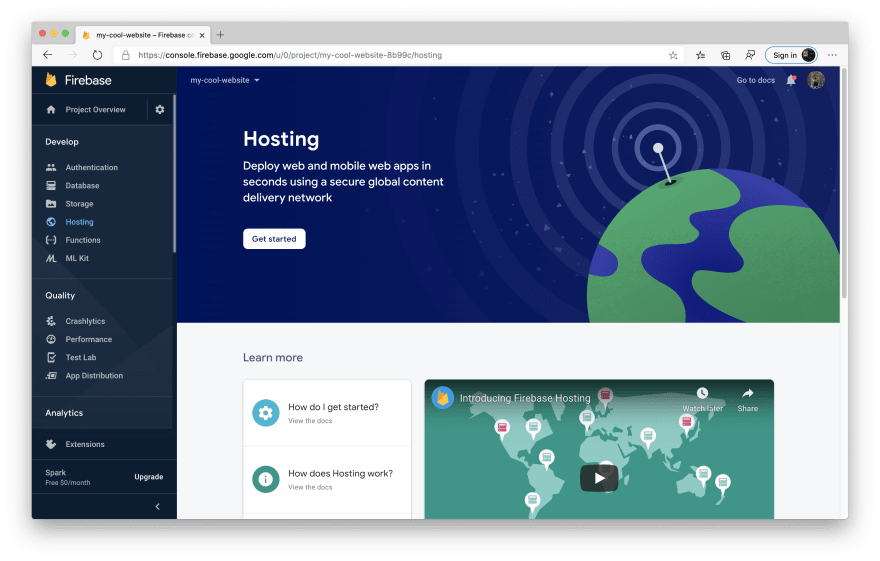
Now, once your project is created, head over to your project and click on the Hosting tab.
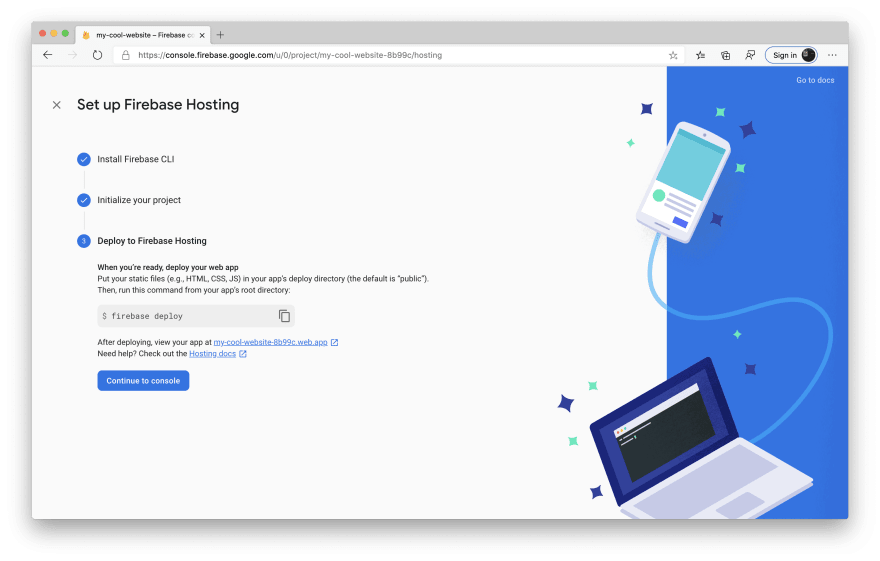
Click on get started, and then click Next on step 1 and step 2, then click on Continue to console as shown.
In order to let Firebase know that we have our own domain, click on Add custom domain, and the following will popup.

Now, in the domain column, type in your domain and then click on Continue. The next step will require you to verify the ownership of the domain. You will see the following TXT record.
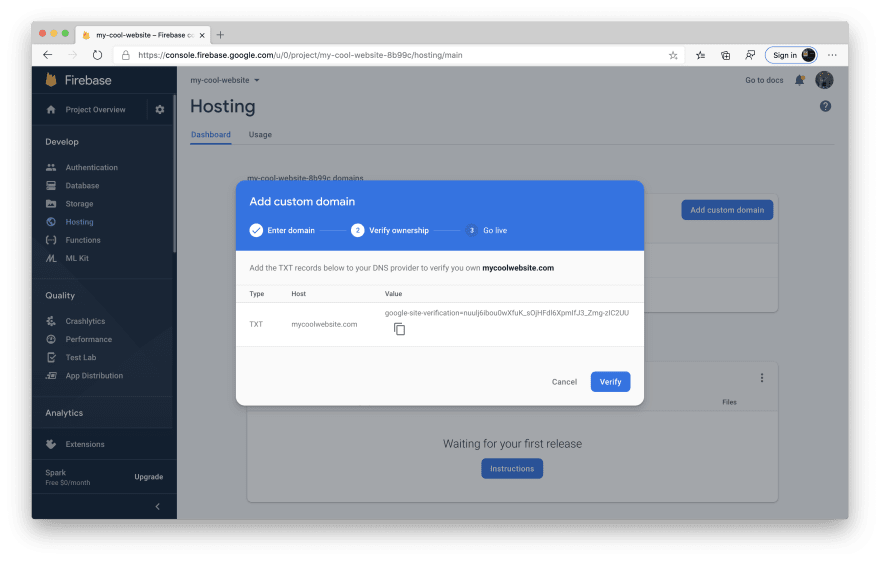
Copy the TXT record and then add them to your domain dashboard.

Once the verification is done, you will need to add A records to your domain.

Copy the A records and paste in your domain, the same step as per adding TXT record.
Now, your domain is linked to the Firebase hosting. yay!😍
2. Setting up Jekyll
Prerequisite:
Once all the above is installed, run the following code in your newly created folder.
1  gem install bundler jekyll
2  jekyll new my-awesome-site
3  cd my-awesome-site
4  bundle exec jekyll serve
- Line 1 & 2 will install Jekyll and build a simple Jekyll site.
- Line 3 & 4 will execute the newly created site and serve it at
http://localhost:4000
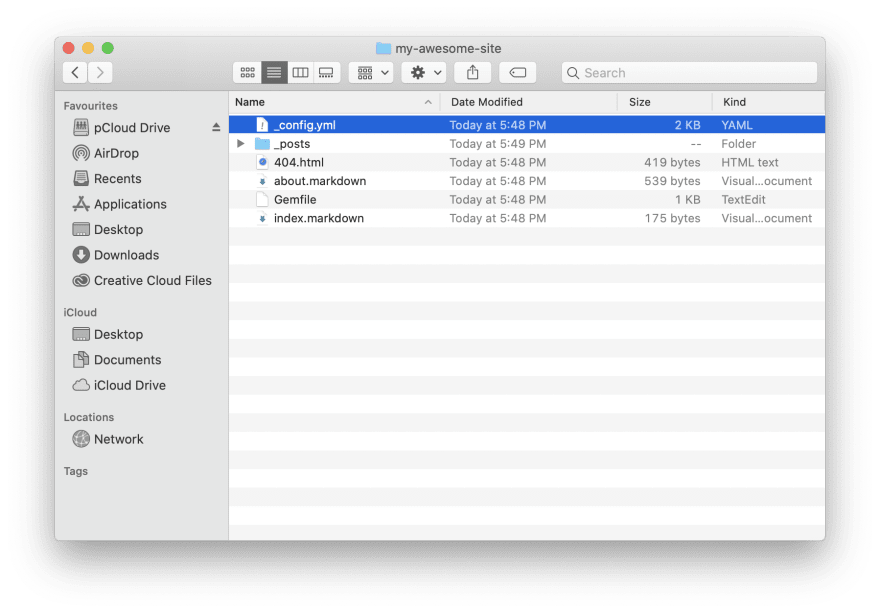
You will see under your folder as shown below.
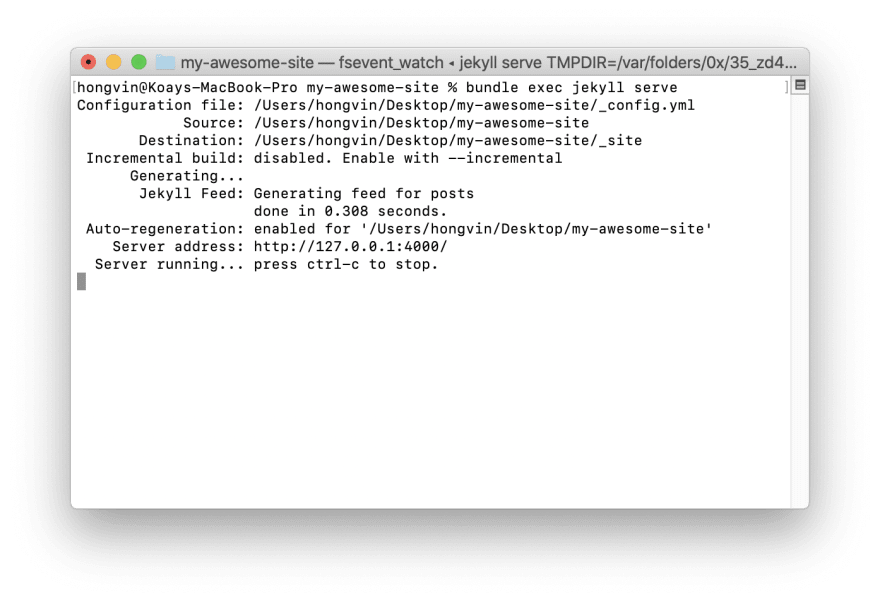
When you execute line 4, your terminal/command prompt will display as follows.
💡 If you encounter this
Your user account isn't allowed to install to the system RubyGems., simply just follow the instruction given. Exit the installation and then just runbundle install --path vendor/bundleinside the directory.
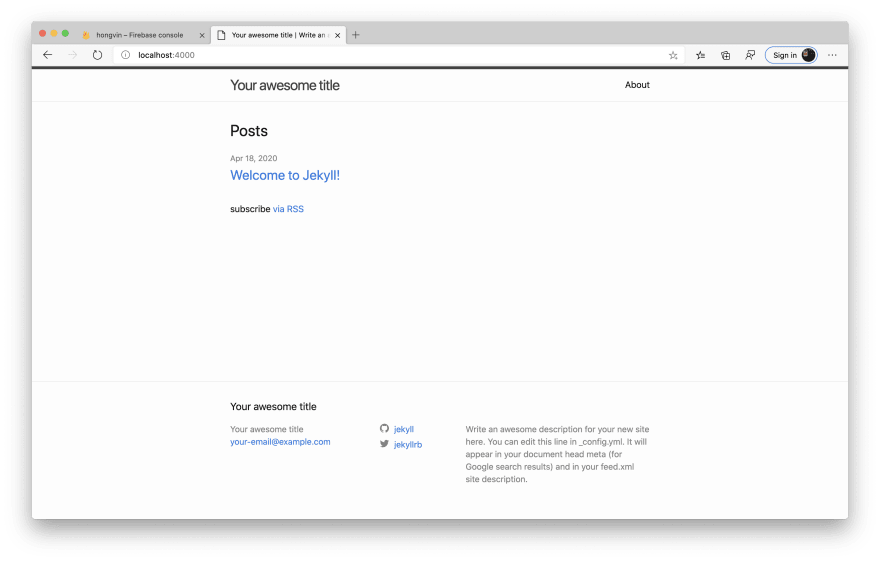
When you head over to http://localhost:4000, you will see the following.
⚠️ Notice that there is a new folder "_site" after you run
jekyll serve. When running Jekyll serve, it will usejekyll buildand then the static site will being generated.💡 To create a new post, simply add them into
_postfolder. Remember, it's a markdown file, so here's the cheatsheet!
🍻 And you have just set-up a site!
This site is so simple, I want something special!
Yes, you can just download theme here. That's the drawback of Jekyll, you need to know some coding skill to modify the layout.
3. Deploy your site to Firebase
Now that you have a simple blog setup, you want to host on Firebase. It's just simple. Follow the steps below!
Step 1, Install Firebase CLI Tool
npm install -g firebase-tools
Step 2, Then, login to your firebase.
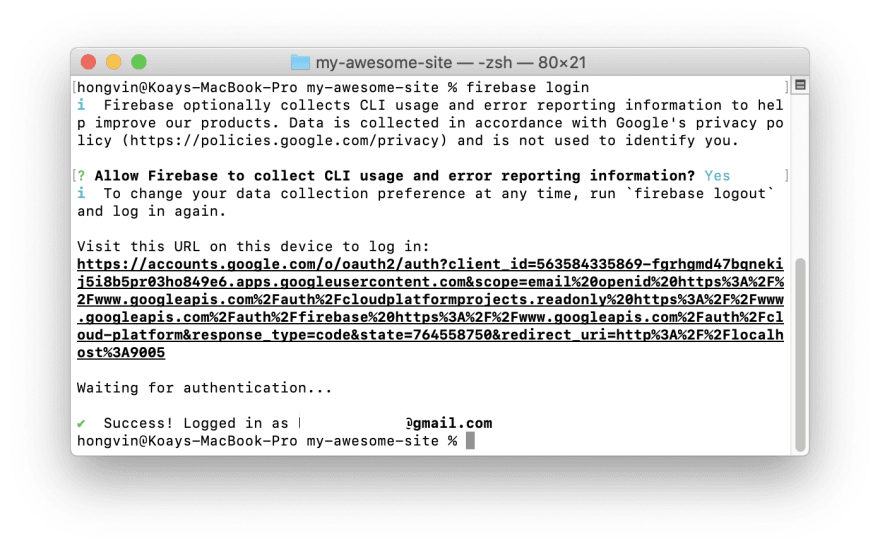
firebase login
When the prompt ask
Allow Firebase to collect CLI usage and error reporting information?, just type inY.
- First you will saw a browser popup asking you to sign in your account.
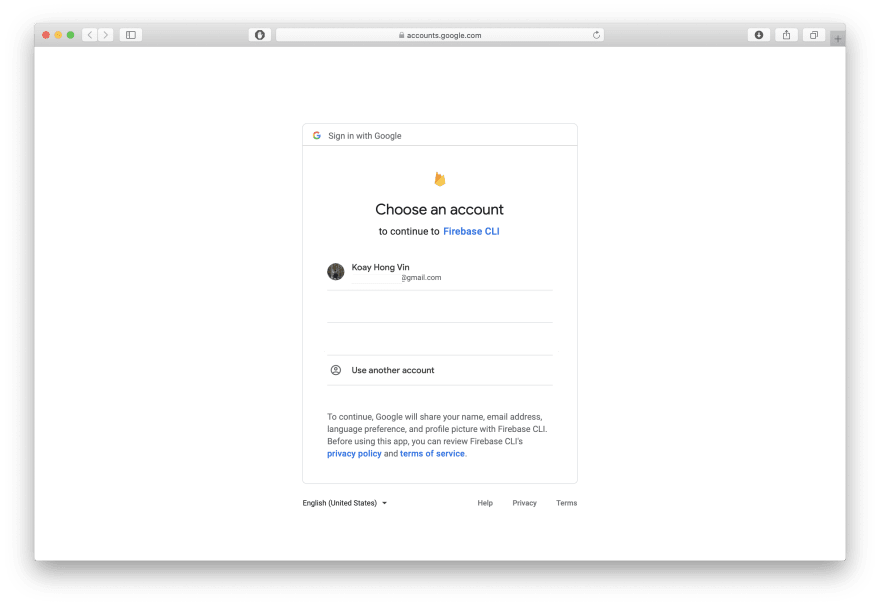
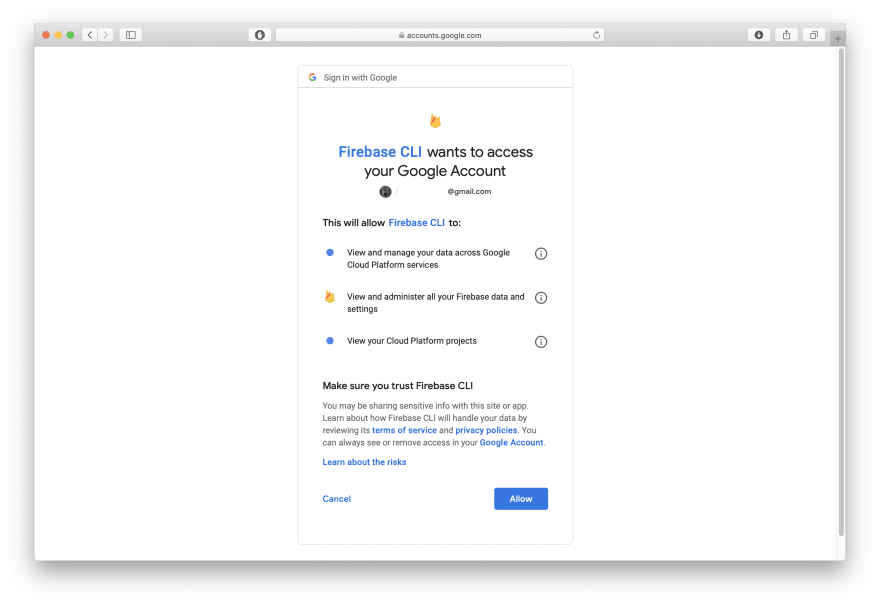
- Choose your account and allow.
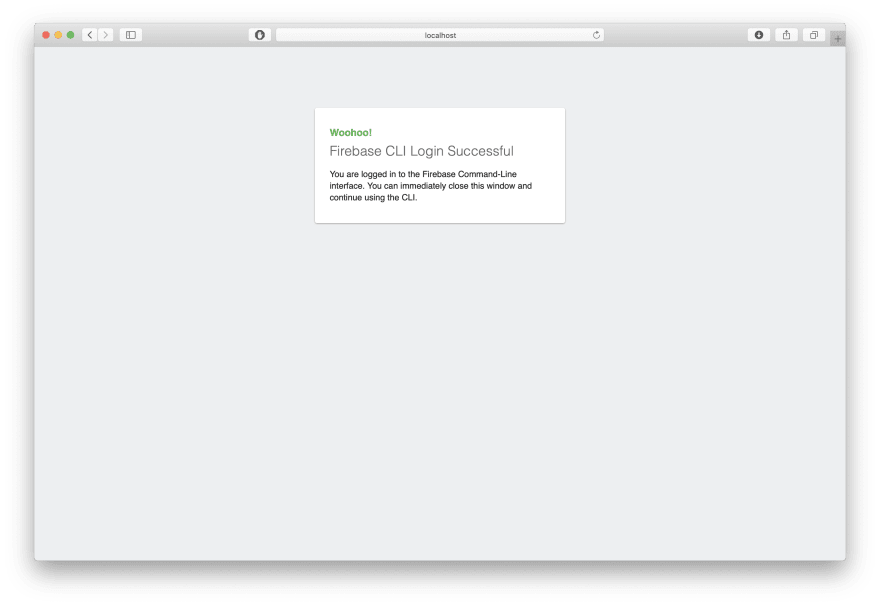
- Once success, you will see this.
- In your command prompt / Terminal, you will see this.
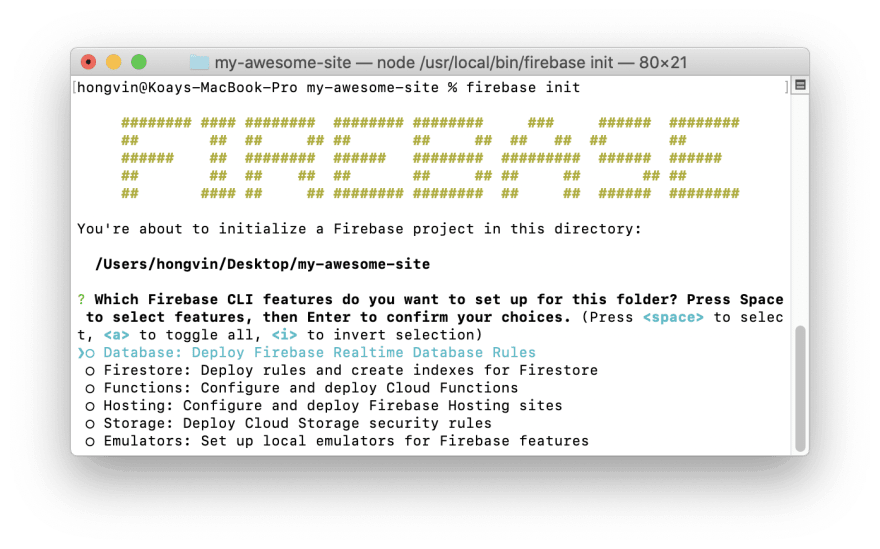
Step 3, Initialise your project to firebase.
firebase init
- Use down key to choose Hosting and space bar to select. Then, hit enter.
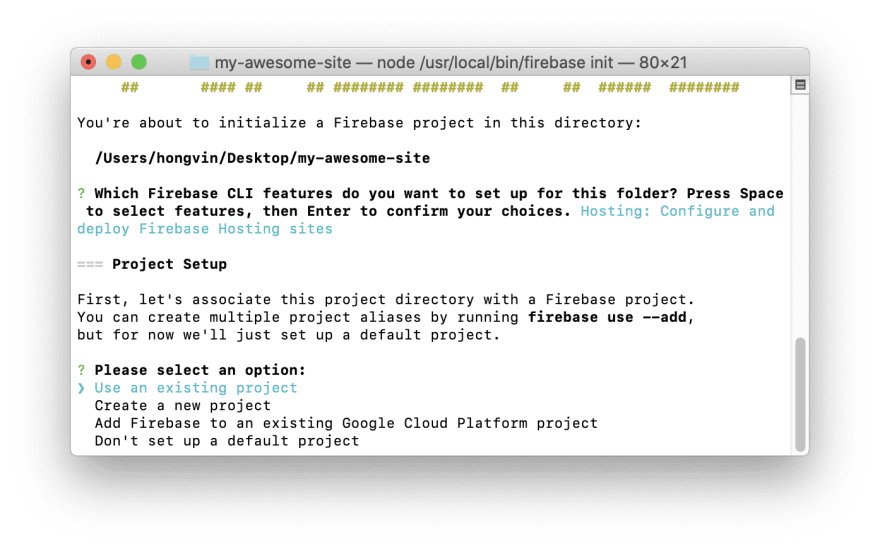
- Since we have created a new project earlier, thus, we choose Use an existing project.
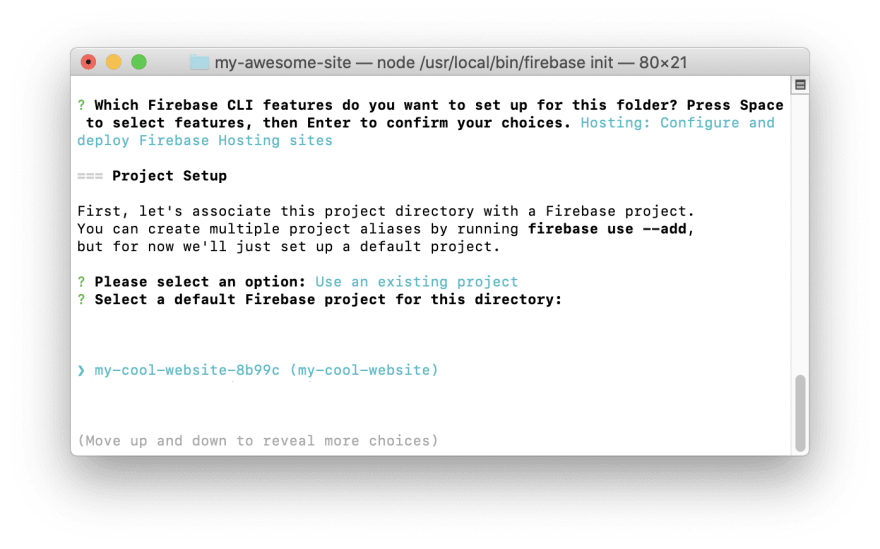
- Select the project.
- Key in
_siteas your public directory,Yesto configure as single-page app andNoto overwrite the index.html.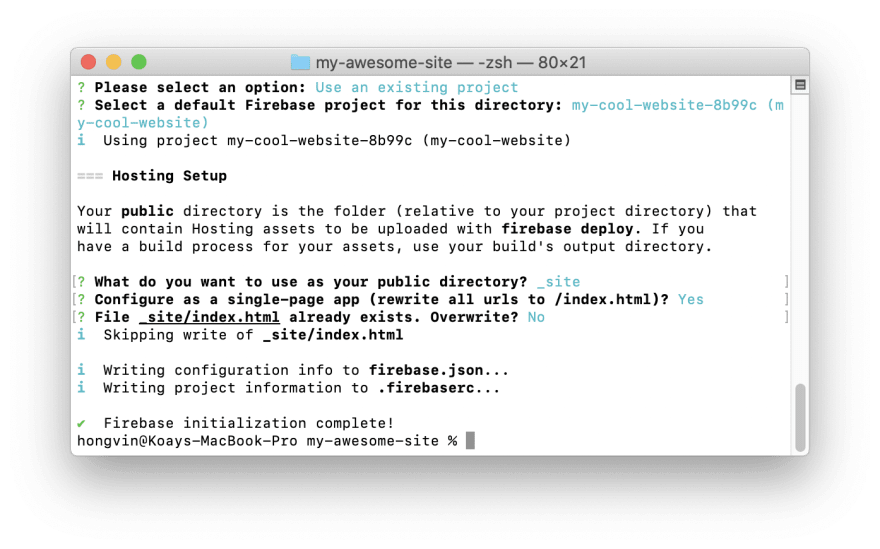
⚠️ These step will create two new files under root folder.
firebase.jsoncontains information about public folder and route..firebaserccontains information about firebase project.
Step 4, (Optional) Deploy the site to Firebase.
firebase deploy
This will deploy to firebase hosting. When your command prompt / Terminal shows success, means your site is live!

This is cool BUT we don't want to do this everytime we add a new post, right? Ideally, when we write a post and it shall be show in the website without deploying manually.
4. Github
Github is perfect for source control. And, there is some reason to consider,
- It won't loss, if you were to save in your hard disks, if they fail, it's all GONE!
- Rolling back to last successfully build if we messed up.
- Editing old files and republish them easily.
- FREE, so why not?
Step 1, Head over to Github and create a new repository.
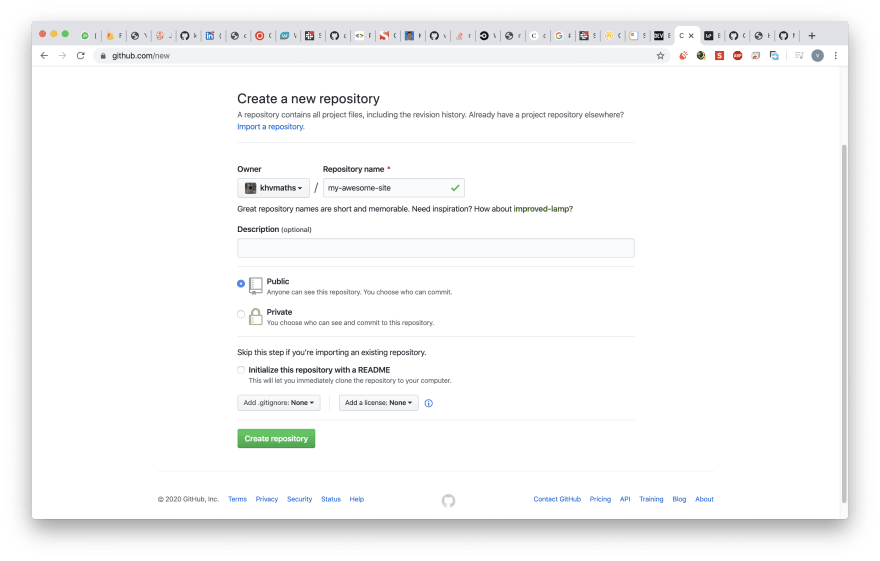
Public or private? Your choice!
Step 2, Now, Git everything in the folder!
git init
git add .
git commit -m "First commit"
git remote add origin [YOUR_GITHUB_URL]
git remote -v
git push origin master
Replace [YOUR_GITHUB_URL] with your Github repository link.
💡 Whenever you have done something (eg add a new post), just remember to
git add .andgit push.
5. TravisCI to automatically update every new post
Last step! There's several CI tools out there, like CircleCI, TravisCI, etc. But, I gonna use TravisCI.
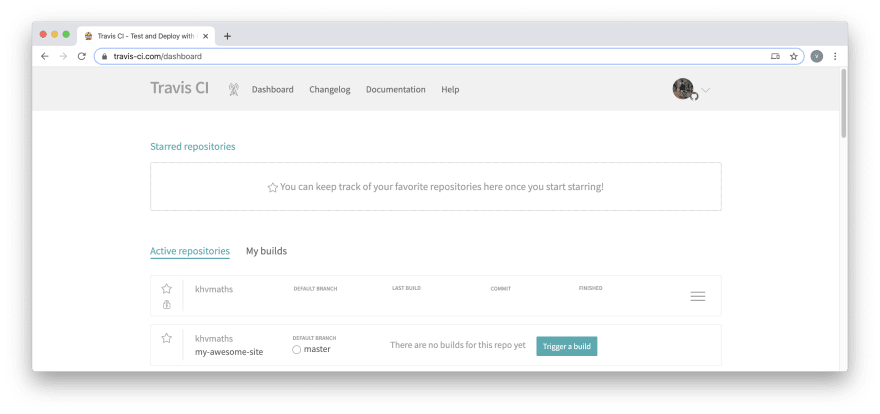
Step 1, Go to TravisCI. Create a new account and sync with your Github.
Step 2, Once done sync with your Github, go to your dashboard, choose the repository you created and click Trigger Build button.
Step 3, Configure Travis.
Travis uses YAML script, a very simple language and in order to let Travis know you have the script ready, save them as .travis.yml under the root folder. Use the script below. Travis is just like you doing the manual deploying, but automagically!
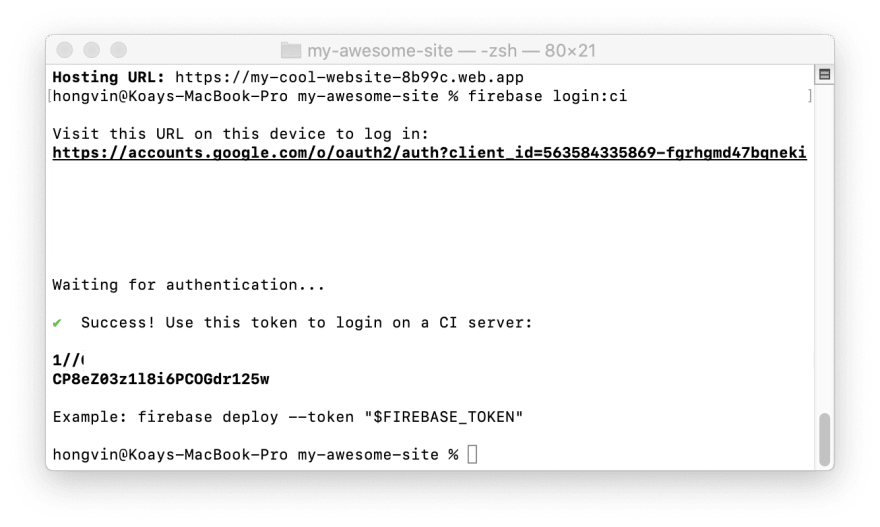
(a) Before configuring, you must need to have Firebase Token ready. In order to get the token, in your Terminal,
firebase login:ci
In your terminal, copy the token.
(b) Copy the following script and save as .travis.yml in root folder.
language: ruby
rvm: 2.4.1

branches:
  only:
    - master

notifications:
  email:
    on_success: always
    on_failure : always

script:
 - gem update --system
 - gem install bundler
 - bundler update --bundler
 - gem install jekyll bundler
 - bundle exec jekyll build

after_success:
  - firebase deploy --token "[YOUR_FIREBASE_TOKEN]"

env:
  global:
  - NOKOGIRI_USE_SYSTEM_LIBRARIES=true # speeds up installation of html-proofer

sudo: false
Replace [YOUR_FIREBASE_TOKEN] with your Firebase token obtained in step 3a.
The script is simple. It basically lists down what we did earlier for manual deploying.
(c) Add the file to Github repo.
git add .
git commit -m "added travis.yml"
git push origin master
Step 4, Watch the build done automatically everytime there's update to your Github repo.
In your TravisCI dashboard, you will see something like

5. What's next?
(a) Use Markdown editor to write new blog posts under _posts folder. The documentation can be found here.
(b) Add file and commit
(c) Repeat.


Latest comments (0)