
In this project we are going to learn how to build a simple crud backend rest api using Spring Boot and MongoDB.
Prerequisites :
In order to complete this tutorial, you should have knowledge of beginner or intermediate Java 8 programming skills, some familiarity with Spring Boot, and also you should have a general familiarity with the Windows command prompt.
Tools Used in this Project
Java 11
Spring Boot 2.6.6
Maven
Lombok
Intelli J
MongoDB 5.0
Postman
Install and Launch MongoDB
To start working with MongoDB, first, we have to install it on our local machines. Go to the MongoDB website and download the MongoDB installer from the downloads section.
Once the download is complete double click the file and follow the prompts to install Mongo. Mongo is most likely to be installed in the “C:\Program Files\MongoDB..” directory unless you specify a custom path.
Open a command prompt window and direct it to the bin folder inside the MongoDB folder path.
Let's start the server
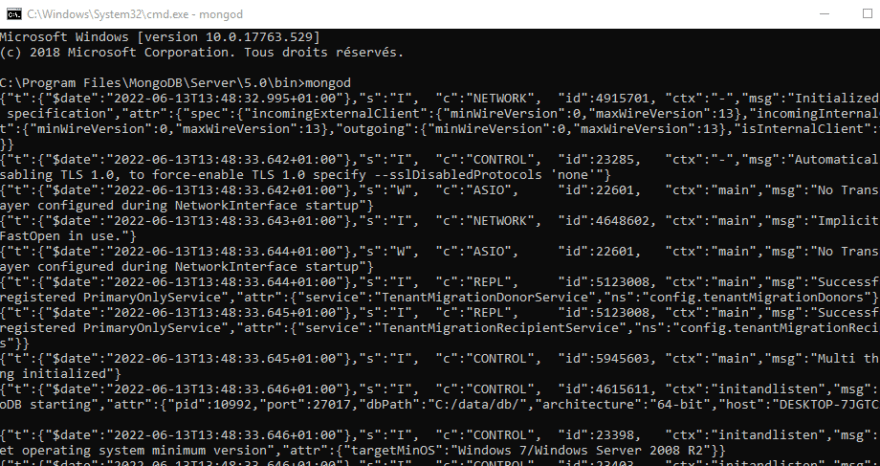
Server Started:

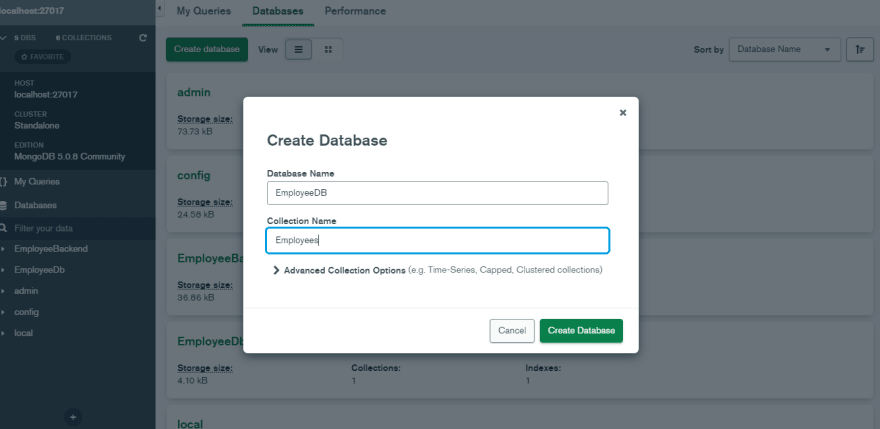
- Let's create a new Database and a new Collection
Spring Boot MongoDB APIs
We will have the following functionalities and Database interactions in our app.
- Get all employees
- Get a employee with ID
- Save a employee
- Update a employee
- Delete a employee
Spring Boot Project Setup
We will make use of the Spring Initializr tool for quickly setting up the project. Don’t forget to add the dependencies Lombok, Spring Boot DevTools, Spring WEB & Spring Data MongoDB.

All Dependencies:
- Spring Data MongoDB
<dependency>
  <groupId>org.springframework.boot</groupId>
  <artifactId>spring-boot-starter-data-mongodb</artifactId>
</dependency>
- Spring Web
<dependency>
  <groupId>org.springframework.boot</groupId>
  <artifactId>spring-boot-starter-web</artifactId>
</dependency>
- Lombok
<dependency>
  <groupId>org.projectlombok</groupId>
  <artifactId>lombok</artifactId>
  <optional>true</optional>
</dependency>
- Spring Boot DevTools
<dependency>
  <groupId>org.springframework.boot</groupId>
  <artifactId>spring-boot-devtools</artifactId>
  <scope>runtime</scope>
  <optional>true</optional>
</dependency>
- Spring Boot Validator
<dependency>
  <groupId>org.springframework.boot</groupId>
  <artifactId>spring-boot-starter-validation</artifactId>
</dependency>
Configure Spring Datasource, MongoDB, App properties
Open src/main/resources/application.properties
- For application.properties:
# MongoDB
spring.data.mongodb.host=[host]
spring.data.mongodb.port=[port]
spring.data.mongodb.username=[username]
spring.data.mongodb.password=[password]
spring.data.mongodb.database=[database_name]
spring.application.name=[Your Application Name]
spring.banner.charset=[UTF-8]
# logging
logging.level.org.springframework.data=debug
logging.level.=error
- For application.yml
spring:
  data:
     mongodb:
        authentication-database: admin
        port: 27017
        host: localhost
        database: EmployeeBackend
  application:
     name: employee-rest-api

  banner:
    charset: UTF-8
Now you can see the project

Download All Packages
mvn package
Running the Project and Testing with Postman
Now let’s test our API calls using postman. Right-click on the project and select Run as a Spring boot App.
Run Spring Boot application
mvn spring-boot:run

Postman
Testing With Postman
- Get all employees

- Save a new employee

- Save another employee

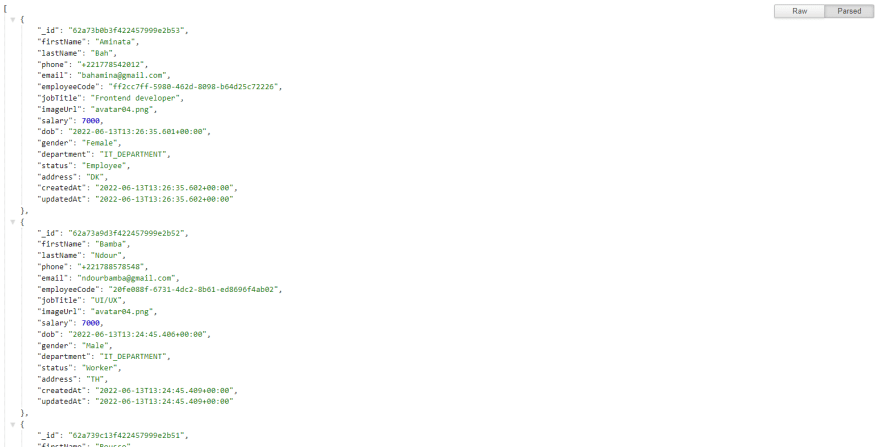
- Get all employees
- Get employee by id

- Get employee by a valid id

- Edit employee by id

- Delete employee by id

- Get the number of employees that exist in the database

You can see now all employees in the database

The source code examples used in this project can be found on Github Repository:
Spring Boot and MongoDB REST API Crud Example
E-Commerce Backend Application using Spring Boot & MySQL and Spring Data JPA & JWT
Crud Rest Api using Spring Boot & MongoDB
Backend Authentication
Backend CRUD App
Spring Boot + Spring MVC + MySQL Example Employee Manager App
Front End
Microservices:
More Practice:
Building a REST API
…
Spring Boot and MongoDB REST API Crud Example
E-Commerce Backend Application using Spring Boot & MySQL and Spring Data JPA & JWT
Crud Rest Api using Spring Boot & MongoDB
Backend Authentication
Backend CRUD App
Spring Boot + Spring MVC + MySQL Example Employee Manager App

Oldest comments (0)