"You can't build a great building on a weak foundation." — Gordon B. Hinckley
In this post we will set up the foundations for our portfolio:
- Create a Next JS app
- Set up Chakra UI with a theme
- Set up automatic deploys on Vercel using Github
So let's get started.
Intro
I have been developing web applications since my college days and been coding professionally for over 6 years. I have owned the domain https://rajatkapoor.me for so long but have never hosted anything on it. Now is the time.
In this series of posts, I will create a decent-looking developer portfolio for myself using NextJs and Chakra UI. I will then host it up on Vercel and point my domain (https://rajatkapoor.me) to it.
You can also follow along and create a developer portfolio of your own. You can follow on my progress here and check the github repository here.
Disclaimer:
I am horrible at design, so I will be looking at design resources and other dev portfolios to get inspiration.
Create a next JS App
We'll start with creating a new Next js app and run it
npx create-next-app portfolio // "portfolio" is the name of the app, you could call it anything you like

cd portfolio

// to run the app
yarn dev
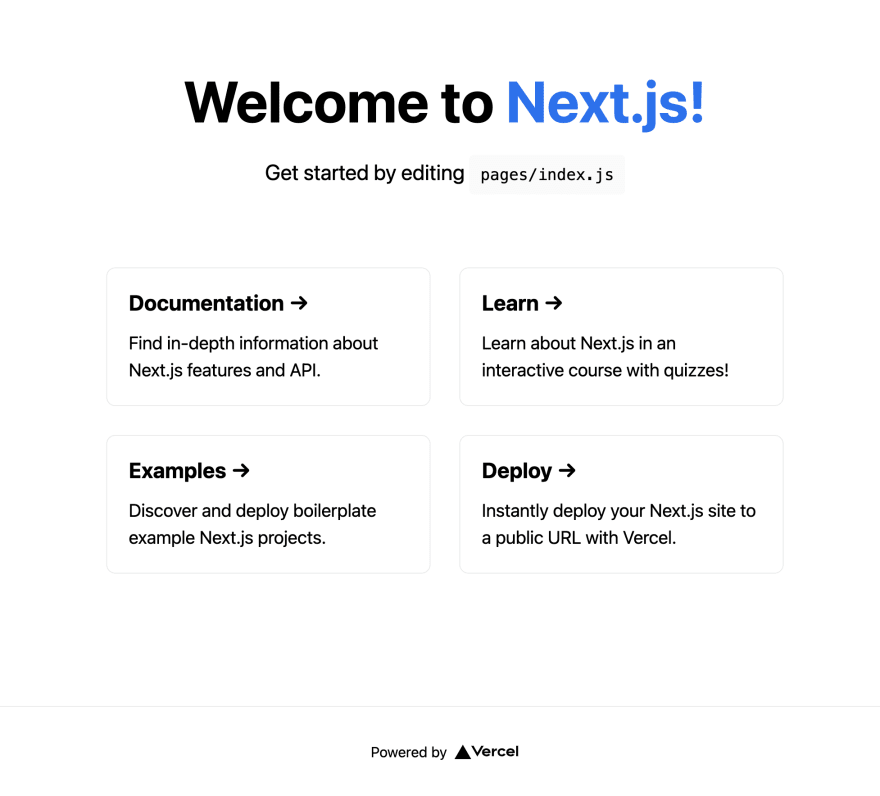
You will see an output like this on your screen
ready - started server on 0.0.0.0:3000, url: http://localhost:3000
Go to the URL that's shown in your terminal and you will be able to see your app in action.
Setup Chakra-UI
Chakra UI is a react component library with a great set of components and a prop based model of styling them. All components in Chakra UI are accessible and can be configured with a very well defined theming system. With Chakra UI, you can quickly build accessible React apps. To install it in your app:
// make sure you're inside the portfolio folder

yarn add @chakra-ui/react @emotion/react@^11 @emotion/styled@^11 framer-motion@^4
Chakra UI apps have to be wrapped in a <ChakraProvider> for them to function correctly. We will wrap our react app's root component inside it. NextJS expects this root component to be default exported from a special file - pages/_app.js
// pages/_app.js

import { ChakraProvider } from "@chakra-ui/react"

function MyApp({ Component, pageProps }) {
  return (
    <ChakraProvider>
      <Component {...pageProps} />
    </ChakraProvider>
  )
}
export default MyApp
Adding a theme
Chakra UI has a robust theme system, that allows you to re-use styles and add styling rules in a single place. We will neither add any relevant theme-related changes, nor utilize the full power of this theme. But we will configure it and keep it ready for use when the time comes.
For this, create a theme.js file at the root directory of your app.
// ./theme.js

import { extendTheme } from "@chakra-ui/react";

const colors = {
  brand: {
    900: "#1a365d",
    800: "#153e75",
    700: "#2a69ac",
  },
};

const theme = extendTheme({ colors });

export default theme;
and then pass this theme to the <ChakraProvider> in pages/_app.js.
// pages/_app.js

import { ChakraProvider } from "@chakra-ui/react";

import theme from "../theme"; // <- import here

function MyApp({ Component, pageProps }) {
  return (
    <ChakraProvider theme={theme}>
      <Component {...pageProps} />
    </ChakraProvider>
  );
}

export default MyApp;
Now that we are all set up, let's update our 'pages/index.js' file to use some of the components from Chakra UI.
// ./pages/index.js

import Head from "next/head";
import Image from "next/image";
import { Box } from "@chakra-ui/react";

export default function Home() {
  return (
    <Box w={"100%"}>
      <Head>
        <title>Rajat Kapoor - Full stack developer</title>
        <meta
          name="description"
          content="Rajat Kapoor is a full stack developer from India"
        />
        <link rel="icon" href="/favicon.ico" />
      </Head>
      <Box>hi</Box>
    </Box>
  );
}
You will see a small but rewarding message on the top left 😎

Hosting on vercel
This section assumes you know basics of git and have set up this repository on Github or a similar platform. If that is not the case, please look out for already existing resources from which you can learn those things. If you're still not able to set it up, drop a message in the comments and I will be happy to help you out.
Vercel is a web hosting platform that allows you to host your NextJS (and many more types of apps) for free. It is made by the same people who made NextJS and provides a simple but powerful developer experience, especially for NextJS apps. Now let's get this hosted on Vercel, so that we can share the progress of our portfolio with everyone and get early feedback.
Head on to https://vercel.com and create an account. You could also use your social account to sign up.
You will land on a page that will allow you to import a git repository. Connect your Github (or any other git provider's) account, select the repository where you have pushed the code for this project, and click on "Import".
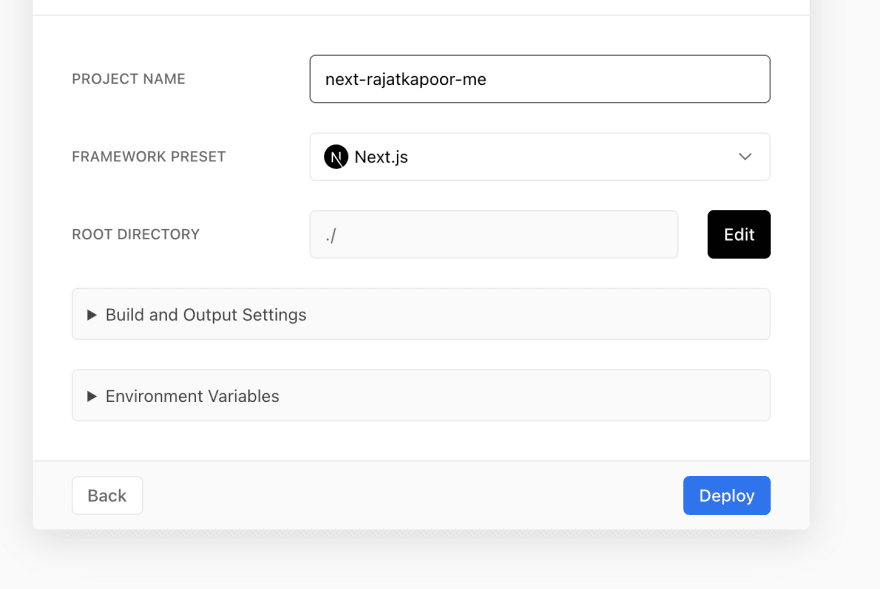
Choose to use your personal account when prompted. You will land on the page where you could choose a name for your project and change other settings. All the settings should have been auto-configured correctly and you would not need to change anything. Just click on "Deploy" and let the magic happen.
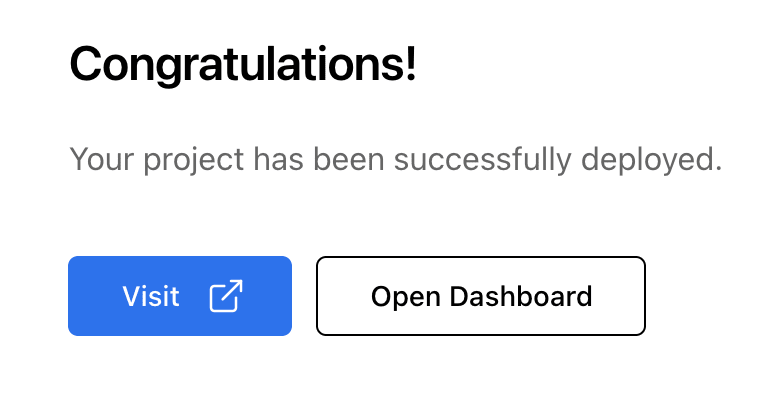
The deployment will start and you'll be greeted with a success message as soon as it completes.
Click on the "Visit" button to view the deployed website. For every commit that you push to your repo, Vercel will automatically deploy the latest code on this URL. Vercel will also maintain a live, deployed copy of each of your commits for you to look back (or if you wish to roll back to a previous version). Check out the "Deployments" tab on your project on Vercel dashboard to see deployments corresponding to all your commits.
Conclusion — of the beginning
That must feel like an achievement. Tap your shoulder, clap for yourself. You've done a lot.
In the next post, we'll actually start building the portfolio - by adding a navbar, a main hero section and highlight some of our work. Stay tuned for more.





Latest comments (0)