The rtfm.co.ua blog is quite slow for users.
For example, you can test your website using the https://gtmetrix.com:
4.3 seconds till full load! That’s awful.
At the bottom of the results, you can check the top of issues on a site:
At first, the page size is 1.16 MB, which is big enough.
The second thing is to check what’s exactly is loaded too slowly — JS, CSS.
Here can be various solutions, such as caching pages on the website’s side, adding a CDN, etc.
As a local solution, you can use plugins like WP Super Cache.
Another way could be to use Cloudflare, which will provide “all in one” — CDN, anti-DDoS, WAF, etc.
For WordPress, Cloudflare created a plugin Automatic Platform Optimization (APO), which will do all the necessary operations automatically, although that will cost you $5/month.
Its documentation — Get started with APO.
Cloudflare
Registration
To start with the plugin, first, you need to register an account, for example, directly from the plugin’s page:
Then, add your website:
Confirm your APO’s subscription:
If you already have an account on Cloudflare, you can activate the plunging from the Speed > Optimization:
DNS configuration
Cloudflare will check your domain’s current settings on the current name servers:
After that, it will configure its own name servers and will suggest you change NS at your registrar.
At this moment, my domain is served by AWS Route 53, so need to update Name Servers to the Cloudflare:
Before doing that, check if Cloudflare is ready to return records about your domain:
$ dig +short @ethan.ns.cloudflare.com rtfm.co.ua
139.59.205.180
Once it will work, update NS at your registrar, wait a couple of minutes, click on the Done, and if you’d like, go through the Quick Start steps:
Anyway, you can configure these settings later. For now, let’s proceed with the Automatic Platform Optimization plugin.
WordPress Cloudflare plugin
Go to your blog’s admin page, Plugins > Add new, find the Cloudflare:
To configure the plugin’s access, in your Cloudflare account go to My Profile > API Tokens > Create Token:
From the templates list, choose WordPress:
Go back to your blog.
From the Settings > Cloudflare, log in to your Cloudflare account using login (email), and the APT token, created above:
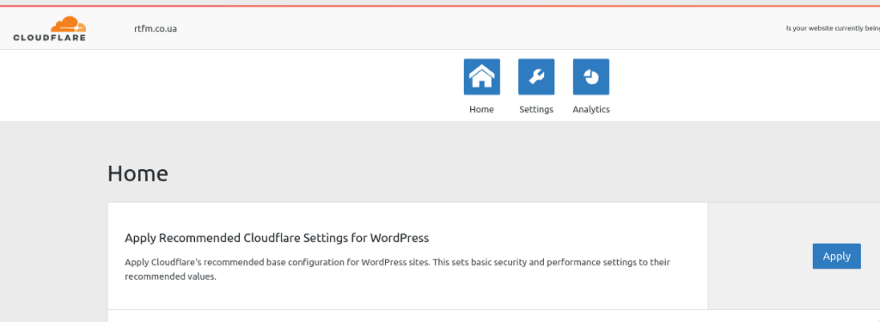
Here, you can configure all necessary settings with just one click on the Apply, and Cloudflare will do all the rest for optimization, security, etc:
A bit blow, enable the Automatic Platform Optimization:
Actually, that’s all.
Now, let’s check the test results again:
Comparing with the first results:
- time to load: was 4.3 seconds, now it’s 2.6
- page size: was 1.16 MB, now 716 kb
- general rating: was D , 65% , now A , 96%
Done.
Originally published at RTFM: Linux, DevOps, and system administration.


Top comments (0)