This article was originally published at: https://www.ahmetkucukoglu.com/en/publishing-the-asp-net-core-application-in-gcp-kubernetes/
1. Introduction
The subject of this article series is about how to publish API, which we developed with ASP:NET Core, in Kubernetes. We will use GCP(Google Cloud Platform) as a cloud provider.
In this part, i will show the scenario and give preliminary information about what will be the result. Also i will mention briefly some concepts in Kubernetes.
We will develop an API containing single endpoint.
We will dockerize that API. For this, we will create a dockerfile.
We will send the image we have created with the dockerfile to GCR(Google Cloud Container Registry).
We will start three containers from this image.
We will create "Load Balancer" service, which will distribute the requests coming to the application to the containers.
I want to mention five concepts in Kubernetes.
Cluster
Cluster is a kubernetes server. In the process of creating Cluster, same introductions are applied like how many "master" and " node" will be.
Pod
Pod represents the application. It means that the application runs on pods. It corresponds to the container in Docker.
For more information, you can visit the address below.
https://cloud.google.com/kubernetes-engine/docs/concepts/pod
Deployment
Deployment allows pods to be managed. We define by using the deployment how many pods to be started, which images the pods will use, which environment variables to be assigned with these pods.
For more information, you can visit the address below.
https://cloud.google.com/kubernetes-engine/docs/concepts/deployment
Service
Service allows to make the applications running with pods accessible from outside. We will configure our service as "Load Balancer".
For more information, you can visit the address below.
https://cloud.google.com/kubernetes-engine/docs/concepts/service
Namespace
It provides isolation in the cluster. It allows pods, deployments and services to come together under a "namespace". It allows the applications to be isolated from each other in case of more than one application is in the cluster. It means that each application runs under a namespace which belongs itself.
For more information, you can visit the address below.
https://kubernetes.io/docs/concepts/overview/working-with-objects/namespaces/
2. Preparing the Development Environment
In this part, we will arrange the development environment.
Requirements
- Visual Studio Code
- Docker Desktop
- Google Cloud Account
- Google Cloud SDK
2.1. Installing the Docker Desktop
The Docker Desktop is needed to be installed in the machine. You can download the application from the address below and install the application just by clicking next. :)
https://www.docker.com/products/docker-desktop
2.2. Opening a Google Cloud Account
You need to open a Google Cloud account with your Google account. When you open a cloud account, a promotion is defined to allow us to use the application within a year. You can do tryings by using the promotion.
You can open a Google Cloud account from the link below. After opening the account, a band will appear above the page. You can activate the promotion from the activate button.
https://console.cloud.google.com/?hl=tr

2.3. Installing the Google Cloud SDK
Since you will run the commands on your local machine, the Google Cloud SDK needs to be installed. You can download the application from the address below and install the application just by clicking next. :)
Note: In the fifth step, when you are asked for the components to be installed, you need to activate "The Beta Commands" option.
https://cloud.google.com/sdk/docs/quickstart-windows
The "gcloud init" commad will run automatically when the Google Cloud SDK has been installed. Authorization will be made for you to access Google Cloud from your local machine. For this reason, you will need to enter your google account information.
You can say no when you are asked if you want to create a project. We will create the project ourselves.

2.4. Introducing the GCR
In order for the images to be sent to the GCR instead of the DockerHub, we need to make configuration. You must run the following command from the terminal.
gcloud auth configure-docker

3. Preparing the GCP
3.1. Activating the Kubernetes API
Activating the Kubernetes Engine API, which is one of the Google Cloud APIs, is required. You must run the following command from the terminal.
gcloud services enable container.googleapis.com
3.2. Creating the Project
You need to create a project to be able to use Google Cloud services. You need to run the following command from the terminal. You can update PROJECT_ID and PROJECT_NAME fields by yourself.
gcloud projects create [PROJECT_ID] --name=[PROJECT_NAME]
gcloud projects create my-k8s-api-project-1 --name="My K8S API Project"

You can run the command below to see the project created.
gcloud projects list
3.3. Choosing the Project
You need to define the project you have created on google cloud config in your local machine. You need to run the command below from the terminal. Remember to update the PROJECT_ID field according to your information.
gcloud config set project [PROJECT_ID]
gcloud config set project my-k8s-api-project-1

You can run the command below to see whether the project has been added to the configuration.
gcloud config get-value core/project
3.4. Activating the Billing
Before creating a cluster, you must link a billing account to the project you have created. To learn your Account Id, you need to run the following command from the terminal.
gcloud beta billing accounts list
You need to run the following command to install the alpha commands of the Google SDK.
gcloud components install alpha

When the prcoess is complete, you need to run the following command to link the Account Id to your project. Remember to update the PROJECT_ID and ACCOUNT_ID fields according to your information.
gcloud alpha billing projects link [PROJECT_ID] --billing-account [ACCOUNT_ID]
You can run the command below from the terminal to see that the invoice has been successfully linked to your project. Remember to update the ACCOUNT_ID field according to your information.
gcloud beta billing projects list --billing-account=[ACCOUNT_ID]
3.5. Creating the Cluster
You need to run the command below to create cluster. Remember to update CLUSTER_ID and PROJECT_ID fields according to your information.
gcloud beta container clusters create [CLUSTER_ID] --project=[PROJECT_ID] --addons=Istio --istio-config=auth=MTLS_STRICT --cluster-version=latest --machine-type=n1-standard-2 --num-nodes=1 --region europe-west1

gcloud beta container clusters create my-k8s-api-cluster-1 --project=my-k8s-api-project-1 --addons=Istio --istio-config=auth=MTLS_STRICT --cluster-version=latest --machine-type=n1-standard-2 --num-nodes=1 --region europe-west1

You can run the comand below to see the cluster created.
gcloud container clusters list
All preparations have been done. Now you can publish the project in the Kubernetes.
4. Publishing the application
I have created a simple API. You can clone this API from Github with the command below.
git clone https://github.com/ahmetkucukoglu/aspnetcore-k8s-sample.git
cd aspnetcore-k8s-sample
4.1. Creating the Dockerfile and Sending the Image to GCR
Create a .Dockerfile file in the project.
You need to create an image in the docker with the following command. You can determine the IMAGE_ID field by yourself.
docker build -t [IMAGE_ID] -f K8SSampleAPI/Dockerfile .
docker build -t my-k8s-api-image:1.0 -f K8SSampleAPI/Dockerfile .
Create a tag firstly to send this image we have created to GCR. Don't forget to update the LOCAL_IMAGE_ID, PROJECT_ID and IMAGE_ID fields according to your own information.
docker tag [LOCAL_IMAGE_ID] gcr.io/[PROJECT_ID]/[IMAGE_ID]
docker tag my-k8s-api-image:1.0 gcr.io/my-k8s-api-project-1/my-k8s-api-image:1.0
Send the image to GCR using this tag.
docker push gcr.io/[PROJECT_ID]/[IMAGE_ID]
docker push gcr.io/my-k8s-api-project-1/my-k8s-api-image:1.0

You can run the command below from the terminal to see the image sent to GCR.
gcloud container images list
4.2. Creating the Namespace
I mentioned the namespace in the first part. Create a namespace.yaml file in the project.
On the 4th line, define a name for the namespaces.
On the 6th line, define the label. We use the labels as tags. You can define a label as a key/value as you want.
Now, define this namespace in the Kubernetes cluster.
kubectl create -f K8SSampleAPI/namespace.yaml

You can run the command below from the terminal to see the namespace created.
kubectl get namespaces --show-labels
4.3. Creating the Deployment
In the first part, I mentioned deployment. Create a deployment.yaml file in the project.
On the 7th line, determine how many pods will be removed.
On the 11th line, define the label again. Determine the name of the application with the app key. You will need that while defining service to the defined value.
Give the image you have sent to the GCR to the image field on the 15th line.
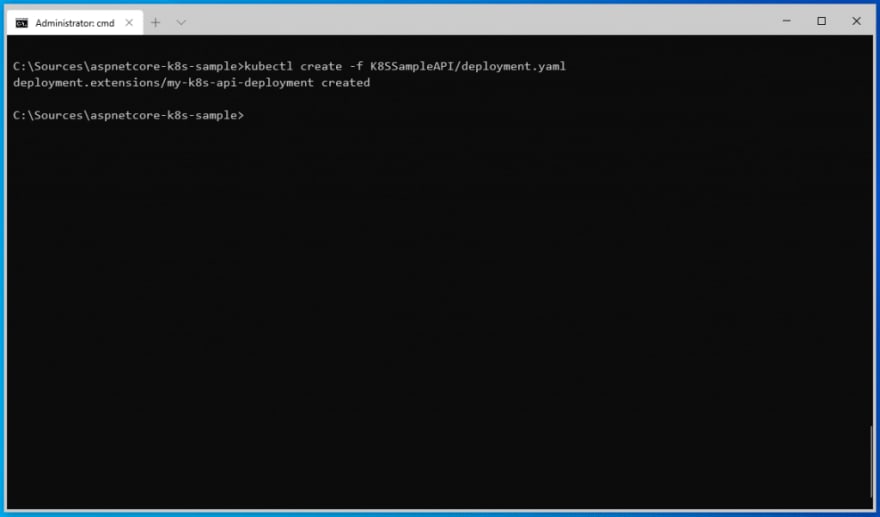
Now, define the deployment in the Kubernetes cluster.
kubectl create -f K8SSampleAPI/deployment.yaml
You can run the command below from the terminal to see the deployment created.
kubectl get deployments --show-labels --namespace development
When deployment is done, three pods will run. You can run the command below to see.
kubectl get pods --show-labels --namespace development
4.4. Creating the Service
In the first part, I mentioned the service. Create a service.yaml file in the project.
On the 9th line, write the value in the app key that we defined when defining deployment. In this way, the requests coming to service are directed to the pods in the defined deployment. We have mentioned above that three pods will be started in deployment.
On the 12t line, define that the application will be published from the port 1453.
Now, define the service in the Kubernetes cluster.
kubectl create -f K8SSampleAPI/service.yaml

You can run the command below from the terminal to see the created service.
kubectl get services --show-labels --namespace development
When you run the command, you can see that the External-IP section is in the pending state. It may take up to a minute to assignment IP for the application. When the IP assignment is completed, it means that the application is ready to be published on the port 1453.


K8SSampleAPI
We have specified ApiKey and ApiSecret information in the deployment.yaml. We defined the values as environment variable. We have seen that these variables are successfully accessed within the application.
I determined the application Id information in the Startup file while the application was starting. Since three applications are started in Deployment, each application has Application Id information according to itself. If you make a request from different browsers, you will see that these three different ApplicationId are returning. In this way, we have seen that the requests are directed to three different pods.
You can run the following command to delete the cluster. When the cluster is deleted, namespace, deployment, service and pods will be deleted. Remember to update the CLUSTER_ID field according to your information.
gcloud container clusters delete [CLUSTER_ID] --region europe-west1
gcloud container clusters delete my-k8s-api-cluster-1 --region europe-west

You can access the last version of the project from Github.
Good luck.

Oldest comments (0)