The case for automation
It is pretty straightforward to implement basic UI and API tests. There are a lot of tutorials and videos on how to start.
The interesting thing comes when you get a part of the functionality that is easy to check manually, but not so easy to automate.
One such functionality is email messaging: sending messages, verifying that messages are received. E.g. It can be tests for password renewal, account confirmation, purchase confirmation, and much more.
In this case, a possible solution is to tweak a bit an application under test:
use a proxy server for capturing messages;
use server stubs with predefined response values;
We can always ask developers for help. But their time and priorities are beyond our responsibilities. So we need to seek an answer by ourselves.
In search of the answer
When I started to search for suitable libraries, I got the following options: GreenMail, Gmail API, and Java Mail API.
Green Mail is an open-source library for testing email functionality. It supports SMTP, POP3, IMAP protocols together with SSL. It is a beautiful tool for unit and integration tests - easy to configure and use.
The only thing about it that it is a looping library by design: it is created to be deployed only on localhost and send/capture messages only locally.
Gmail API allows you to do all the possible things with your Gmail application. It's a really great API in case if the goal is a full-featured application that will extensively use mailing.
But the downside of using it is that you need to do a lot of extra steps just to get a working sample:
create an account in Google Cloud Platform
create an application with a lot of permissions
add users
generate access tokens
more steps to add...
Java Mail (Jakarta Mail) is a framework for building mail and messaging applications. It provides an API for sending and receiving email messages for various mail servers such as Gmail, Yahoo, Outlook. Java Mail is also part of Java EE platform - so it is an “enterprise-ready” library.
Why not use it in our case?
Configuring Gmail test account
In order to use Gmail for testing purposes, you need to create a separate test account. Please set up a good and hard-to-guess password for it. (Use Password Manager to store it somewhere safe).
Please, do not store any critical information in this account - delete messages from time to time.
The next thing is to handle additional security measures:
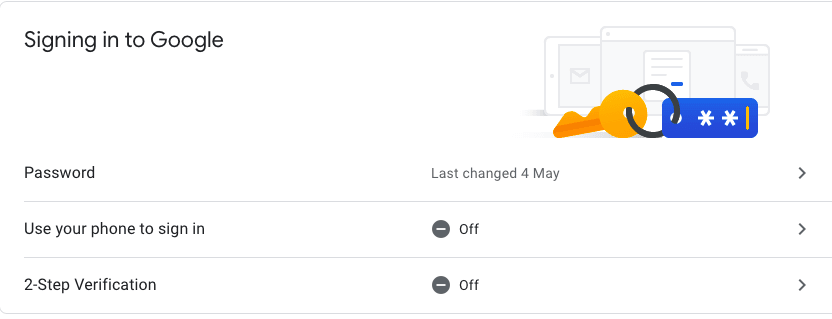
- turn off two-factor authorization in your test Google account
- turn on "less secure app access" in Google Account / Security
- turn on POP3 and IMAP in [Gmail settings][IMAP]
Implementing the code (in Scala)
The steps to sending and receiving mail messages are the following:
- Add connection properties (learn more about hosts and ports for Gmail here
    val properties = System.getProperties
    properties.put("mail.smtp.host", "smtp.gmail.com")
    properties.put("mail.smtp.port", "465")
    properties.put("mail.smtp.auth", "true")
    properties.put("mail.smtp.ssl.enable", "true")
    properties.put("mail.smtp.socketFactory.class", "javax.net.ssl.SSLSocketFactory")
    properties.put("mail.store.protocol", "imaps")
    properties.put("mail.imap.socketFactory.class", "javax.net.ssl.SSLSocketFactory")
    properties.put("mail.imap.socketFactory.fallback", "false")
    properties.put("mail.imaps.usesocketchannels", "true")
    properties
-
Add method for creating Session object with your login and password
Pay attention, that username and password are stored in src/test/resources/application.conf file.
private def getSession(properties: Properties) = { val session: Session = Session.getInstance(properties, new Authenticator() { override protected def getPasswordAuthentication: PasswordAuthentication = { new PasswordAuthentication(config.getString("username"), config.getString("password")) } }) session.setDebug(false) session } -
Prepare method for sending message
This example is creating a new message with text and .txt file as an attachment (both files are read for the resources folder). That's why we need to create two different MimeType objects: one for message body and one for attachment. Then both parts should be added to another object - MultiPart.
We use java.mail.Transport for sending messages.
private def sendEmail(session: Session, from: String, to: String, subject: String, messagePath: String, attachment: String): Unit = { val message = new MimeMessage(session) message.setFrom(new InternetAddress(from)) message.addRecipient(Message.RecipientType.TO, new InternetAddress(to)) message.setSubject(subject) val textPart = new MimeBodyPart textPart.setText(Source.fromResource(messagePath).mkString) val filePart = new MimeBodyPart val res = getClass.getClassLoader.getResource(attachment) val file = Paths.get(res.toURI).toFile val fds = new FileDataSource(file.getAbsolutePath) filePart.setDataHandler(new DataHandler(fds)) filePart.setFileName(fds.getName) val multipart = new MimeMultipart multipart.addBodyPart(textPart) multipart.addBodyPart(filePart) message.setContent(multipart) Transport.send(message) } -
Prepare method for receiving the message
Here the new MessageCountListener is added to the Folder object. Waiting functionality is implemented using a promise and IdleManager which waits for folder changes.
private def receiveEmail(session: Session, folder: Folder, subject: String): Message = { val manager = getIdleManager(session) val event = waitForFirst(awaitForNewMessages(folder, manager))(_ .getMessages.toList.head.getSubject.contains(subject)).futureValue val message = event.getMessages.toList.head message } private def awaitForNewMessages(folderName: Folder, idleManager: IdleManager): Future[MessageCountEvent] = { val promise = Promise[MessageCountEvent] folderName.addMessageCountListener(new MessageCountAdapter { override def messagesAdded(e: MessageCountEvent): Unit = { promise.trySuccess(e) } }) idleManager.watch(folderName) promise.future } -
Implement the tests for sending and receiving email messages
For tests I use ScalaTest library with "should" matchers
    val messageSubject = "DEBUG MESSAGE"
    val folderName = "Inbox"
    val to: String = config.getString("recipient")
    val from: String = config.getString("sender")
    val props: Properties = getProperties

    "Client" should "be able to send email message" in {
        val session: Session = getSession(props)

        sendEmail(session, from, to, messageSubject, "files/test.txt",
        "files/test_attachment.txt")
    }

    "Client" should "be able to receive email message" in {
        val session: Session = getSession(props)

        val folder: Folder = openFolderInMailBox(session, folderName)

        val message = receiveEmail(session, folder, messageSubject)

        message.getSubject should be (messageSubject)
    }
Conclusion
GreenMail is a good option if you are a developer and you want to test email functionality in isolation.
Java Mail API is not an ideal way to deal with emails. But it is available in the standard Java EE library and it is working out of the box.
Full code samples can be found at src/test/scala/email/MailApiTest.scala file in code samples.
Do not forget to paste your email/password to the application.conf file in src/test/resources.


Top comments (0)