
By: Peter Solymos
Here are the final steps to make your ShinyProxy instance secure and production-ready.
This is the last post in this ShinyProxy series where I describe how to configure ShinyProxy with Nginx using HTTPS, set up certificate renewals, and a custom domain name.
Configuring ShinyProxy is a complex topic, that is the reason I have devoted quite a few posts to it including installation, configuration, and maintenance:
- How to Set Up ShinyProxy to Host Shiny Apps
- Advanced Configuration for ShinyProxy
- Update Existing Shiny Apps in ShinyProxy
- The Quickest Way to Add New Apps to ShinyProxy
Let's see what else is to be done to have your very own, production-ready, and secure ShinyProxy instance, just like as pictured below.

Prerequisites
Start a Ubuntu 20.04 virtual machine and follow instructions from the introductory ShinyProxy post to have the server available on http://$HOST:8080 with the two demo applications.
If you are short on time and need a virtual machine with ShinyProxy already installed, try the ShinyProxy 1-click app from the Digitalocean Marketplace for $5 a month. I explain the setup in this short video. The 1-click machine image has Nginx configured, so feel free to jump ahead to the Firewall settings section.
Run ShinyProxy on port 80
Your ShinyProxy instance is running on port 8080 (http://$HOST:8080):
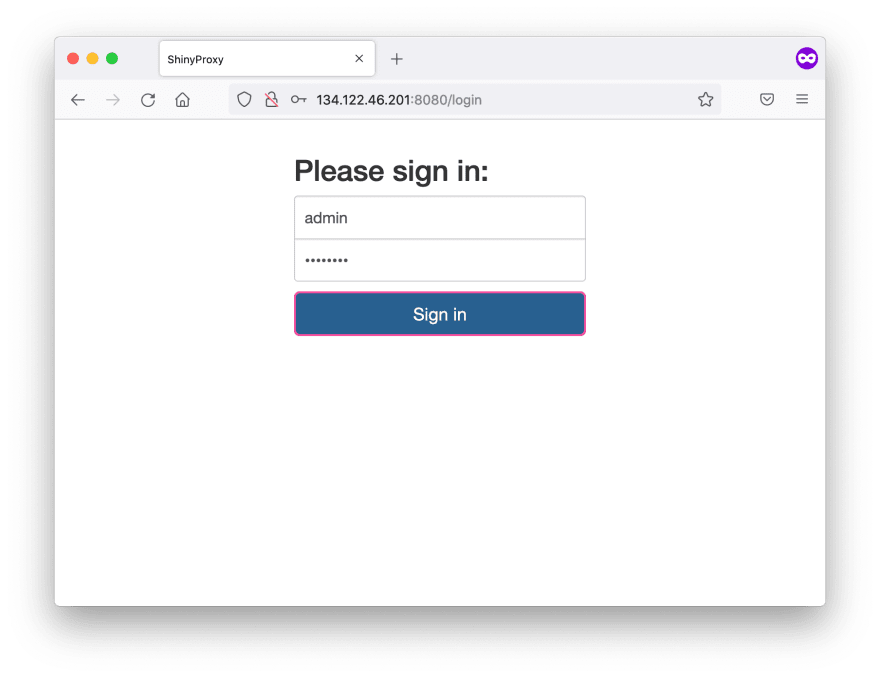
This is common practice in development mode. 8080 is an alternative to port 80 (HTTP). When you type $HOST in the browser, it is going to take you to http://$HOST:80 implicitly. Unlike port 80, this 8080 needs an explicit port override to request in the browser.
Port 8080 is there to remind you of the fact that you need to decide how you want to host ShinyProxy. I explain how to use Nginx as a reverse proxy to serve ShinyProxy on port 80.
Install Nginx
Nginx (pronounced "engine X") is a web server that can also be used as a reverse proxy or load balancer. A large portion of the Internet is running on Nginx, so it is a good idea to get some exposure. Let's install Nginx:
apt-get install nginx
Set up a reverse proxy
A reverse proxy is a server that is placed in front of other servers and forwards browser requests to those servers. In our case, Nginx forwards the request made to port 80 to ShinyProxy listening on port 8080.
You can read more about the difference between a (forward) proxy and a reverse proxy setup here. For our purposes, the important security consideration is that Nginx as a reverse proxy ensures that no client ever communicates directly with the ShinyProxy server.
Edit the config file (/etc/nginx/sites-enabled/default) with vim or nano to have the following content:
server {
        listen 80 default_server;
        listen [::]:80 default_server;

    ## Add here your custom domain
    # server_name example.com www.example.com;
    server_name _;

    location / {
        proxy_pass          http://127.0.0.1:8080/;

        proxy_http_version 1.1;
        proxy_set_header Upgrade $http_upgrade;
        proxy_set_header Connection "upgrade";
        proxy_read_timeout 600s;

            proxy_redirect    off;
            proxy_set_header  Host             $http_host;
            proxy_set_header  X-Real-IP        $remote_addr;
            proxy_set_header  X-Forwarded-For  $proxy_add_x_forwarded_for;
            proxy_set_header  X-Forwarded-Protocol $scheme;
        }
}
Save the file and restart Nginx with service nginx restart. After this, Nginx will send all traffic to ShinyProxy which is running on port 8080. You can visit http://$HOST/ to access ShinyProxy:

Firewall settings
We will use a firewall to filter all the ports except for the SSH (22), HTTP (80) and HTTPS (443) ports.
The server behind the firewall will use other ports. For example, ShinyProxy itself will connect to the ports on the Docker host that are mapped to the individual containers. It is not recommended to make these ports accessible to the outside world.
For this reason, we install ufw, the Uncomplicated Firewall, to allow incoming traffic only on the above-mentioned ports:
apt install ufw

ufw default deny incoming
ufw default allow outgoing

ufw allow ssh
ufw allow http
ufw allow https

ufw enable # answer y
Now check ufw status:
Status: active

To                         Action      From
--                         ------      ----
22/tcp                     ALLOW       Anywhere
80/tcp                     ALLOW       Anywhere
443/tcp                    ALLOW       Anywhere
22/tcp (v6)                ALLOW       Anywhere (v6)
80/tcp (v6)                ALLOW       Anywhere (v6)
443/tcp (v6)               ALLOW       Anywhere (v6)
Configure your custom domain
For a Let's Encrypt certificate, you need a fully registered domain name. I use the example.com domain. You have to substitute your domain name. If you want your server hosted on an apex domain name (example.com), it is recommended to set up a www subdomain as well. Both of the following domain name system (DNS) records need to be set up for your server:
- an
Arecord withexample.compointing to your server's public IP address, - an
Arecord withwww.example.compointing to your server's public IP address.
In the /etc/nginx/sites-available/default file, find the line server_name _; and change it to server_name example.com www.example.com; (see comments in the snippet above).
If you are using a subdomain, e.g. shinyproxy.example.com, you only need a single DNS record set up and the single subdomain added to the Nginx default configuration. This is what I am doing in my example using Google Domains:

Restart Nginx to enable your changes by systemctl restart nginx.
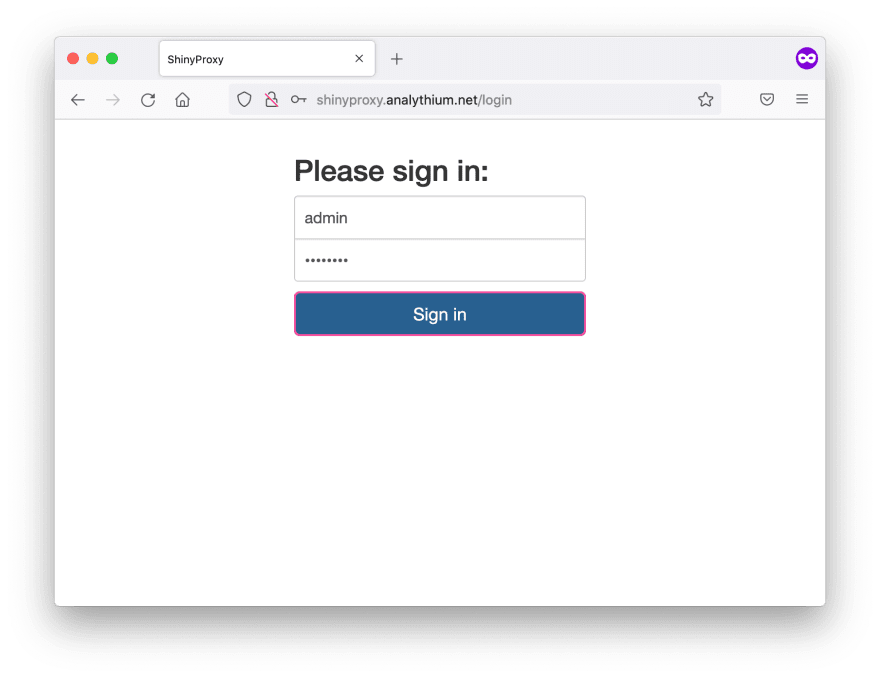
Visit your domain to see the login page:
Set up HTTPS
The image above showed the lock icon crossed which indicates we are accessing the custom domain over a non-secure HTTP connection. To have a secure connection over HTTPS, we need to set up Transport Layer Security (TLS).
TLS is a protocol that encrypts traffic between the client and the server. It relies on a set of trusted third-party Certificate Authorities (CA) to establish the authenticity of certificates. One such non-profit Certificate Authority is called Let's Encrypt, which is what we used in the example.
Install Certbot
Let’s Encrypt certificates expire after 90 days, so it is a good idea to use software tools for auto-renewal. We use Certbot to keep certificates up-to-date.
Add repository for up to date Certbot version:
add-apt-repository ppa:certbot/certbot
You'll need to press ENTER to accept.
Install Certbot's Nginx package with apt:
apt install python3-certbot-nginx
Certbot is now ready to use.
Obtaining a TLS certificate
Run this command after changing the domain names:
certbot --nginx -d example.com -d www.example.com
Be careful with capitalization. Browsers might not be case sensitive but Nginx and Certbot want things nice and clean and matching DNS settings.
If this is your first time running Certbot, you will be prompted to enter an email address and agree to the terms of service. Providing a valid email address is encouraged so that you can get notified about expiring certificates or any other issues that might arise.
After doing so, Certbot will communicate with the Let's Encrypt server, then run a challenge to verify that you control the domain that you are requesting a certificate for.
When prompted whether or not to redirect HTTP traffic to HTTPS (option 1) or remove HTTP access (option 2), I usually pick the second option. This is why there is no need to firewall off port 80, see https://letsencrypt.org/docs/allow-port-80/ for an explanation.
If you pick option 1, make sure to read the ShinyProxy security documentation and forward request headers.
Verifying auto-renewal
Run this command for a dry run: sudo certbot renew --dry-run.
If you reload the custom domain in your browser, it should redirect to the HTTPS, notice the lock icon is not crossed anymore:

Remember that it is your job to follow Docker best practices and not use admin privileges inside the containers. You should also be careful that your app is not exposing sensitive information.
If you want to stop and destroy your virtual server, do not forget to remove the DNS record for your custom domain and subdomain to prevent a hostile subdomain takeover.
Conclusions
You are in full control when it comes to ShinyProxy. You can do whatever you like, but you also need to understand how to configure your server and be willing to expand your knowledge base as needed.
Well done! You just learned how to add your custom domain to the ShinyProxy server. This will certainly help your personal or corporate branding.
But your users want also their data to be safe. That's why HTTPS is so important. Security measures for your site can always be improved, and security should always be top of your mind starting from your Shiny app to your firewall settings.

Latest comments (0)