At Itiden we build web applications and mobile apps.
For both we really enjoy using React & React Native.
This blog post is a informational post to my talk at React meetup in Gothenburg in two parts:
Build an React Native app. Part 1: Development
Build an React Native app. Part 2: Distribution (this)
We have open sourced an React Native app called "Guess the Repo" that uses the libraries we have decided on. It's a quiz app with questions about Github repos. Read more about the app on https://guesstherepo.itiden.se.
It's not in anyway a spectacular app. But it's quite easy to get up and running if you would like to see how an React Native app can be done.
Distribution
For distributing apps we have been using Visual Studio App Center from Microsoft. It was previously known as HockeyApp and has been a distribution service for quite some time.
But since it becoming App Center alot of more functionality has been built in and I'll try to briefly explain how we are using them.
Short desciption from https://appcenter.ms: "Continuously build, test, release, and monitor apps for every platform.".
Building
From within App Center we can create an React Native app for Android and one for iOS. We connect the apps to the repo from GitHub, ButBucket, GitLab or Azure Devops. Your can setup one build config per branch in your repo.
You need to update your app first by adding:
yarn add appcenter appcenter-analytics appcenter-crashes
There are also a few updates to you iOS and Android apps you need to do. But there are guides to follow in the App Center docs.
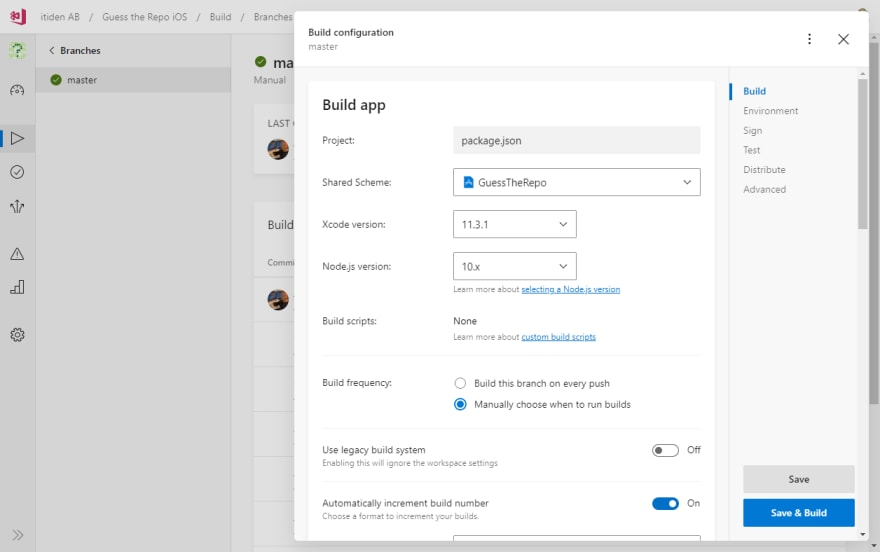
When done you can setup a bunch of build settings:
- Node.js version
- Xcode version (for iOS)
- If you would like to export as Android App Bundle (.aab)
- Build on every push or manually
Build number
You can setup if you would like to automatically increase the Build number.
Testing and linting
Run unit tests (runs yarn test)
Run linting (runs yarn lint).
Environment variables
You can setup Environment variables for this specific build. Really convenient if you are using keys or specific URL's that your app should use. You can also setup different URL's for different branches if you would like to build an app towards an development server as an example.
If you need to consume these variables, I would recommend to create an Build Script that reads them and creates an .env file. You would read these variables from the .env file with react-native-dotenv.
Example build script that outputs API_URL from Environment variables into an .env-file that you can put in your project root as appcenter-post-clone.sh:
#!/usr/bin/env bash -e

cd $APPCENTER_SOURCE_DIRECTORY

echo "API_URL=$API_URL" > .env
echo ".env file created!"
echo "API_URL=$API_URL"
Sign your build
If you want to run your app on a device you need to sign it.
For iOS you need to upload a provisioning profile and a certificate.
Both are created via Apple Developer portal an to create an certificate you need MacOS with Keychain.
For Android you will generate a keystore file that you need to upload.
Test on real device
You can, for free, test starting up your app on real device. App Center has a large amount of devices that can be used for device testing but this on is kinda only a small taste of that.
Distribute builds
Last you can select if you want to automatically distribute your build. More on distribution under.
Testing

App Center can also be used to test your apps on a large number of real devices.
From your build config you can add a "does app start" test on device.
To run additional tests on the devices you need to run a test framework. Available frameworks for running tests are currently Appium, Calabash, XCUITest (only iOS), Espresso (only Android) and Xamarin.UITest.
There have been discussions from App Center to add more available test frameworks. For React Native, Detox would be a really nice addition.
Distribute to App Center Groups

When your app builds it's time to start distribute it to testers. A great way to do this without needing to setup the app in the stores for iOS and Android is to use App Center Groups distribution.
For Android the .apk-file is distributed and a link will be sent to the users in your testing group.
For iOS, when users recieve the invite email, they will first share their device ID with App Center. Then the app will be re-provisioned to work with that device and the .ipa-file will be shared. This requires a development or ad hod distribution profile for the app.
From within App Center you can manage multiple groups and distribute different releases to different groups.
Distribute to stores
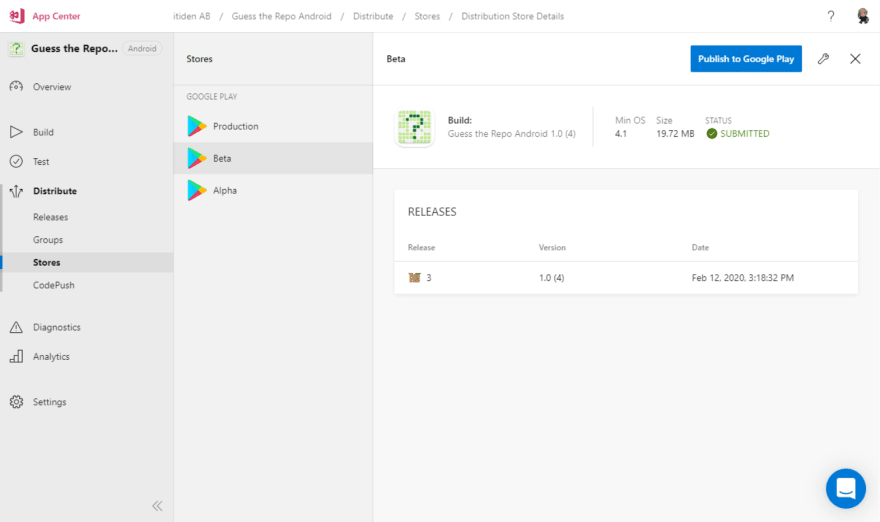
Distribute Android apps to Play Store

Distribute iOS apps to App Store and Test Flight
You can setup to automatically distribute your apps to both App Store (and Test Flight for iOS beta testing) and Play Store.
Notice that for both iOS and Android you need to first create your apps in App Store Connect and Play Console and upload your first app before you can do it from App Center.
Code Push
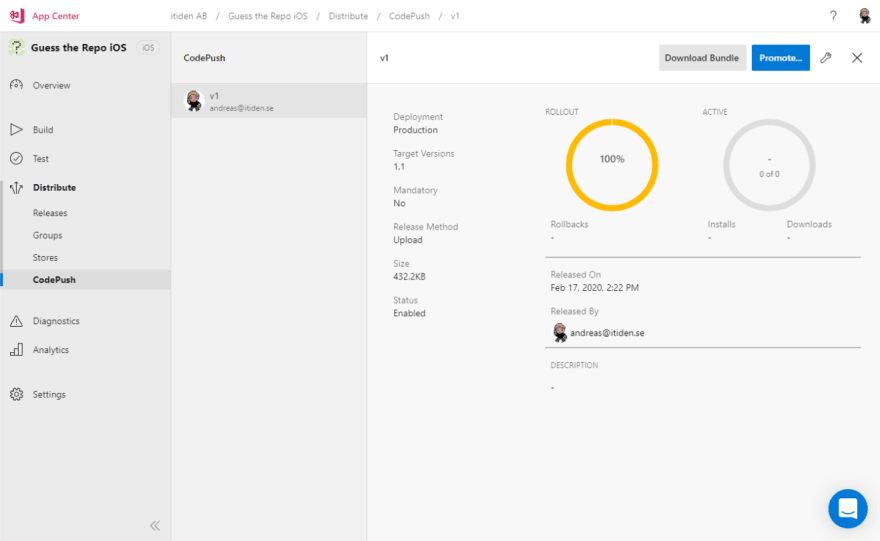
A really neat feature in App Center is Code Push. When you have built and released your app, you can "push" your JavaScript bundle to the app.
As long as your updates are "just" JavaScript updates (no updates with native modules) you can send those updates to all users. Each time a user opens your app it will check if the app has an Code Push update. If it has an update it will download. You can then decide if you would like you app to instantly update (by restarting) or if the app should update the next time the user starts your app.
This way you can "bypass" the app stores process of approving you app which can take some hours up to a day or two.
Notice, each Code Push will be "connected" to a specific version of your app. And all new app downloads will NOT contain your update. So you would problably also want to release a new app version with your fixes together with your code push.
Crash reports
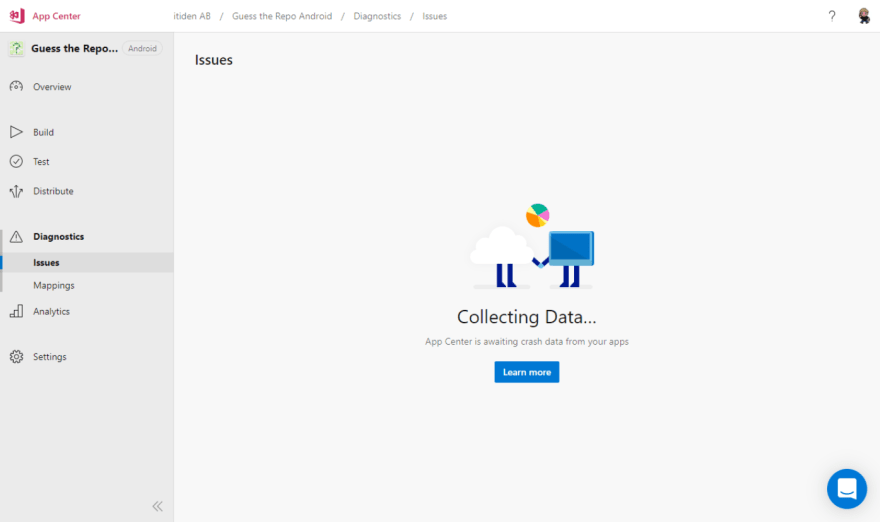
When adding appcenter-crashes you will also make sure that all app crashes will be sent to App Center. You can see an overview of crashes and have App Center send you emails with information
Analytics
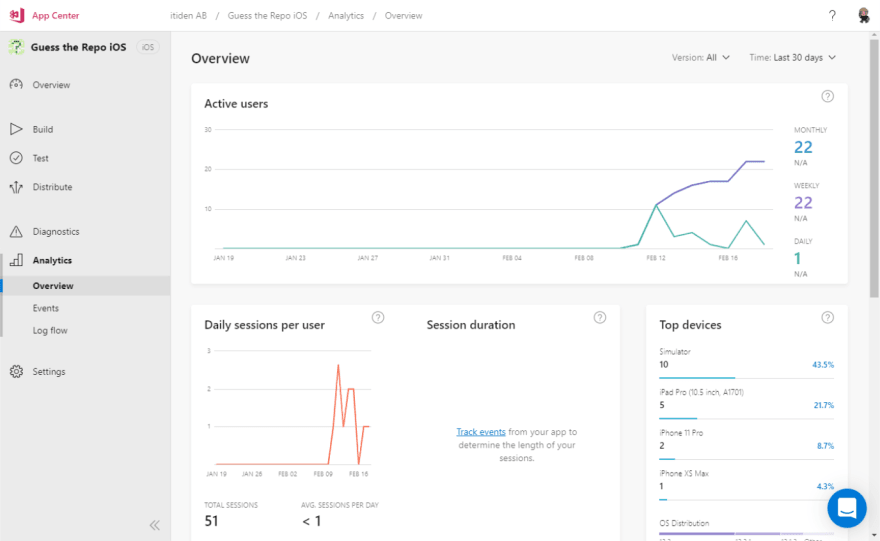
You will also get a basic analytics of your app. You'll see information about uses, devices, location and devices used. You can also add custom events from your app and follow how your users uses your app.
Analytics are saved for 90 days. If you would like to save if it longer you can export it to Azure Application Insight. This is a much more powerful tool but also costs by usage.

Latest comments (0)