Microsoft Learn just introduced a better learning experiencing with hands-on-labs that citizen, professional developers, educators and students can complete using VM Environments. This allows all developers, students and educators to build and run lab solutions without using up any of the school, work or personal account resources.
Objectives
- Set up a VM environment for a lab
- Complete a lab using a VM environment
- Next Steps
Set Up A VM Environment
- Go to the Power Platform Labs Cloud Skills Challenge and join the challenge
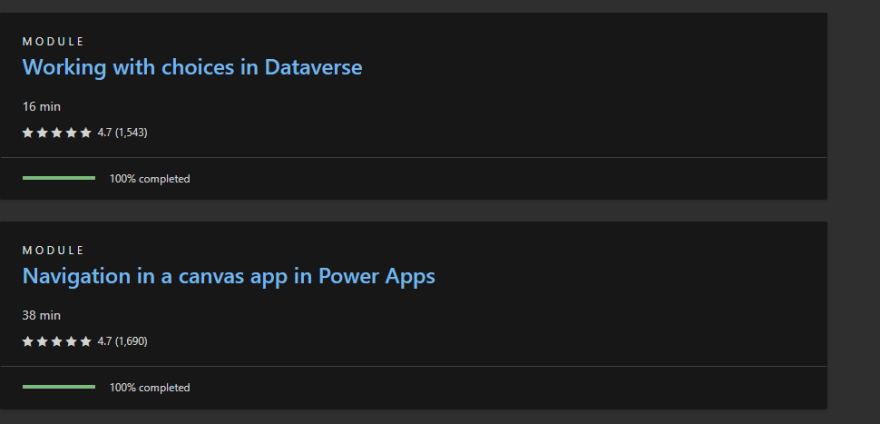
- Click on Navigation in a canvas app in PowerApps. You can choose a module of your choice here to see the VM environment in action.
- Go through and complete the first two units namely Understanding navigation and The navigation and back function.
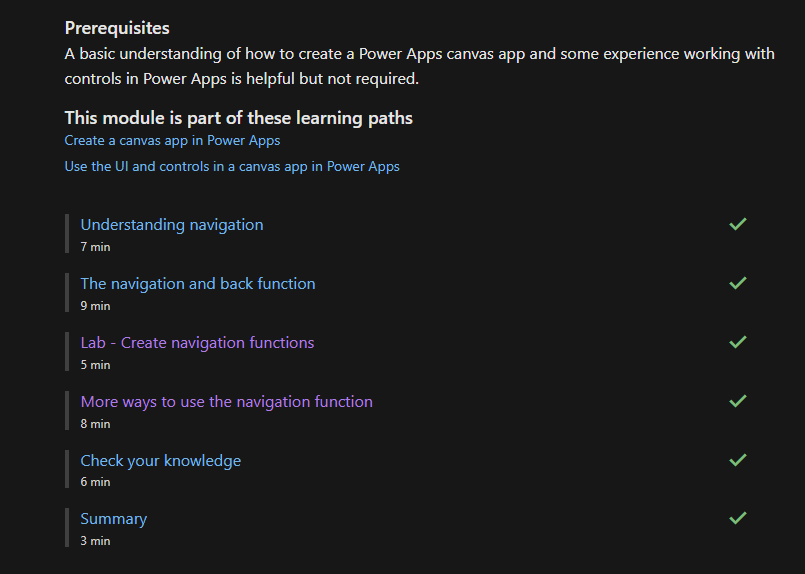
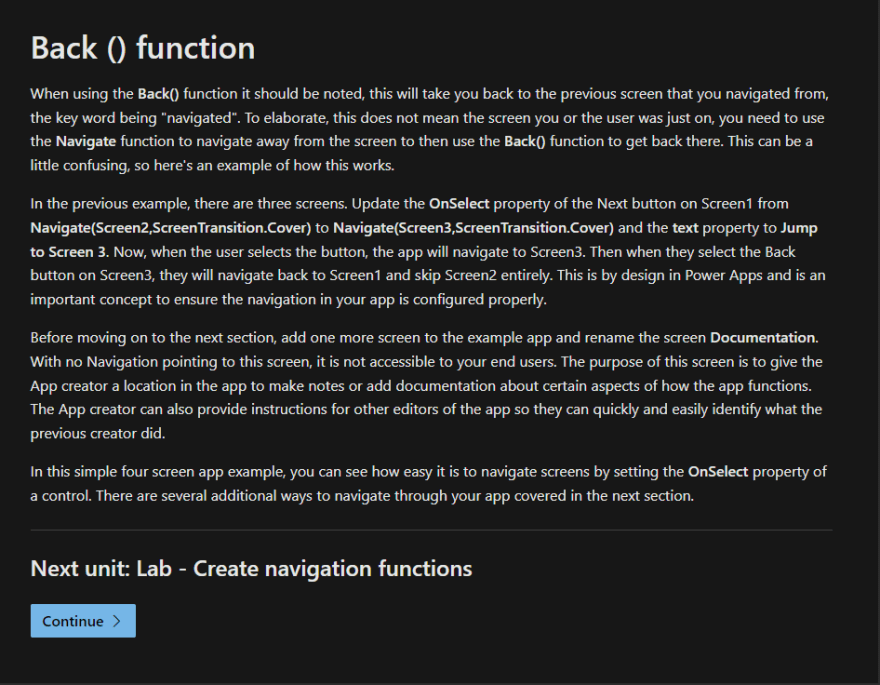
- Once these are completed click continue to move to the Lab - Create navigation functions
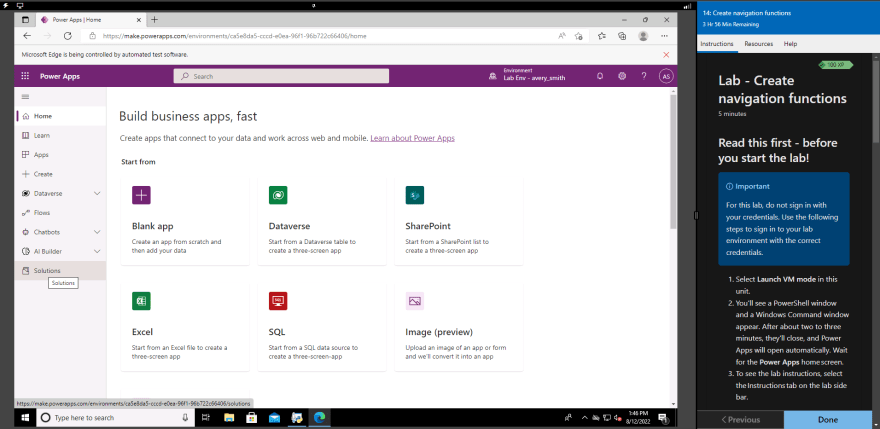
- On this unit, you will need a VM environment to complete the lab. To do so, click on Launch VM mode as this will launch a VM environment.

- A PowerShell window and a Windows Command window will appear. After about two to three minutes, they'll close, and Power Apps will open automatically. Wait for the Power Apps home screen.
- To see the lab instructions, select the Instructions tab on the lab side bar.
Complete a Lab using the VM Environment
- Go to the Power Apps Studio. If you're already using the virtual environment, skip to the next step.
- Select the New app dropdown and choose Canvas
- A new window will open in your browser, create a name and choose Tablet layout. Select Create.
- In the new blank app, select the Insert Tab, select the New screen dropdown, and choose Blank.

- This will create a new blank screen in your app. Repeat once more to have three screens total.
- On Screen1, insert a Button control and change the Text property to Next.
- On Screen2, add a Button control and change the Text to Next.
- Add another Button control and change the Text to Back.
- On Screen3, add a Button control and change the Text property to Back.
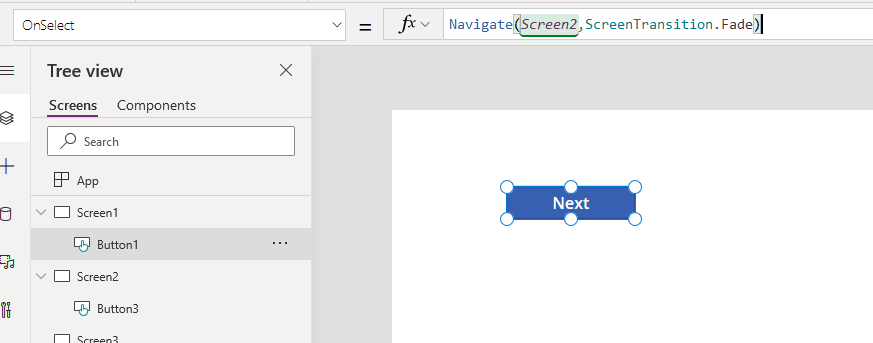
- On Screen1, set the Next button OnSelect property to Navigate(Screen2,ScreenTransition.Fade).
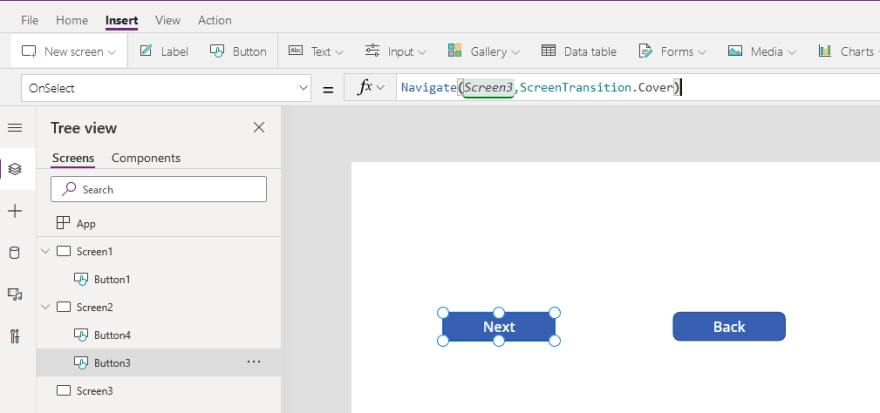
- On Screen2, set the OnSelect property for the Next button to Navigate(Screen3,ScreenTransition.Cover).
- Set the OnSelect property for the Back button to Back().
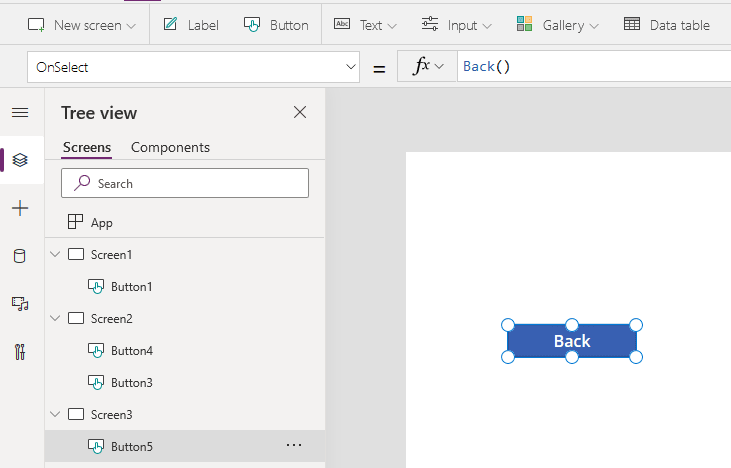
- On Screen3, set the OnSelect property for the Back button to Back().
- To test this, select Screen1, and put the app in** Preview** or Play mode and navigate through the app as a user would.
- Once finished with the lab, click on Done this will end the session on the VM Environment. Then click on Continue to complete the rest of the module.
Next Steps or Call to action
- Join and complete the Power Platform Labs Cloud Skills Challenge. Make sure to complete the modules in this challenge and labs within the modules.
- Tag me or @mention me on twitter, Someleze Diko, to share your progress, your experience and thoughts/feedback about these labs and if you want to see more of these on Microsoft Learn modules.



Top comments (0)