
Are you looking to create a stunning website without the hassle of coding? Don’t worry you are coming to the right place Webflow is the best choice for you. Webflow is a powerful tool for creating stunning websites without needing to write a single line of code. But for those just starting out, the blank canvas of a new project can be daunting. That's where Webflow templates come in!
How To Use Webflow Templates
Using Webflow templates is easy, even if you have no prior experience with web design. Here's a step-by-step guide to help you get started:
Step-1: Finding the Perfect Template

Webflow offers a user-friendly template marketplace where you can browse through a variety of options. You can filter by category, features, and price (free or premium) to find a template that aligns with your vision.
You'll find templates for:
- Business websites
- E-commerce stores
- Blog websites
- Landing pages
Once you've found a few potential templates, take some time to explore them in the Webflow Designer. This will give you a better sense of the layout, structure, and customization options.
Step-2: Using a Webflow Template
When you find the perfect template, using it is as simple as clicking a button. To use the Webflow template you need to log in to your Webflow dashboard.
To use the Webflow template you need to create a new site, Click on the “new site” button.

Now click on the “template” option.

You will see the template collections. There are both free and premium templates. Select the template of your choice give a name and open it with the webflow designer interface.
Step-3: Customizing Your Template
Now you can start to customize your Webflow template. You're not stuck with the original design; you can make it your own! After completing importing a template, it's time to customize the design to fit your brand. Webflow's visual editor makes it easy to customize every aspect of your website, from colors and fonts to layout and content. Simply click on an element to edit it, or drag and drop new elements onto the page. You can also add custom animations and interactions to make your website stand out.

Here are some ways to personalize your template:
Replace Text and Images: Change all content with your own text, images, and logos.
Edit Styles: Fine-tune the fonts, colors, and spacing to create a unique visual identity.
Add or Remove Elements: Feel free to add new sections or remove elements that don't suit your needs.
CMS Content Management: If your template uses a CMS, you can easily add, edit, and publish website content.
Webflow's intuitive visual interface makes customization a breeze. You can drag, drop, and edit elements directly on the canvas, giving you complete control over your website's look and feel.
Step-4: Preview and Publish

Before you publish your website, preview it to make sure everything looks and works well. Webflow allows you to preview your website in real-time, so you can see exactly how it will look on desktop, tablet, and mobile devices. Once you're happy with the design, simply click the publish button to make your website live.
Step-5: Domain Setup
Free plans offer subdomains (e.g., yoursite.webflow.io). For a custom domain (yourbrand.com), you'll need a paid Site plan. These plans provide secure hosting and advanced SEO controls to get your site noticed.
Choosing Your Plan
Webflow offers tiered plans for both websites and e-commerce stores. The best plan depends on your needs. If you're starting with a simple website, a Basic Site plan might suffice. For e-commerce or feature-rich websites, consider higher tiers that offer more CMS items, form submissions, and advanced functionalities.
Using Webflow E-Commerce Functionality
Learn how to enable e-commerce options, add products, configure payment and shipping options, and optimize your store for a seamless shopping experience.
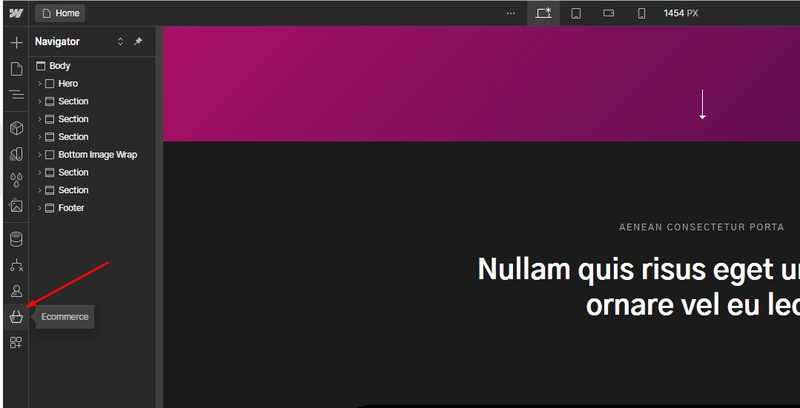
1. Enabling E-Commerce:
To enable e-commerce on your Webflow site, go to the Project Settings, select the 'E-Commerce' tab, and follow the prompts to set up your store. Choose a suitable plan that supports e-commerce. Webflow offers various plans depending on the size and needs of your store.
2. Adding Products:
Navigate to the E-Commerce panel within the Designer. Click on 'Products' and then 'Add New Product'.
Fill in the product details, including name, description, price, images, and variants (such as sizes or colors).
3. Design Your Store Pages:
Use the template's pre-built product pages as a starting point. Customize layouts to showcase product information, add variations (sizes, colors), and integrate eye-catching "Add to Cart" buttons.

4. Checkout Flow:
Webflow allows you to design a smooth checkout process. This might involve customizing the shopping cart page, designing the checkout form, and integrating a payment gateway (like Stripe or PayPal) to securely accept payments.
Summary
Webflow templates are a powerful tool for getting your website up and running quickly and efficiently. By following these steps and leveraging the intuitive Webflow interface, you can create a professional and customized website without needing to code. So dive into the Webflow template marketplace, find a template that inspires you, and get creative.

Top comments (0)
Some comments may only be visible to logged-in visitors. Sign in to view all comments.