Note: This is an advanced Topic So I assume you are already familiar with React, JavaScript, and basics of web development.
Next.Js
Nextjs is a React framework. It is the most popular framework because it is easy to use, very flexible, and has a great file-based routing system. It gives you server-side rendering out of the box.
Let's Dive in
if You don't want to code along and only want to see the code please checkout source code
I Had to create blogs for my personal portfolio site. And there are few posts on the internet but I could not find any simple solution. So I decided To write a simple post about this. Lets Start
To Create a nextjs app run the following Command in terminal
npm init next-app
# or
yarn create next-app
You can use npm or yarn package manager but I will be using yarn
Give your project a name. The Package manager will install all the necessary packages.
Run this command
cd YOUR_PROJECT_NAME
start the Project
yarn dev
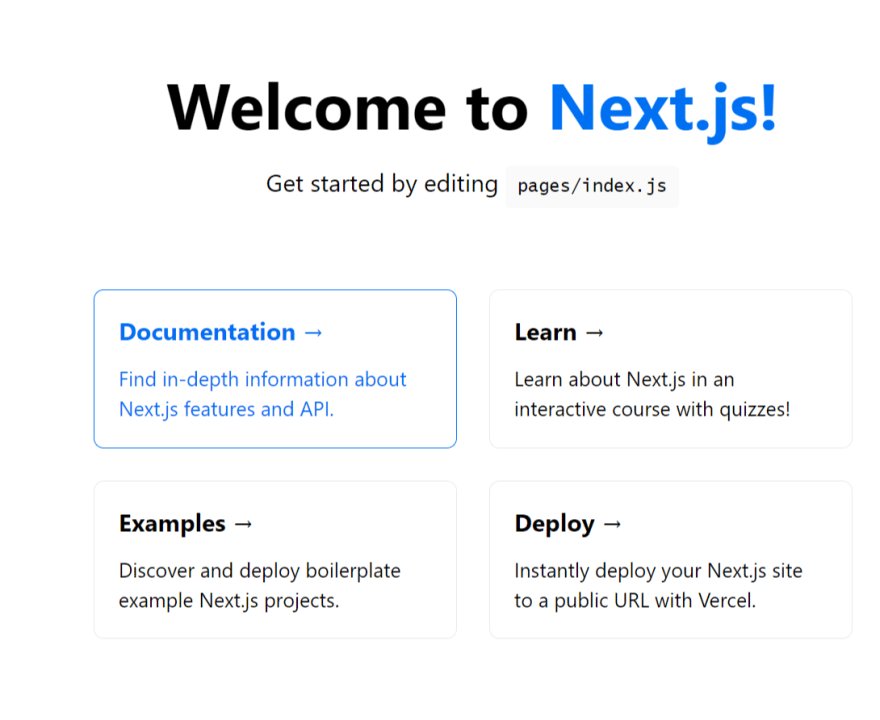
Your project should be online on port 3000. and you should see something like this
Great. In pages/index.js remove everything and paste following code
import React from "react";

const Index = () => {
  return <h1>My First Blog ✍ </h1>;
};

export default Index;
create a file config.json in the root of the folder and provide site title and description. (This step is for SEO purpose).
{
  "title": "Nextjs Blog Site",
  "description": "A Simple Markdown Blog build with Nextjs."
}
create a folder in the root directory called content. This is where our .md files will go.
Now Your Folder structure should look like this

components directory will contain our blogs logic
content directory will contain our markdown files
pages directory contains our pages (routes)
public directory for serving static files (assets)
Lets open pages/index.jsand bring in the site title and description from config.json
import React from "react";

const Index = (props) => {
  console.log("Index -> props", props);

  return <h1>My First Blog ✍ </h1>;
};

export default Index;


export async function getStaticProps() {
  const siteData = await import(`../config.json`);

  return {
    props: {
      title: siteData.default.title,
      description: siteData.default.description,
    },
  };
}
After You Save this page you should see something like this in your browser's console.
Index -> props {title: "Nextjs Blog Site", description: "A Simple Markdown Blog build with Nextjs."}.
Ok So What just Happened here. Let's Break it down
getStaticProps getStaticProps is Nextjs Function which we can call from our page . It will return the props to our component. just like we have props to our index
We will use this method to fetch our posts later.
The content will be generated at the build time. If you don't know what it means don't worry about it just keep that in mind that the content will be available prebuild and we will not be fetching posts every time user visits our site. Pretty Cool right.
we are importing our config.json file and returning title and description as props to our index components
Next.js also gives us the Head component that we can append elements to the head of the page. like site title, meta tags links, and such.
import Head from 'next/head'
 <Head>
    <title>My page title</title>
    <meta name="viewport" content="initial-scale=1.0, width=device-width" />
  </Head>
Let's add this to our Index page
import React from "react";
import Head from "next/head";

const Index = (props) => {
  return (
    <>
      <Head>
        <meta name="viewport" content="width=device-width, initial-scale=1" />
        <meta charSet="utf-8" />
        <meta name="Description" content={props.description}></meta>
        <title>{props.title}</title>
      </Head>
      <h1>My First Blog ✍ </h1>;
    </>
  );
};

export default Index;

export async function getStaticProps() {
  const siteData = await import(`../config.json`);

  return {
    props: {
      title: siteData.default.title,
      description: siteData.default.description,
    },
  };
}
After adding Head take a look at the tab of your browser, what do you see? The Title of the site has been updated.

Ideally you would want to put this to Layout component but in our case, I think this is fine.
Now back to our Blogs. We Need To add some packages to our project. Run The Following command
yarn add react-markdown gray-matter raw-loader
OR
npm install react-markdown gray-matter raw-loader
react-markdown will help us parse and render markdown files
gray-matter will parse front matter of our blogs. (the part at the top of file between --- )
We will need this metadata for title , data and description and slug. You can add anything you like here (maybe hero image URL)
raw-loader will help us import our markdown files.
After we are done with installation we need a little bit of web pack configuration. create a file next.config.js in the root directory
and paste the following code.
module.exports = {
  webpack: function(config) {
    config.module.rules.push({
      test: /\.md$/,
      use: 'raw-loader',
    })
    return config
  }
}
NOTE: After you Create This file You Must Restart your dev server.
In the content directory create two markdown files
content/blog-one.md
---

slug: blog-one
title: My First Blog
description: This Description Of My First Blog.
date: 25-September-2020
---

# h1

## h2

### h3

Normal text
content/blog-two.md
---
slug: blog-two
title: My Second Blog
description: This Description Of My Second Blog.
date: 25-September-2020
---

# h1

## h2

### h3

Normal text
First, we will render lists of blogs with titles and descriptions.
in our index.js replace the getStaticProps function with
export async function getStaticProps() {
  const siteData = await import(`../config.json`);
  const fs = require("fs");

  const files = fs.readdirSync(`${process.cwd()}/content`, "utf-8");

  const blogs = files.filter((fn) => fn.endsWith(".md"));

  const data = blogs.map((blog) => {
    const path = `${process.cwd()}/content/${blog}`;
    const rawContent = fs.readFileSync(path, {
      encoding: "utf-8",
    });

    return rawContent;
  });

  return {
    props: {
      data: data,
      title: siteData.default.title,
      description: siteData.default.description,
    },
  };
}
fs is nodejs module that helps us read and write files. we will use fs.readdirSync to read the files.
process.cwd() will give us the directory where Next.js is being executed. From Our current directory (root) we want to go in /content and read all the files and store them in variable files
endsWith endsWith is a JavaScript string method which determines whether a string ends with the characters of a specified string, returning true or false as appropriate.
we will map over the blogs and get path and rawContent
Now Our index components will receive data prop.
import React from "react";
import Head from "next/head";
import matter from "gray-matter";
import Link from "next/link";

const Index = ({ data, title, description }) => {
  const RealData = data.map((blog) => matter(blog));
  const ListItems = RealData.map((listItem) => listItem.data);

  return (
    <>
      <Head>
        <meta name="viewport" content="width=device-width, initial-scale=1" />
        <meta charSet="utf-8" />
        <meta name="Description" content={description}></meta>
        <title>{title}</title>
      </Head>
      <h1>My First Blog ✍ </h1>;
      <div>
        <ul>
          {ListItems.map((blog, i) => (
            <li key={i}>
              <Link href={`/${blog.slug}`}>
                <a>{blog.title}</a>
              </Link>
                <p>{blog.description}</p>
            </li>
          ))}
        </ul>
      </div>
    </>
  );
};
We are mapping over data and formatting each blog with gray-matter;
At this point, Your should see something like this

if You click on My First Blog it should take you to /blog-one or whatever you named your blog
Dynamic Routes
we May have fifty different blogs. we Don't want to page for each blog. if we make a file in pages directory blog we can navigate to localhost:3000/blog. But if add square brackets around blog (name of file) like so [blog].js we have a dynamic route.
the route will end up to localhost:3000/:blog
Create a new page [blog].js in pages directory
import react from "react";

const Blog = () => {
  return <h1>Blog</h1>;
};

export default Blog;
Now Lets Get the file from content Directory
Blog.getInitialProps = async (context) => {
  const { blog } = context.query;

  const content = await import(`../content/${blog}.md`);
  const data = matter(content.default);

  return { ...data };
};
You Should have content and data prop available in the Blog component
import react from "react";
import matter from "gray-matter";
import ReactMarkdown from "react-markdown";

const Blog = ({ content, data }) => {
  const frontmatter = data;

  return (
    <>
      <h1>{frontmatter.title}</h1>
      <h3>{frontmatter.description}</h3>
      <ReactMarkdown escapeHtml={true} source={content} />
    </>
  );
};

export default Blog;

Blog.getInitialProps = async (context) => {
  const { blog } = context.query;
  // Import our .md file using the `slug` from the URL
  const content = await import(`../content/${blog}.md`);
  const data = matter(content.default);

  return { ...data };
};
Oh My Goodness. It is working.
What about Code
For Code formatting, we will use the react-syntax-highlighter package
yarn add react-syntax-highlighter
Now Create a code Block in [blog].js and pass it to ReactMarkdown
import { Prism as SyntaxHighlighter } from "react-syntax-highlighter";

const CodeBlock = ({ language, value }) => {
  return (
    <SyntaxHighlighter showLineNumbers={true} language={language}>
      {value}
    </SyntaxHighlighter>
  );
};
Now Your [blog].js should look like this
import react from "react";
import matter from "gray-matter";
import ReactMarkdown from "react-markdown";
import { Prism as SyntaxHighlighter } from "react-syntax-highlighter";

const CodeBlock = ({ language, value }) => {
  return (
    <SyntaxHighlighter showLineNumbers={true} language={language}>
      {value}
    </SyntaxHighlighter>
  );
};

const Blog = ({ content, data }) => {
  const frontmatter = data;

  return (
    <>
      <h1>{frontmatter.title}</h1>
      <h3>{frontmatter.description}</h3>
      <ReactMarkdown
        escapeHtml={true}
        source={content}
        renderers={{ code: CodeBlock }}
      />
    </>
  );
};

export default Blog;

Blog.getInitialProps = async (context) => {
  const { blog } = context.query;
  // Import our .md file using the `slug` from the URL
  const content = await import(`../content/${blog}.md`);
  const data = matter(content.default);

  return { ...data };
};
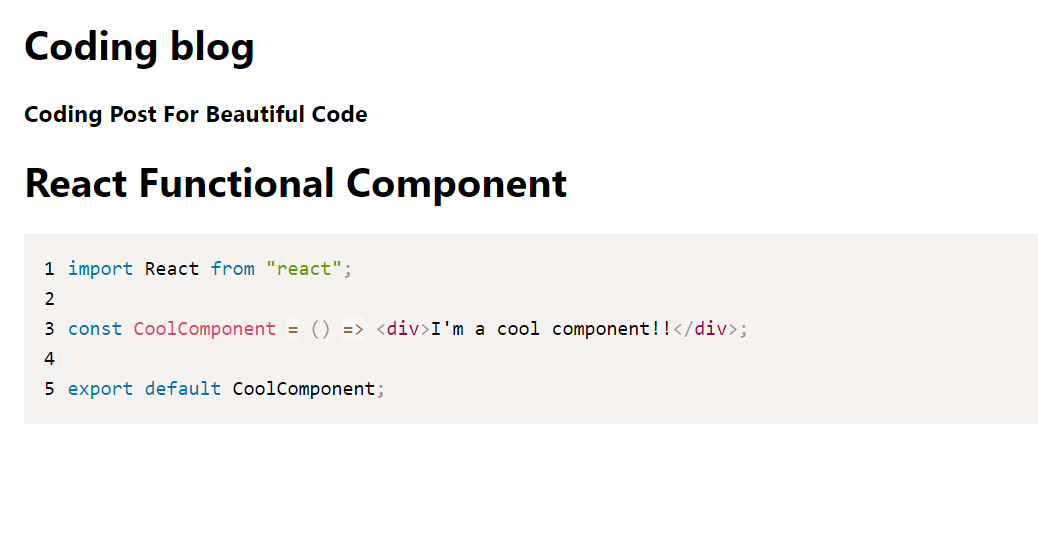
Create a new File in the content directory conding-blog.md
---
slug: coding-blog
title: Coding blog
author: Imran Irshad
description: Coding Post For Beautiful Code
date: 30-September-2020
---
# React Functional Component
```
jsx
import React from "react";
const CoolComponent = () => <div>I'm a cool component!!</div>;
export default CoolComponent;
Now If Click `coding-blog`
## Images
Create a new file in `content` named `image-blog`
markdown
slug: image-blog
title: Image Blog
description: See How Images Looks in our Blog
date: 30-September-2020
Image

Conclusion
Nextjs is awesome and very flexible. You can create really cool stuff with it. I hope you learned a thing or two from this post.

Top comments (6)
Thanks for your awesome post.
My MD(markdown) file name is like prnt.sc/vwwc6p
My URL is like prnt.sc/vwwd67.
Now I want to custom slug.
example:
my blog title is - LABORE ET DOLORE
I want to URL like "labore-et-dolore"
is it possible?
in the above example, your MD file name and slug must be by the same name. because we are getting the file name from URL(query string) and that query string is your slug. with that query string, we are reading the file (by its name).
Your blog title can be whatever you want it to be.
Can it possible to filter the MD file by blog title or id?
This was a good read easy to understand.
I am glad you like it 😊
nice post! I looked at your repo, and saw that components/Blog and components/BlogList files are empty. Do those files serve a purpose?