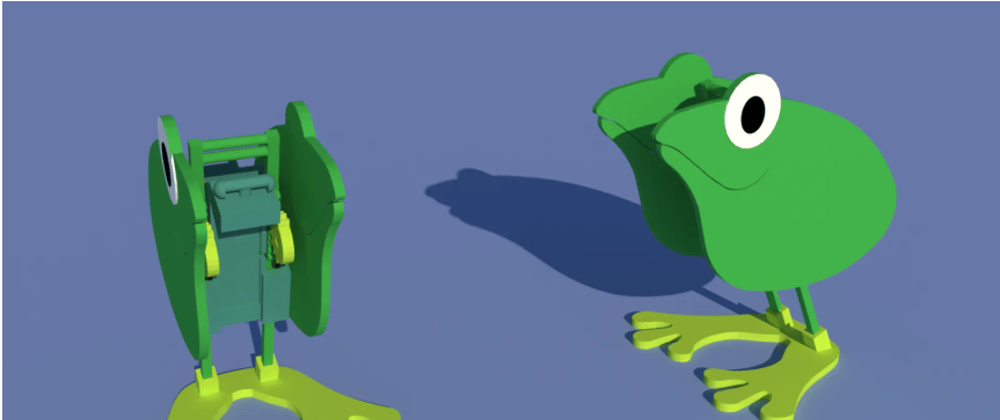
How to Design a Jumping Frog Using 3D CAD Software
Creating a 3D model of a jumping frog in SelfCAD can be done efficiently by importing and assembling pre-made parts. Instead of sculpting the frog from the ground up, this method focuses on positioning, resizing, and aligning the individual components to form a cohesive model. Using SelfCAD’s transformation tools, such as move, rotate, and scale, the separate parts—body, legs, and head—are carefully adjusted to create a natural jumping pose. This approach simplifies the modeling
process while still allowing room for customization and refinement.
This article will walk through the steps of assembling a jumping frog using SelfCAD. From importing the parts to fine-tuning their placement and ensuring a realistic final pose, each stage will be explained in detail. By the end of this guide, you will have a fully assembled 3D frog model that is ready for animation or 3D printing
To access the interactive tutorial to this article, check out; https://www.selfcad.com/tutorials/6o6j4er62f1squ26p3v3b6z3384r174h613s
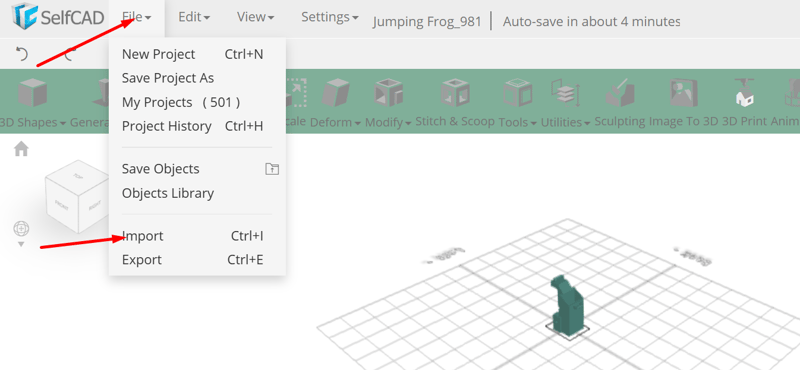
Once you’ve launched the editor;
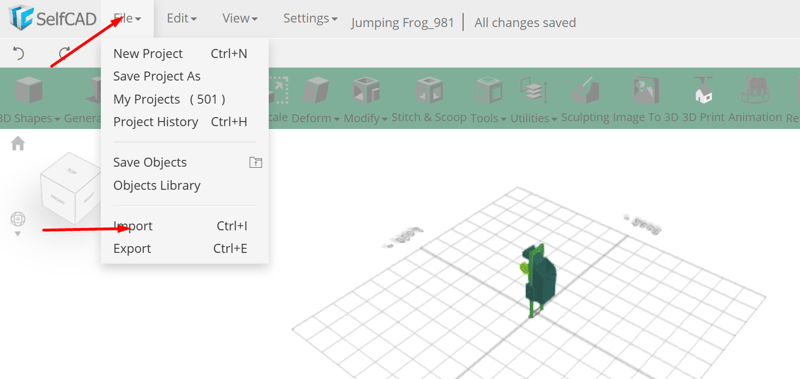
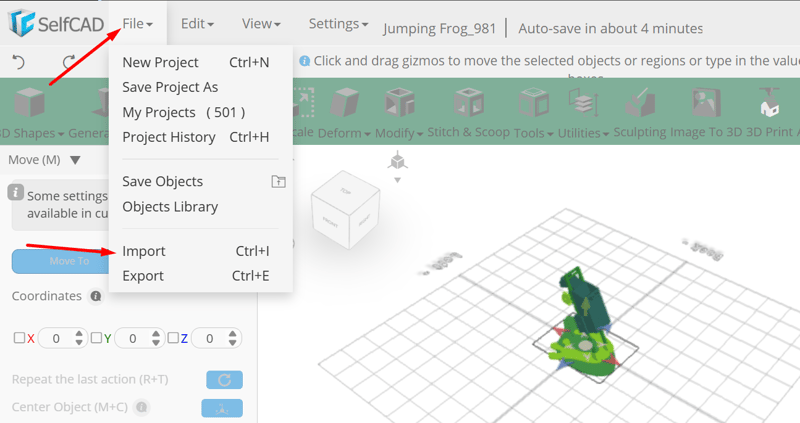
From the file menu on the top toolbar click import to import object; click load object from tutorial button to add object
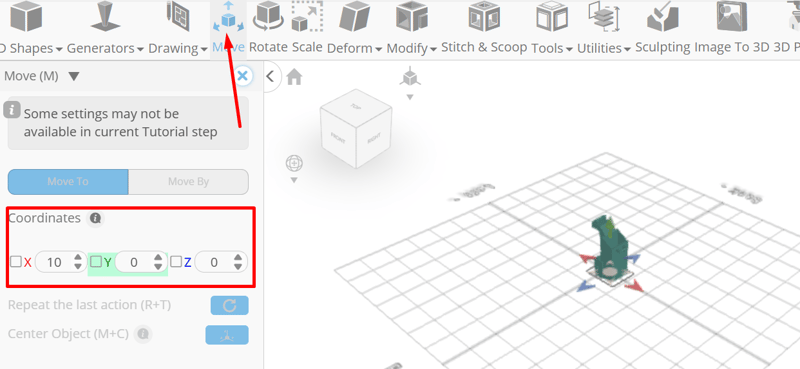
Click move on the toolbar; Set z to 10, y to 55
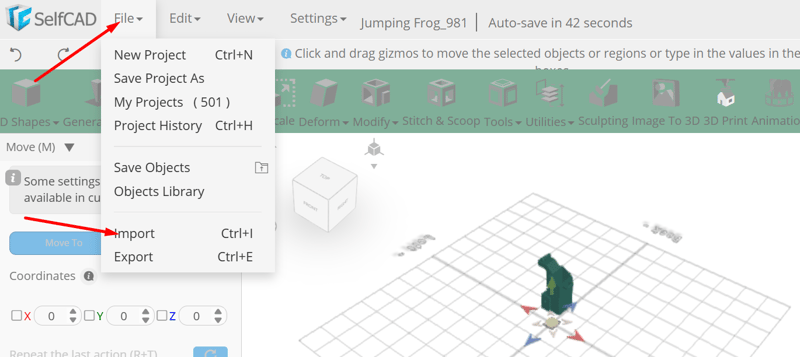
From the file menu on the top toolbar click import to import object; click load object from tutorial button to add object
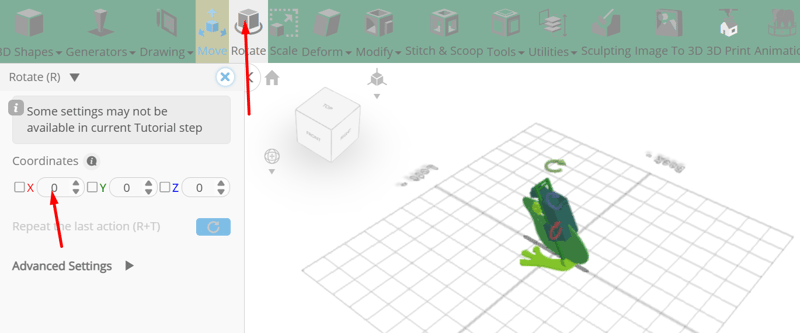
Click rotate on the toolbar; Set x to 90.
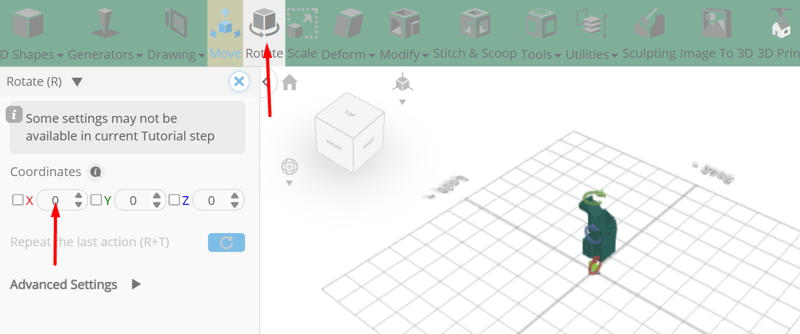
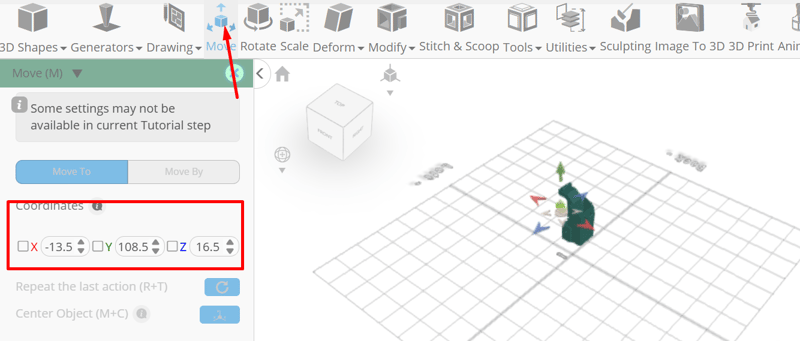
Click move on the toolbar; Set x to -13.5, y to 108.5, z to 16.5
Click ‘x’ to close transformation panel
From the utilities category on the toolbar choose mirror; Set create copy to true, direction to back, offset to 14
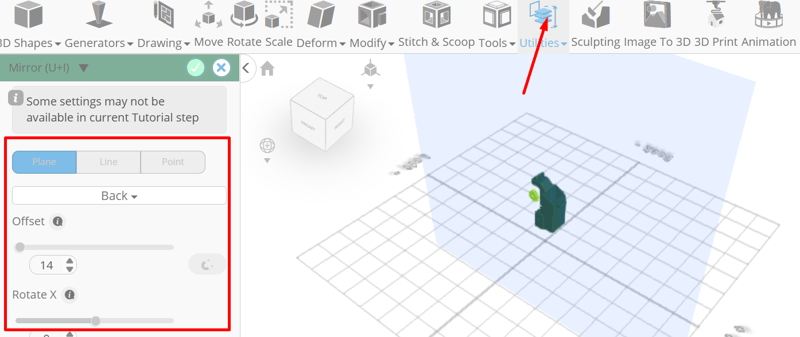
Tick the checkmark to finalize mirror
From the file menu on the top toolbar click import to import object; click load object from tutorial button to add object
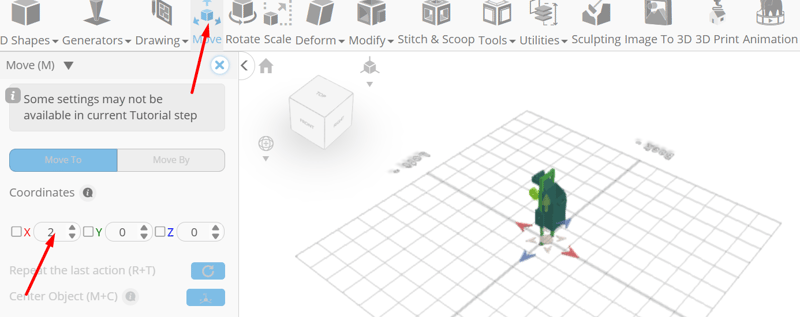
Click move on the toolbar; Set x to 2
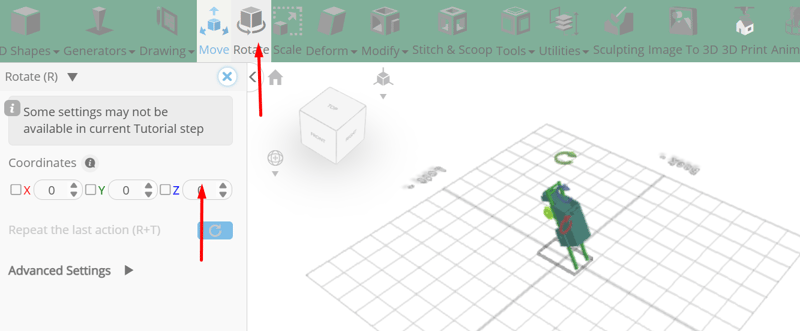
From the edit menu on the top toolbar click select all; click rotate on the toolbar;set z to -25
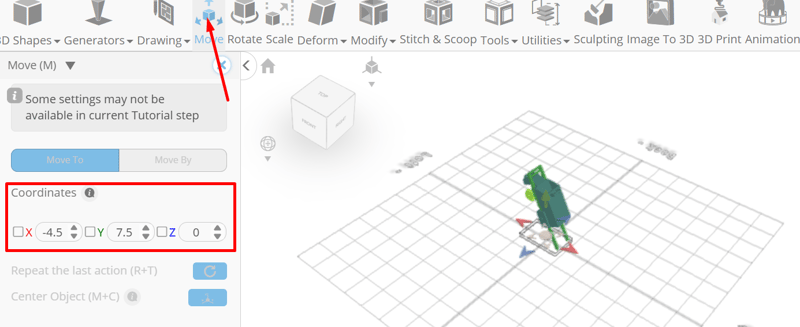
Click move on the toolbar; Set x to -4.5, y to 7.5
From the file menu on the top toolbar click import to import object; click load object from tutorial button to add object
Click rotate on the toolbar; Set x to -90
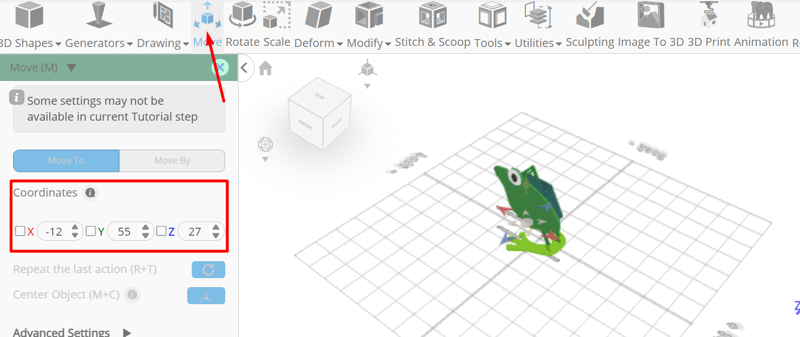
Click move on the toolbar; Set x to -12, y to 55, z to 27
Click ‘x’ to close transformation panel
From the utilities category on the toolbar choose mirror; Set create copy to true, direction to back, offset to 24.35
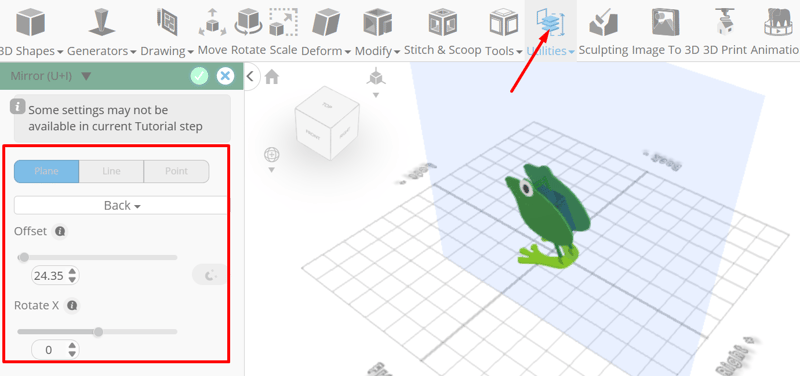
Tick the checkmark to finalize mirror
Click on union1, union 1(1) to select
Click stitch & scoop on the toolbar; from the tool panel choose difference, Choose union 1 to subtract and set keepsubtractedobject to true

Tick the checkmark to finalize difference
As you continue honing your design skills, remember that SelfCAD offers a wealth of resources to support your learning journey. To deepen your understanding and explore more advanced features, consider checking out the interactive tutorials (https://www.selfcad.com/tutorials) available on the SelfCAD website. The tutorials page provides a treasure trove of guides, tips, and tricks that cater to designers of all levels.
More structured learning experience can also be accessed at the SelfCAD Academy (https://www.selfcad.com/academy/curriculum/), https://www.youtube.com/@3dmodeling101, and 3D Modeling 101 series (https://www.youtube.com/playlist?list=PL74nFNT8yS9DcE1UlUUdiR1wFGv9DDfTB). This comprehensive resource offers in-depth courses taught by industry experts, allowing you to master the intricacies of SelfCAD at your own pace

Top comments (0)