In the previous article, I explain how to migrate existing M code snippets into Power BI custom connector.
In this article, I explain how to build connector which require AAD authentication and some extra features.
I use the sample code found here. I did some modifications so that I can simplify the explanation.
Microsoft Graph
If you are using Microsoft 365 (ex. Office 365) such as Exchange Online, SharePoint Online and/or Microsoft teams, then you should be interested in Microsoft Graph. Why? Because you can access almost any data via the single endpoint.
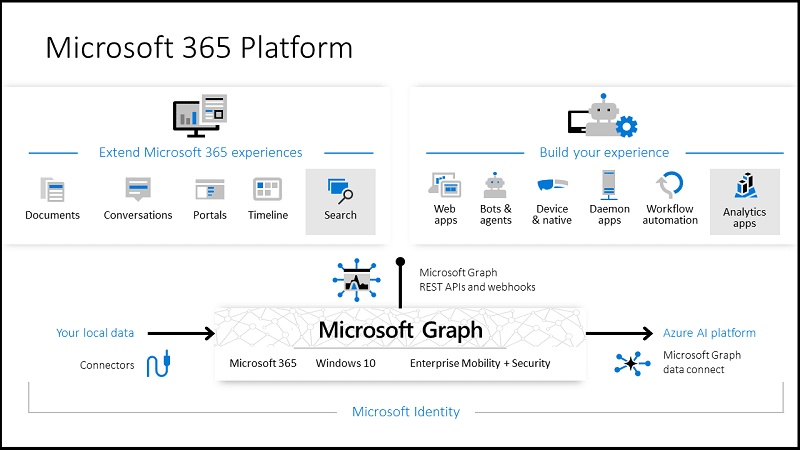
You can access Graph Explorer to try it out.
AAD Authentication for Custom Connector
There are two steps to enable AAD authentication.
- Register an application in Azure AD
- Use the registered information in Custom Connector
This means you need, at least, application creation role. If you are not sure or you don't have it, go ahead to create Microsoft E3/E5 trial for testing this.
Register Application in AAD
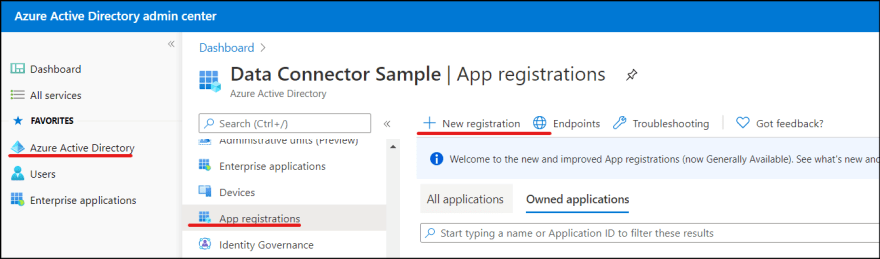
1. Go to [https://portal.office.com], and click Azure Active Directory in Admin centers.

2. Navigate to Azure Active Directory | App registrations. Click New registration button.
3. Enter an application name and select single tenant for supported account type.

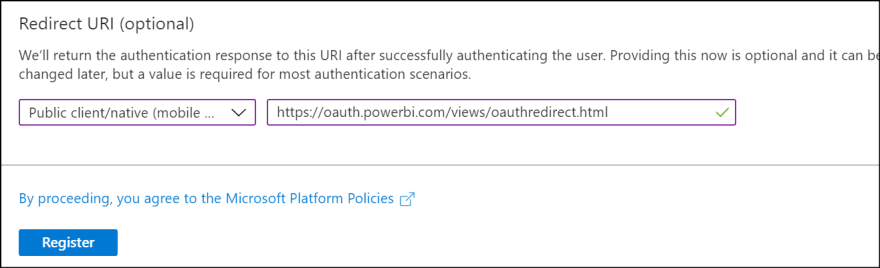
4. Select Public client/native type and enter https://oauth.powerbi.com/views/oauthredirect.html as redirect url. Then click Register.
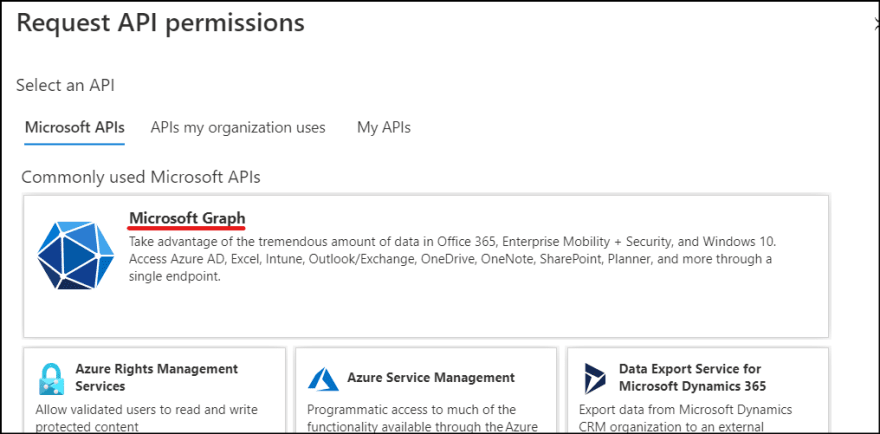
5. Once the application is created, then set permission settings. Click API permissions and click Add a permission.

6. You specify which permission you want to give to the connector. Click Microsoft Graph.
7. Microsoft Graph API provides granular control of permissions. Click Delegated permissions.
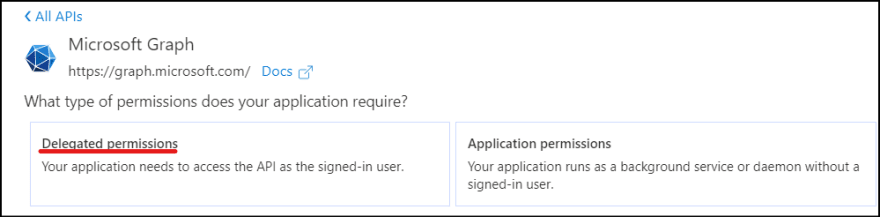
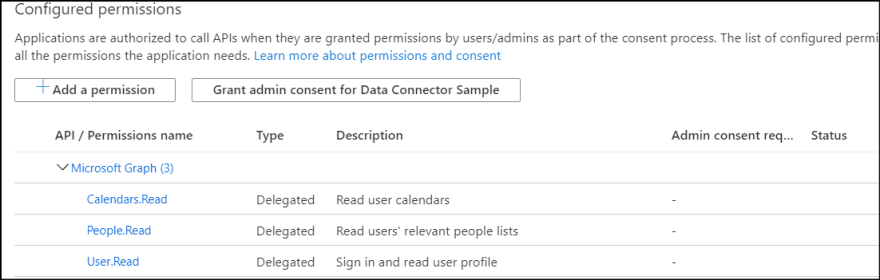
8. Thought the sample uses more privilege, I keep it simple here. Select following permissions.
- User.Read (Should be pre-selected)
- Calendars.Read
- People.Read
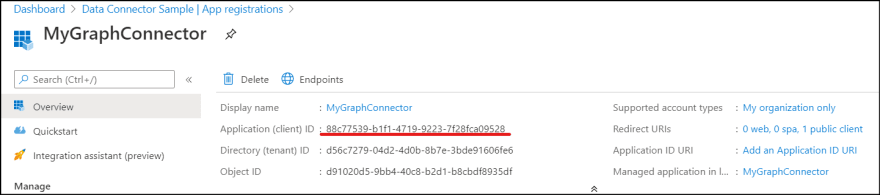
9. Finally, click Overview and copy **Application (client) ID.
Develop Custom Connector
Now, create the custom connector. Even though we have sample in GitHub, I will explain how to develop it from scratch.
Create project
See previous article and create Data Connector project. I name it MyGraphConnector here.
Update DataSource Kind
DataSource.Kind defines data source authentication information. By default, it set anonymous authentication (Implicit) only like below. It uses same name as the project name.
// Data Source Kind description
MyGraphConnector = [
    Authentication = [
        // Key = [],
        // UsernamePassword = [],
        // Windows = [],
        Implicit = []
    ],
    Label = Extension.LoadString("DataSourceLabel")
];
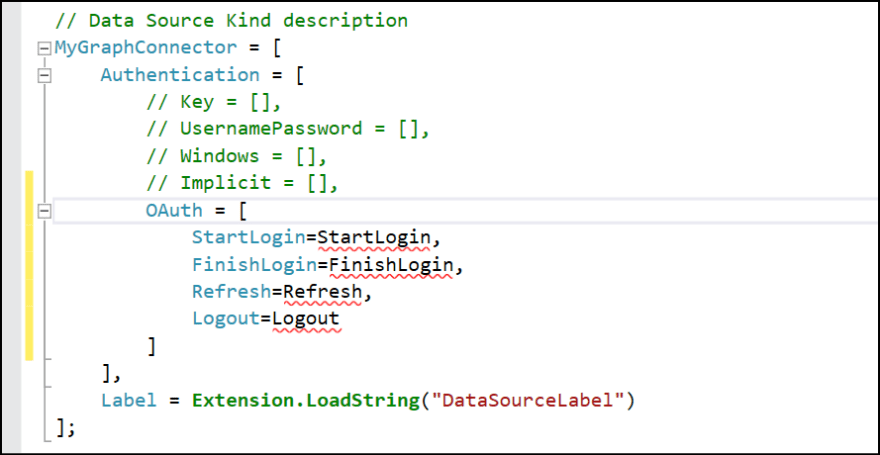
Comment out the Implicit and add OAuth section. The OAuth supports several functions.
OAuth = [
    StartLogin=StartLogin,
    FinishLogin=FinishLogin
]
- StartLogin: Invokes when user logs in to kick the login flow.
- FinishLogin: Invokes after user logs in to extract the access_token.
It also supports other functions such as Refresh or Logout.
As we didn't define any function yet, it shows with red lines.
Add StartLogin
Add StartLogin which I copied from the sample code and tweak a bit.
client_id = "88c77539-b1f1-4719-9223-7f28fca09528";

StartLogin = (resourceUrl, state, display) =>
    let
        authorizeUrl = "https://login.microsoftonline.com/organizations/oauth2/v2.0/authorize?" & Uri.BuildQueryString([
            client_id = client_id,
            redirect_uri = "https://oauth.powerbi.com/views/oauthredirect.html",
            state = state,
            scope = "offline_access User.Read Calendars.Read People.Read",
            response_type = "code",
            response_mode = "query",
            login = "login"
        ])
    in
        [
            LoginUri = authorizeUrl,
            CallbackUri = "https://oauth.powerbi.com/views/oauthredirect.html",
            WindowHeight = 720,
            WindowWidth = 1024,
            Context = null
        ];
If you are a developer and knows OAuth 2.0 flow, you already know what this is. If you don't know, then no worries. It simply hit endpoints and get token for you. Azure AD provides some common endpoints for all organizations, but you need to give client_id you just created as it's varies. Replace the id to your own application id.
Add FinishLogin
When StartLogin successfully completed, then FinishLogin is invoked OAuth flow actually has two steps. StartLogin just obtained "code" which you can get access token. Paste following code.
FinishLogin = (context, callbackUri, state) =>
    let
        parts = Uri.Parts(callbackUri)[Query],
        result = if (Record.HasFields(parts, {"error", "error_description"})) then
                    error Error.Record(parts[error], parts[error_description], parts)
                 else
                    TokenMethod("authorization_code", "code", parts[code])
    in
        result;

TokenMethod = (grantType, tokenField, code) =>
    let
        queryString = [
            client_id = client_id,
            scope = "offline_access User.Read Calendars.Read People.Read",
            grant_type = grantType,
            redirect_uri = "https://oauth.powerbi.com/views/oauthredirect.html"
        ],
        queryWithCode = Record.AddField(queryString, tokenField, code),

        tokenResponse = Web.Contents("https://login.microsoftonline.com/organizations/oauth2/v2.0/token", [
            Content = Text.ToBinary(Uri.BuildQueryString(queryWithCode)),
            Headers = [
                #"Content-type" = "application/x-www-form-urlencoded",
                #"Accept" = "application/json"
            ],
            ManualStatusHandling = {400}
        ]),
        body = Json.Document(tokenResponse),
        result = if (Record.HasFields(body, {"error", "error_description"})) then
                    error Error.Record(body[error], body[error_description], body)
                 else
                    body
    in
        result;
Even though this is a bit long, it simply calls another Web API call and obtain body which contains access_token.
Update shared function
This time, simply expose one function. Update shared function as below.
[DataSource.Kind="MyGraphConnector", Publish="MyGraphConnector.Publish"]
shared MyGraphConnector.Contents = () =>
    let
        source = OData.Feed("https://graph.microsoft.com/v1.0/me/", null, [ ODataVersion = 4, MoreColumns = true ])
    in
        source;
Test the connector
Hit F5 and try the code. I need to login first. Select OAuth2 as credential type and click Login.
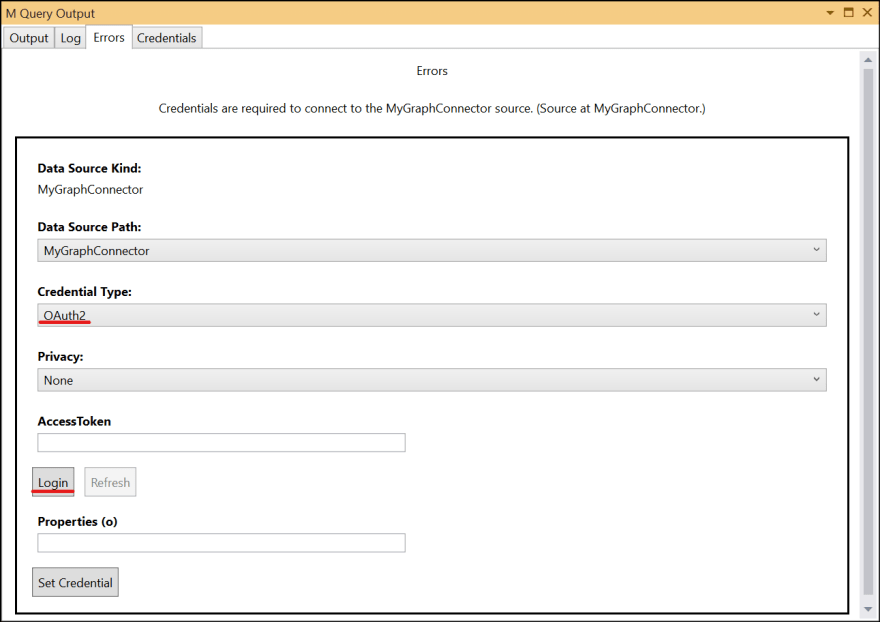
Once you logged in, click Set Credential.

Run the test again by hitting F5. You see the result.

Deploy and execute the connect
We can now deploy the connector. Follow the steps in Deploy section of previous article and load into Power BI Desktop.
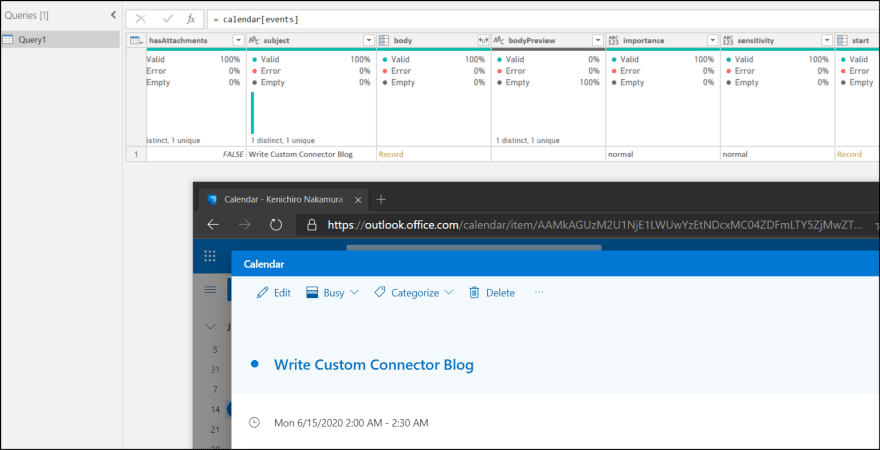
You can find and use the MyGraph connector as expected.

As I set Calendars.Read permission, I can see my own calendar items.
Summary
In this article, I explain how you can use OAuth authentication to access Microsoft Graph endpoint. There are still so many questions remain. I may write other articles if I find interesting topic.
If you want to learn more detail, take a look the sample code as it contains more than I explained.

Oldest comments (4)
Hi, I am getting this error when trying to refresh following the set credentials set.
I believe I have followed all the steps correctly.
dev-to-uploads.s3.amazonaws.com/up...
I don't have much idea from the error message but it simply says schema issue. Do you have issue if you re-create the datasource or use brand new vanilla environment?
Is there a way to read a value from Azure App Configuration using such a custom connector?
If there are APIs available, but I am not sure. sorry.