What this is good for
To automate the creation of online accounts, we need to perform the same http requests that a user does when signing up programmatically. If it is a website, you can use the DevTools to inspect the network traffic and look it up. If it is an app, you can use an emulator and a tool like mitmproxy to monitor http requests.
Then you can write a quite simple script which creates hundreds of user accounts in a matter of seconds.
put a gentle timeout in between http requests so your script will not be considered as a Denial of Service attack
Most online services require users to have an account linked to a valid email address. To verify that the user really has access to the provided email address, companies use an email verification system in form of a special link sent via email which contains some id and has to be clicked in order to verify.
I am going to show you how to automate that with some simple JavaScript.
Domain and Mandrill Setup
First, We need our own domain to create as many email addresses as we want.
I am using NameCheap in this guide but you can use whatever you are comfortable with.
if you are a student, you can use GitHub student developer pack to get a free .me domain
We want to use MailChimp/Mandrill's Inbound API which has a good free tier to POST any incoming email to a Webhook we will setup later. Again, there's other services such as SendGrid which do the same job, so feel free to use anything you want to.
Follow the instructions to verify an Email Domain at Mailchimp!
We will have to setup some DNS records.
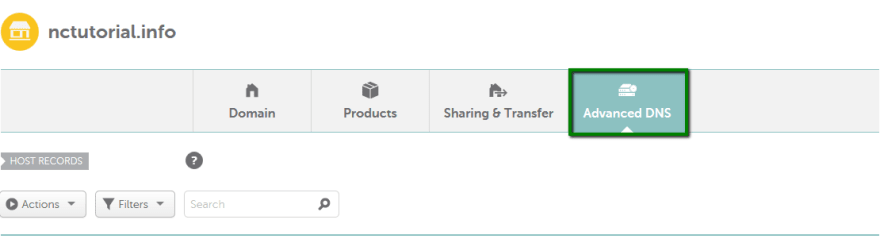
Navigate to https://mandrillapp.com/inbound, add your domain and click "View Setup Instructions". You will need to add 2 DNS records of type "MX" which will set Mandrill as the Mailserver for your domain.
Click "Test DNS Settings"." If it works, proceed:
Let's start coding
- Create a new folder and call it what you want
- cd into it and
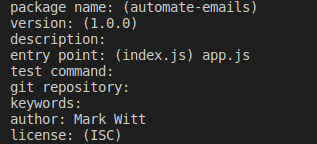
npm init(assuming you have node.js installed
- We will need 3 dependencies and 1 optional devDependency:
- express to setup a server that listens for incoming http requests
- cheerio to parse the HTML structure of an incoming email and filter out the link we need to click to verify our email address by an attribute (in this case the text Content of the link but it could be any html attribute)
- puppeteer to access the link href inside an automated browser environment (these verification systems use redirects and JavaScript so sending a simple GET request will not do in most cases)
- nodemon: this devDependency automatically reruns our app when a file in the project changes. Run:
  npm install cheerio express puppeteer
  npm i -D nodemon
- Let's make an app.js file in our project directory and create a simple express app:
   const express = require("express");
   const app = express();
   const cheerio = require("cheerio");
   const puppeteer = require("puppeteer");
   app.use(express.urlencoded());
   /* this middleware enables us to access the http body
   (containing our emails) coming from Mandrill */
   app.get("/", (req, res) => res.sendStatus(200));
   /*adding a get route shows to Mandrill that the url "exists"
   by sending an "OK" status code. */
   app.post("/", (req, res) => {
     console.log(req.body);
     // let us just console.log the body for now...
     req.sendStatus(200);
   });
   app.listen(process.env.PORT || 3000);
   /*for local development, our server will run on port 3000
   When deployed, the PORT environment will be created by
   Heroku */
- In package.json, add two npm scripts:
   "scripts": {
       "start": "node app.js",
       "dev": "nodemon start"
     },
- Run
npm run devto start a local server. Notice that it reruns everytime you change something and save.
build a tunnel using ngrok
ngrok is a super cool free utility that we can use to tunnel our localhost server to the world wide web.
- Download ngrok and unzip it into your project directory
-
add a .gitignore file:
ngrok
#on windows: ngrok.exe
node_modules
run
ngrok http 3000
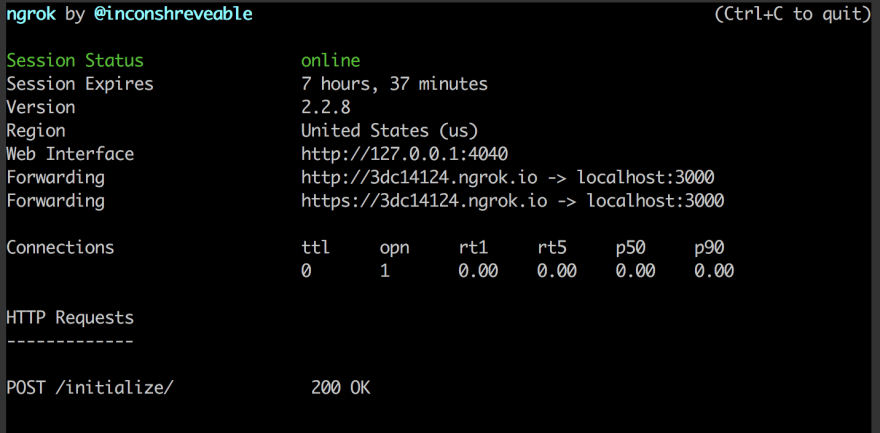
copy the full .ngrok.io address from your command line (keep in mind that it will change if you restart ngrok)
Go to Mandrill Inbound ->
Select your Domain -> Routes and add a new Route.
Enter an asterik (*) in the first field to forward all email addresses to your webhook. Paste your ngrok url in the second field.Save the webhook, select it in the dashboard and click "send test". If everything is working, you will get something logged to your console.
Use
JSON.parse(unescape(req.body.mandrill_events)to get a valid object that you can explore. You can iterate over emails using forEach.
app.post("/", (req, res) => {
  console.log(req.body);
  const mandrillEvents = JSON.parse(unescape(req.body.mandrill_events));

  mandrillEvents.forEach((mandrillEvent) => {
    const html = mandrillEvent.msg.html;
    parse(html); //implemented in next step
  });
  res.sendStatus(200);
});
Extracting the desired url using cheerio
We now have the html content of our email as a string.
Let us use cheerio to parse it and extract our link:
const LINK_TEXT = "verify email address"; //adjust this
function parse(html) {
  const $ = cheerio.load(html, {
    withDomLvl1: true,
    normalizeWhitespace: true,
    decodeEntities: true,
  });
  /* creates a traversable Document tree from your html string
      Now, let us iterate over every anchor tag and see
      if it is the link we are looking for */
  $("a").each((i, link) => {
    const href = link.attribs["href"];
    if (link.childNodes[0].data) {
      if (link.childNodes[0].data.includes(LINK_TEXT)) clickLink(href); //will be implemented in the next step
    }
  });
}
Notice that the code you need may differ from mine depending on your email html structure. Analyze it by saving the html on your file system and opening it in your web browser. The cheerio library has a very similar syntax to jQuery.
"Clicking the link" using puppeteer
Puppeteer is a library which allows you to run an automated Chromium instance.
Let us create a clickLink function to open the url provided url.
async function clickLink(href) {
  const browser = await puppeteer.launch({ headless: false });
  /* setting "headless" to false enables us
  to actually see what is going on behind the scenes*/
  const page = await browser.newPage();
  await page.goto(href);
  console.log("Puppeteer is at " + href);
}
Deployment using Heroku
Create a Heroku account and sign it
Download and install the Heroku CLI
Run
heroku loginand follow the instructionscd into the project directory and run
git init && heroku createFor technical reasons which I am not the right person to explain, we need to install the node buildpack and the puppeteer buildpack for Heroku:
heroku buildpacks:add jontewks/puppeteer && heroku buildpacks:add heroku/nodejsThe puppeteer buildpack requires us to run puppeteer with the argument "--no-sandbox". At the same time, we want it to run in "headless" mode on the server (without gui).
Let's create two constants devOptions and prodOptions:
const devOptions = {
  headless: false,
};
const prodOptions = {
  args: ["--no-sandbox"],
  //"headless" defaults to tru
};
Inside the heroku dyno, the environment variable NODE_ENV is setto "production". We can use it to run puppeteer with differentoptions depending on if we are running it locally or inside Heroku.
Change the first line inside clickLink:
const browser = await puppeteer.launch(
  process.env.NODE_ENV === "production" ? prodOptions : devOptions
);
- We're ready to rumble. Open your terminal and run
  git add .
  git commit -am "whatever message you want to put here i don't care"
  git push heroku master
- Type
heroku info -sand copy the Web URL from your terminal. Paste it as the webhook URL inside Mandrill Inbound Dashboard. Now, everything should work as expected.
If it doesn't work or you have anything else you want to tell me, feel free to hit me up anytime on Twitter or via E-Mail.
This is my first blog post and I am always grateful to hear any feedback or suggestions from you guys 🤠

Oldest comments (0)