📌 Step 1: Sign in to Azure Portal
Go to https://portal.azure.com and log in with your Azure account credentials.
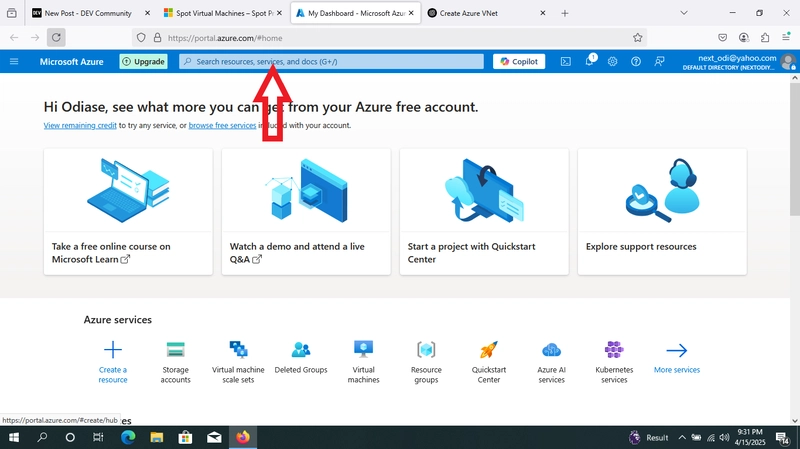
📌 Step 2: Navigate to ‘Virtual Networks’
In the left-hand menu, select "Create a resource".

In the Search the Marketplace box, type Virtual Network and select it.

Click Create.


📌 Step 3: Configure the Basics
In the Basics tab:
Subscription: Select your subscription.

Resource group: Choose an existing one or create a new resource group.

Name: Give your VNet a meaningful name (e.g., MyVNet).

Region: Select the Azure region (location) for your VNet.
Click Next: IP Addresses >

📌 Step 4: Configure IP Address Space
In the IP Addresses tab:
IPv4 address space: Set your CIDR block (e.g., 10.0.0.0/16).

Subnets: Add at least one subnet. Click + Add subnet:

    Name: e.g., Subnet1

    Subnet address range: e.g., 10.0.0.0/24
Click Add.
You can add more subnets if needed.


📌 Step 5: Review + Create
Review your configuration.

Click Create.
Deployment takes a few seconds.


Top comments (0)