Step 1: Create a Storage Account
Go to the Azure Portal.
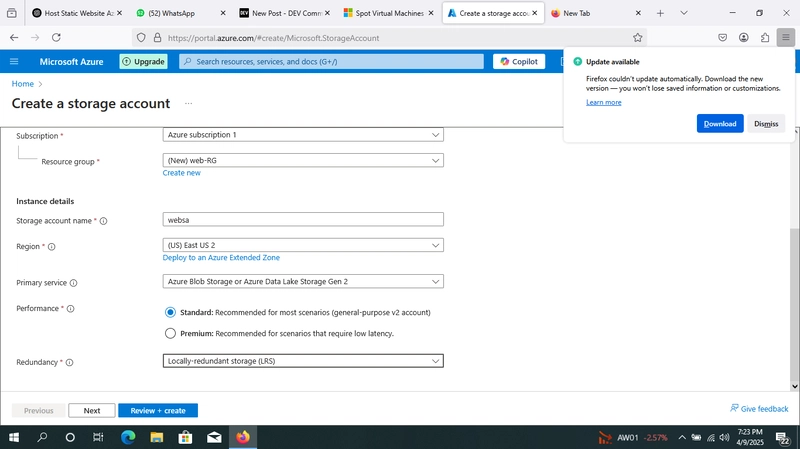
Click on "Create a resource" → Search for "Storage account" → Click "Create".
Fill in the necessary fields:
Subscription and Resource group
Storage account name (must be unique globally)
Choose Region
Choose Performance and Replication as needed
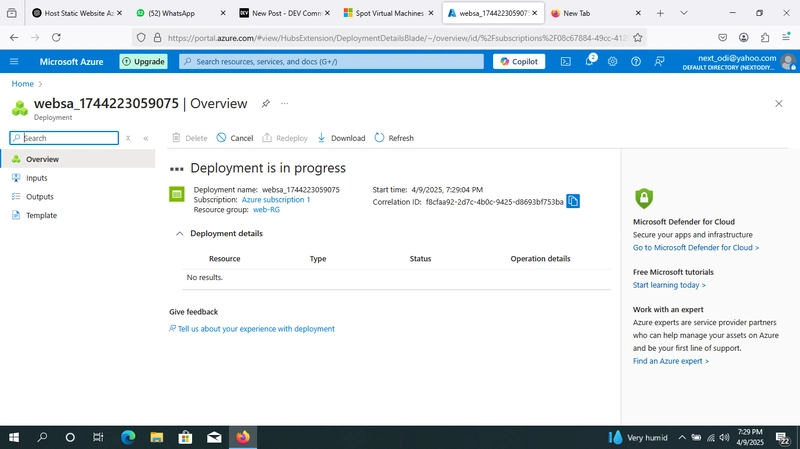
Click "Review + create" → then "Create".

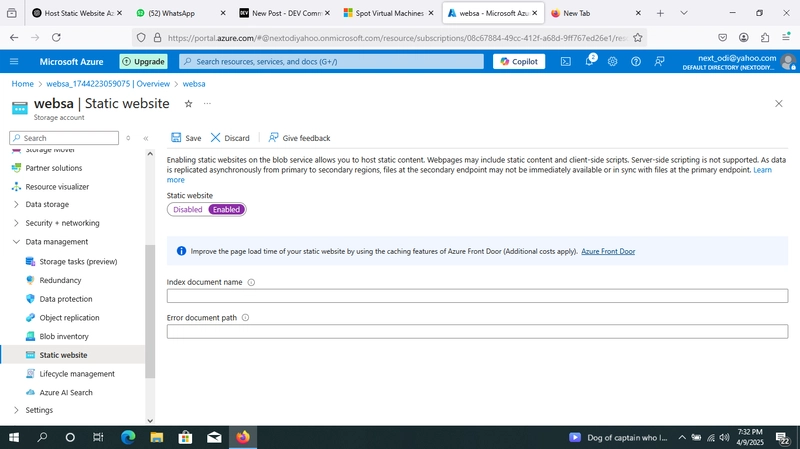
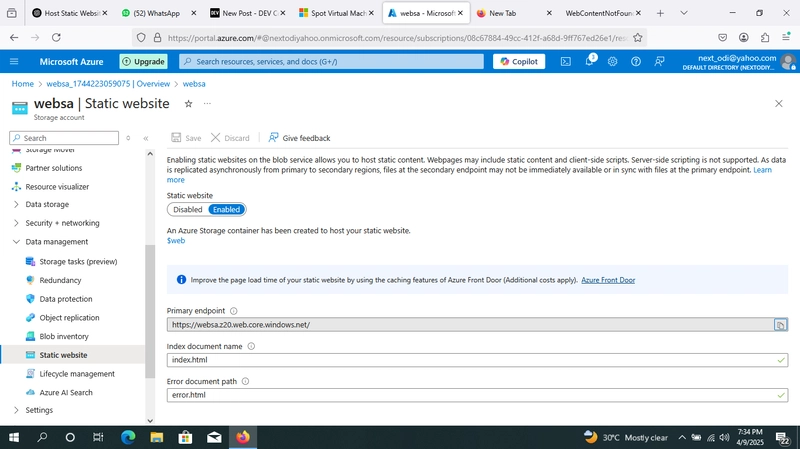
Step 2: Enable Static Website Hosting
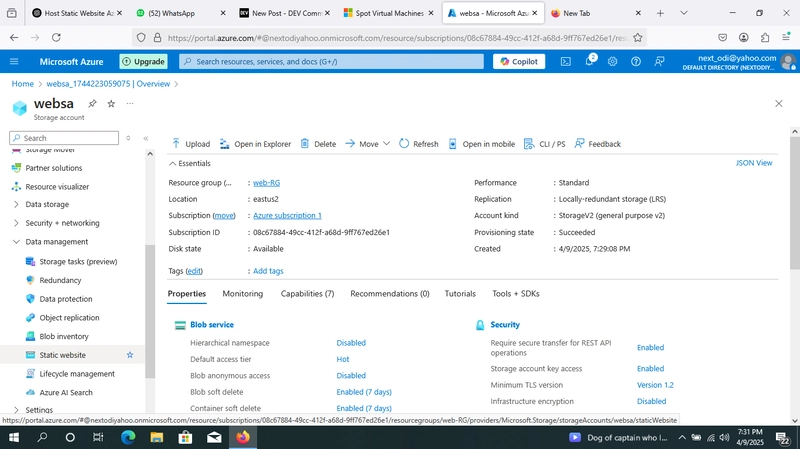
After deployment, go to the Storage Account you just created.

In the left sidebar, scroll to the "Data management" section and click "Static website".

Click "Enable".

Set the following:

    Index document name (e.g., index.html)

    Error document path (e.g., 404.html) – optional

Click Save.
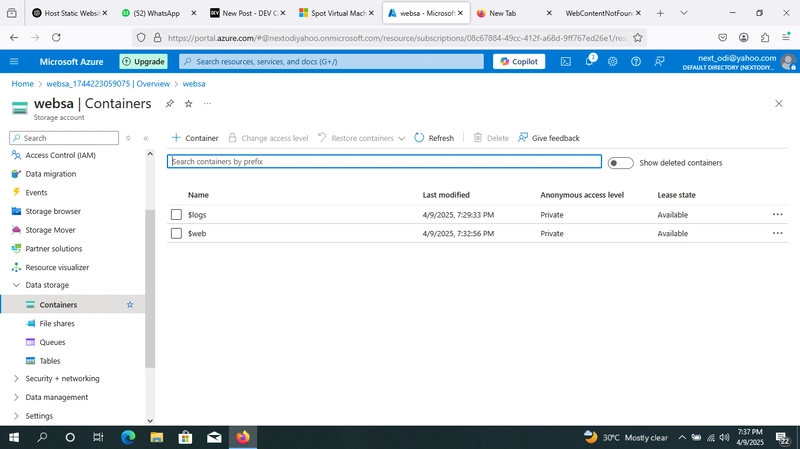
Step 3: Upload Website Files
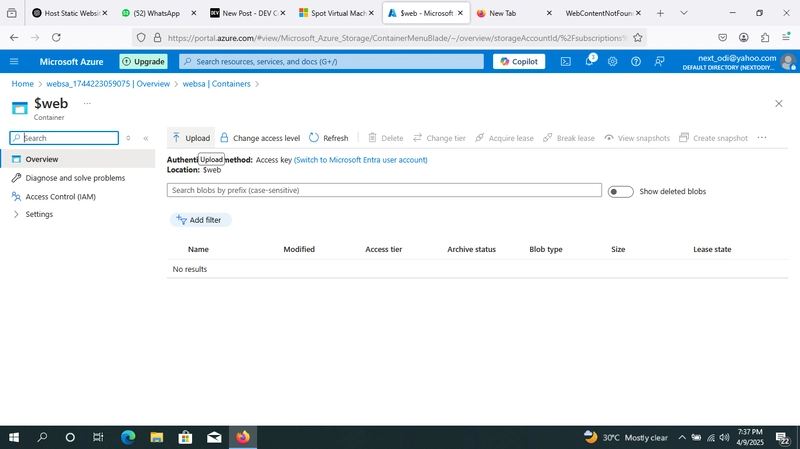
In the same storage account, go to "Containers" in the sidebar.
You’ll see a new container named $web created automatically for static website hosting.
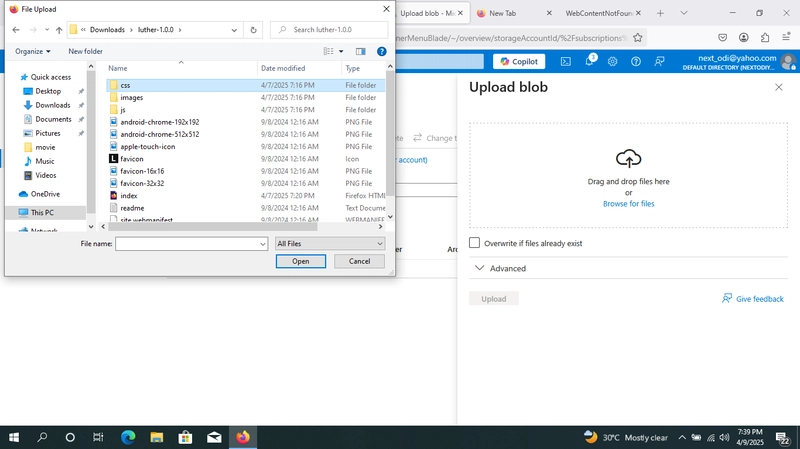
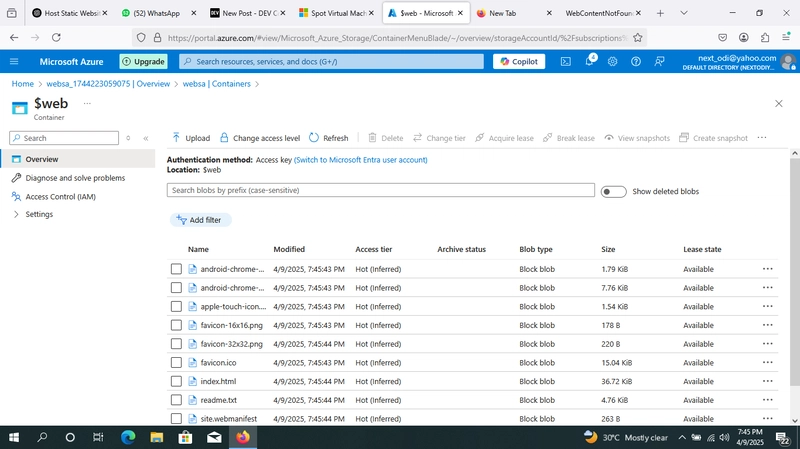
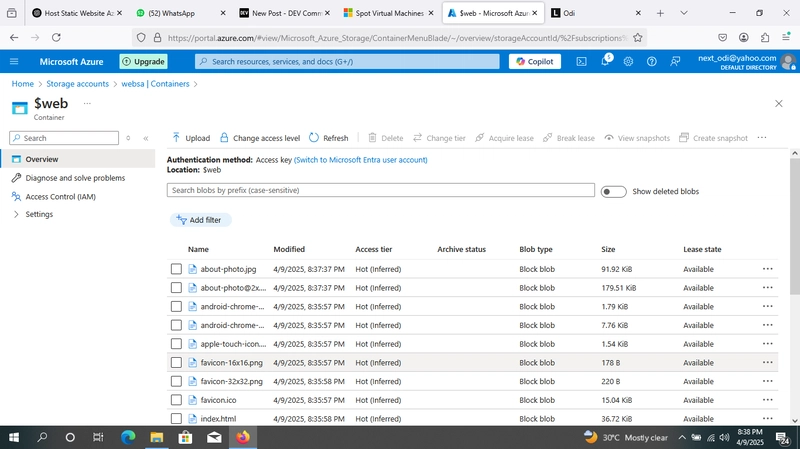
Click on $web → then click "Upload".
Upload your index.html, 404.html, and any CSS/JS/images.
Ensure files are uploaded with the correct Content-Type (e.g., .html as text/html, .css as text/css).

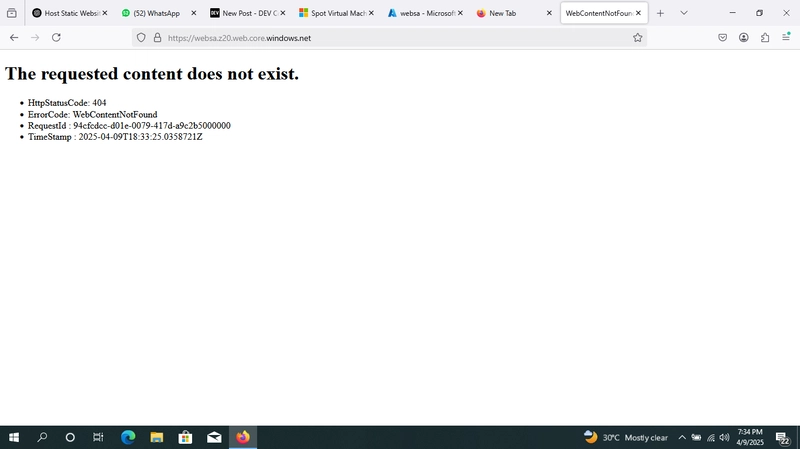
Step 4: Test Your Site
Go back to the "Static website" blade.

Click on the primary endpoint URL — it should load your index.html.

Top comments (0)