
One thing that really helps devs stand out is to set up your own website. If you've spent any time in the Twitter/DEV/Medium sphere, you've probably heard about the benefits of blogging and growing an online presence in general, and setting up your own website is an important step in that process.
Let's go through how you can buy a custom domain name and then host it for free on Netlify using a Gatsby blog template.
Getting Your Own Domain
Although it's possible to host your site for free, getting your custom domain will cost a bit of money. If you don't have a personalised domain name already, it is possible to host your website on Netlify without one, but the URL address will include ".netlify.app" at the end. This is a great starting point if you're working with a restricted budget or you're not sure about taking the plunge and buying your own domain name outright yet. But if you're serious about setting up your own website, I'd recommend purchasing your own unique domain name because it looks a lot more professional, and it can be done quite cheaply (depending on the name you want.) My own domain cost me £32 for two years, which isn't too bad in my opinion! (There are cheaper ones, too.)
To get started, decide which registrar service you want to purchase your domain name from. There are tonnes of options out there, with some of the most well known being:
I personally used GoDaddy, so I'll be covering the exact process for that site, but they should be mostly the same regardless. Do some research and choose the provider that's right for you.
If you go to the GoDaddy website, you can easily search for the name you're interested in. They'll give you options based on your search if the one you want is already taken. Once you've decided, add it to your cart and check out.
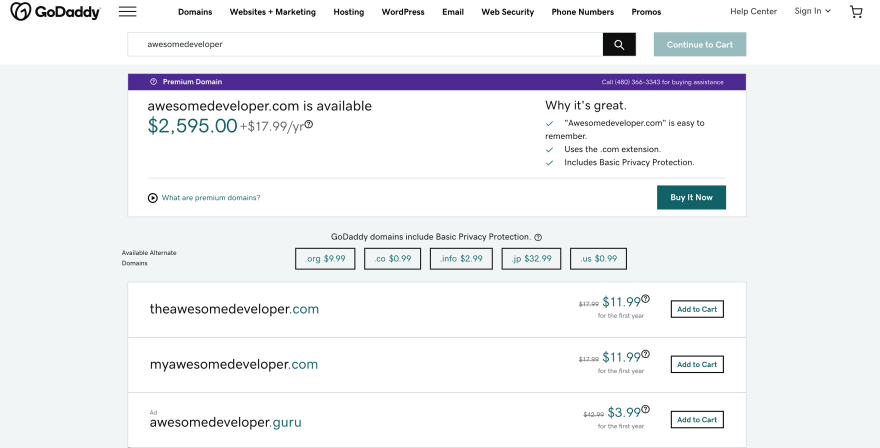
During the checkout process, GoDaddy will give you the option to purchase various add-ons; none of these are particularly necessary so feel free to skip them all, or add the ones you're interested in.
Make sure you uncheck "Start your website for free".
We'll be setting up our own Gatsby template soon, so it's not necessary. Once you've paid, the domain name is yours! 🎉
Set Up Your Gatsby Project
Gatsby is an awesome React-based static site generator that scaffolds your projects for you, allowing you to get up and running in no time. I'm going to walk you through setting up a Gatsby template for a personalised website and blog. Gatsby actually offers various templates, so check them out. Something else might suit your needs more!
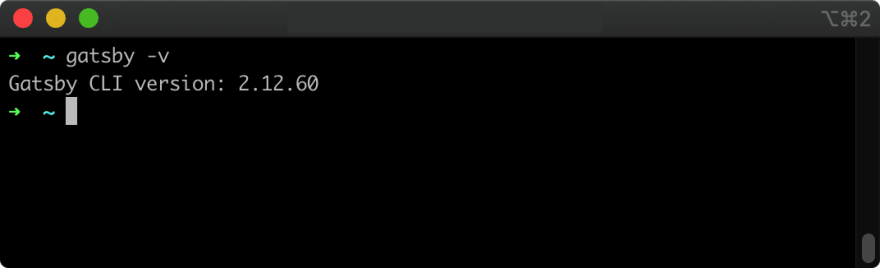
Whichever template you end up choosing, you'll first want to check whether you have the Gatsby CLI installed by running the following command on the command line:
gatsby -v
If you get a version number back, great!
If you get a message about "command not found", you likely need to install the CLI. This can be done by running:
npm install -g gatsby-cli
See more info on the official docs here.
Once you've verified that Gatsby CLI is installed, navigate to the directory where you want to make the project, then run the following commands for the gatsby-personal-stater-blog template. (If you're using another template, then use that template's link instead 😀 )
gatsby new <project-name> https://github.com/thomaswang/gatsby-personal-starter-blog
This will create the Gatsby project inside a folder with the project name. Wait for it to finish, then cd into the folder. You can use the code . command to open the contents in VS Code so you can start editing.
cd <project-name>
code .
You'll see all the project files. To run the site locally, run
gatsby develop
You can then navigate to localhost:8080 to see your site live! Gatsby will hot-reload your site when you run in develop mode, so try it out by making some changes to the src/pages/index.js file and saving.
At this point, you'll probably also want to update some of the meta data. Take a look at the following files and change anything you want to:
- package.json
- README.md
Create Your GitHub Repo
Next, you'll want to commit your code to GitHub so you can actually have Netlify host the content. Create a repo (private or public, doesn't matter), then follow the instructions to add the remote origin to your local project:
# Make sure you're still in the project's root directory,
# then run the following:

git init
git add .
git commit -m "initial commit"
git remote add origin https://github.com/<your-username>/<your-repo-name>.git
git push -u origin master
Lastly, update gatsby-config.js so that it matches your new repo.
Connect Netlify to Your Repo

Log in to Netlify and click on "New Site from Git". Find your repo, then follow the instructions to connect it. (Check here for more info if you can't find your repo in the list.) Netlify will now deploy your Gatsby website using a free ".netlify.app" address. Although connecting your GitHut repo to Netlify is an extra step, it's worth it because Netlify will automatically redeploy your code anytime you push an update to the master branch, so you won't need to manually redeploy.
All that's left now is to set up the forwarding so that the Netlify app gets served up whenever someone visits your custom domain!
On the Netlify settings page for your app, click "Site Settings" to update the site's name if you wish. This won't be displayed to users anywhere, though, so it's not actually necessary.
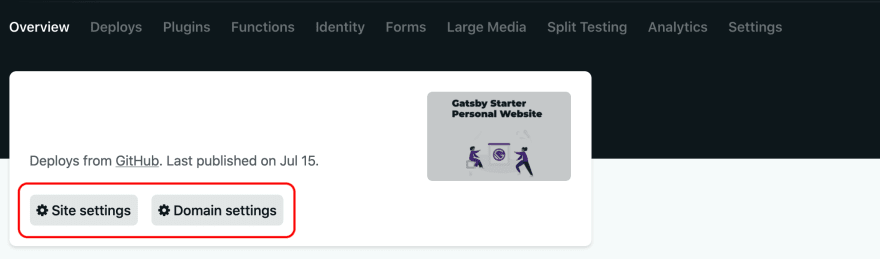
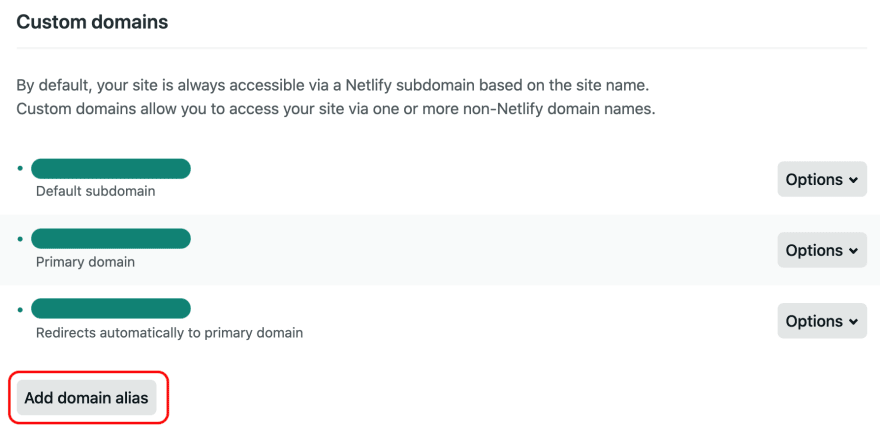
After that, click "Domain Settings" and add the custom domain that you purchased earlier by clicking "Add Domain Names" under "Custom Domains".
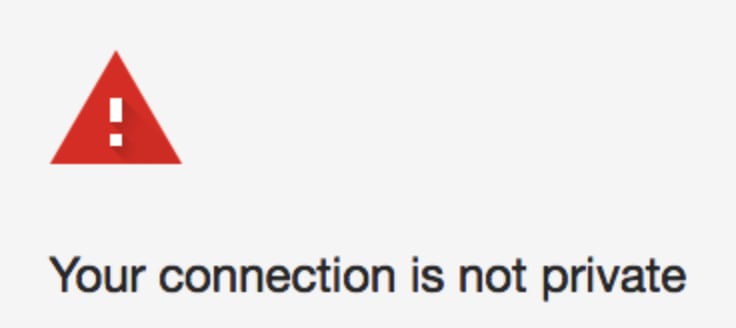
This will make it so that the content in your repo is served whenever someone visits your site, but right now if you visit your custom domain, you'll probably see a warning about how the site is unsafe. This is because you likely don't have an SSL certificate yet, so let's set that up now.
What is an SSL certificate?
An SSL (Secure Sockets Layer) certificate is a digital certificate that authenticates the identity of a website and encrypts information sent to the server using SSL technology.
Setting Up Your SSL Certificate
You can get an SSL certificate for your site for free with the help of Let's Encrypt, and Netlify conveniently makes this possible all from their site, but you'll need to change a few options from the GoDaddy side first.
Open your GoDaddy account, then go to your "My Products" page. From here, find your domain and click the "DNS" button. In the Records section, you'll see that there are a couple of entries already added. If you have any editable entries by default, delete them because they will interfere when you try to add the Netlify information.
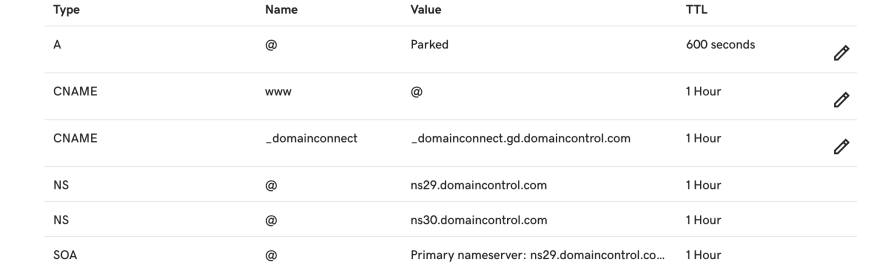
Delete the entries with the edit sign next to them.
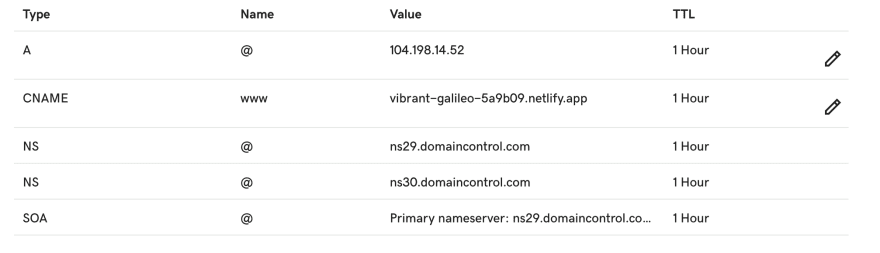
Once that's done, add the following:
1)
Type: A
Name: @
Value: 104.198.14.52
TTL: 1 Hour
2)
Type: CNAME
Name: www
Value: .netlify.app
TTL: 1 Hour
104.198.14.52 is the IP address of Netlify's servers.
The CNAME value should be whatever your Netlify site's address is (the default one if you didn't change it earlier, otherwise whatever you changed it to. You don't need to include the "www." part.)
You should end up with something that looks like this:
With that done, go back to the Domain Settings page on Netlify and scroll down to the HTTPS section. Click the "Verify DNS Configuration". If you've set everything up right, Netlify should connect to the custom domain and you'll see the message "Waiting on DNS propagation". If you get an error, make sure you double check that you entered the GoDaddy DNS information correctly. It might be a good idea to give it a minute or too/refresh everything as well.


It will take around 10-15 minutes for the certificate to be propagated and take effect, so make yourself a coffee while you wait. ☕️
After a while, you should be able to refresh your live website and see it normally without any errors! Yay 🥳
All that's left now is to code up the actual site...! Good luck!


Latest comments (0)