
Data is ubiquitous. Shiny from R Studio helps to build interactive web applications from R. But performance testing is little tricky. If you sniff the traffic, you don't get any network data. If you are working in Shiny apps performance testing, then this blog article is for you. This blog article explains about load testing shiny apps using shinyloadtest package.
What is Shiny?
Shiny is an R package that makes it easy to build interactive web apps straight from R. You can host standalone apps on a webpage or embed them in R Markdown documents or build dashboards. You can also extend your Shiny apps with CSS themes, htmlwidgets, and JavaScript actions.
You can develop shiny app without any advanced development skills. Once the development is done, you can leverage shinyapps.io to deploy the app in the cloud or use open-source or commercial version of Shiny Server or RStudio Connect respectively.
Sample Demo App
Here is one of the sample demo app from the shiny package.

Network Sniffing Shiny App
If we leverage dev tools, it doesn't capture any network calls. Here is the screencast of the sample demo app network capture. We cannot traditional tools like LoadRunner, JMeter or NeoLoad etc. Enter shinyloadtest.
What is shinyloadtest?
shinyloadtest is a package which works along with shinycannon (command line tool) which enables load testing Shiny apps.
Load Testing Shiny Apps
To load test shiny apps, following are the prerequisites:
- RStudio
- shinyloadtest package
- shinycannon
RStudio
RStudio is an IDE for R. It comes with free and commercial version. You can download the open source edition from here.
shinyloaddtest
You can install shinyloadtest package from here. shinyloadtest helps to record and analyze the results.
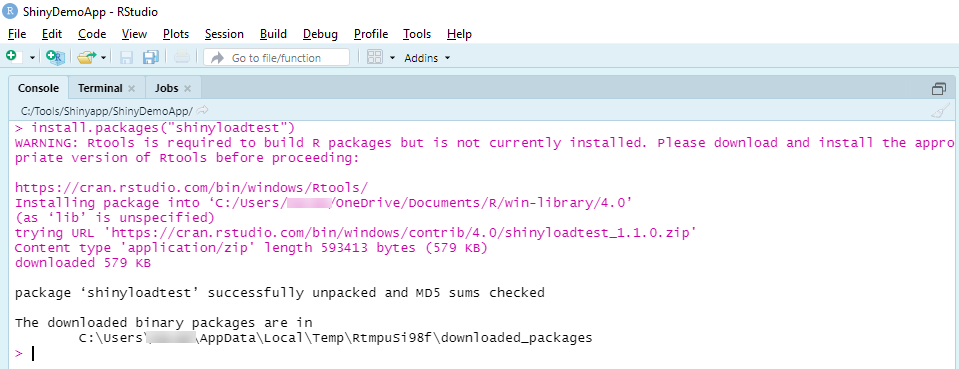
Launch RStudio, create a new project. In the console enter install.packages("shinyloadtest") and hit enter.
This will install shinyloadtest package as shown below.
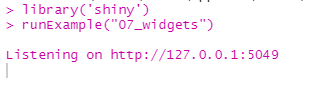
To run the sample demo app, enter the following commands.
library('shiny')
runExample("07_widgets")
This will launch the demo app locally with random port as shown below.
Do not close this console. We are going to make use of this to record and load testing using shinyloadtest and shinycannon.
shinycannon
shinycannon helps to inject the load by replaying the recorded log. To install it in Windows, download the jar file from here.
Let's Start Recording
As you know, the first step is to record the business flow. To begin recording, we are going to leverage shinyloadtest package.
Create a new project in RStudio (do not close the previous project where we are running the demo app).
In the Console, enter library("shinyloadtest") to load the library.
Then, enter record_session("http://127.0.0.1:5049/"), make sure that you are entering the correct port number where the demo app is running.
This will launch a new tab in your default browser with the different port number. That is how it works.
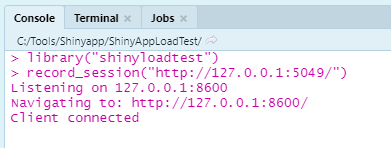
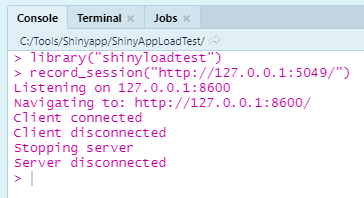
In the browser, just record your business actions and once you are done, close the browser to stop the recording.
Back the console, you could see the message as shown below.
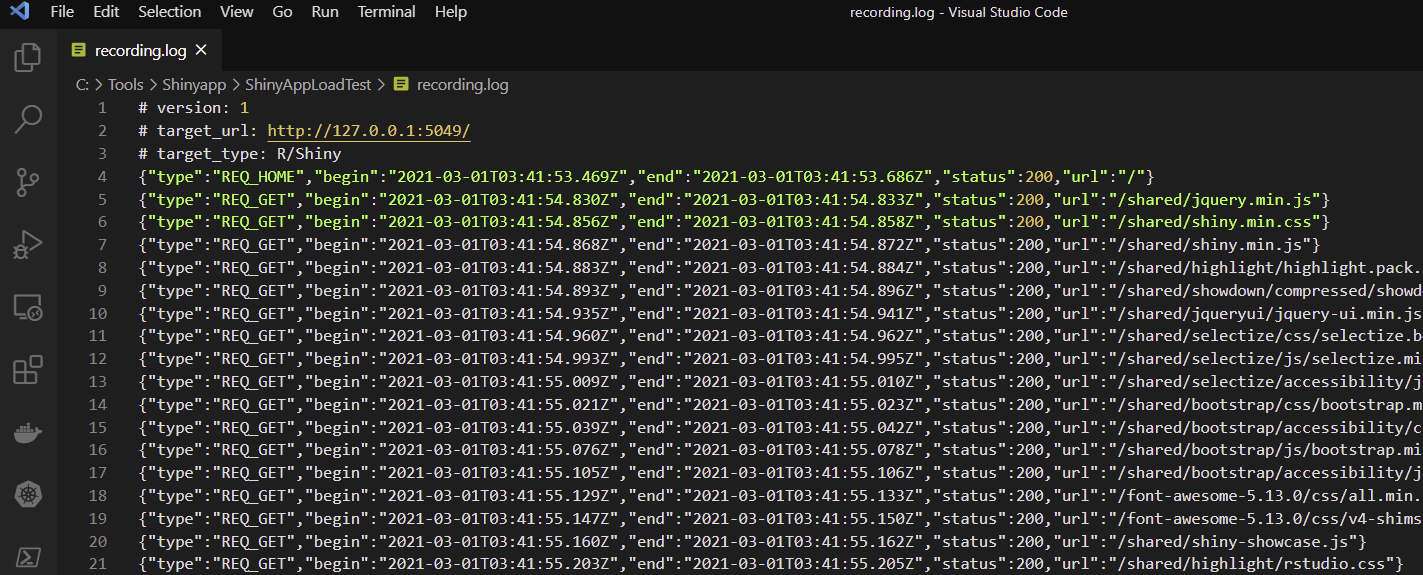
To view the recording log, open the folder of your RStudio project, you could see the recording.log file. Here is how it looks.
Let's Smoke Test
After the recording, it is always the best practice to run a smoke test to debug the script. To replay the log, we need shinycannon.
Open the command prompt or PowerShell (or Terminal) and navigate to the folder where you have downloaded the shinycannon jar file.
Copy the recording.log file in this location as well.
To start the smoke test, enter the below command. This will run the smoke test with 1 thread and store the results to SmokeTesting folder.
java -jar ..\shinycannon-1.1.0-45731f0.jar .\recording.log http://127.0.0.1:5049 --workers 1 --loaded-duration-minutes 1 --output-dir SmokeTesting
Here is the output of smoke testing.
2021-02-28 22:51:59.648 INFO [thread00] - Detected target application type: R/Shiny
2021-02-28 22:51:59.673 INFO [thread00] - Waiting for warmup to complete
2021-02-28 22:51:59.879 INFO [thread01] - Warming up
2021-02-28 22:51:59.881 INFO [progress] - Running: 0, Failed: 0, Done: 0
2021-02-28 22:51:59.932 INFO [thread00] - Maintaining for 1 minutes (60000 ms)
2021-02-28 22:52:04.941 INFO [progress] - Running: 1, Failed: 0, Done: 0
2021-02-28 22:52:09.943 INFO [progress] - Running: 1, Failed: 0, Done: 0
2021-02-28 22:52:14.943 INFO [progress] - Running: 1, Failed: 0, Done: 0
2021-02-28 22:52:19.955 INFO [progress] - Running: 1, Failed: 0, Done: 0
2021-02-28 22:52:24.956 INFO [progress] - Running: 1, Failed: 0, Done: 0
2021-02-28 22:52:29.960 INFO [progress] - Running: 1, Failed: 0, Done: 0
2021-02-28 22:52:34.962 INFO [progress] - Running: 1, Failed: 0, Done: 0
2021-02-28 22:52:39.963 INFO [progress] - Running: 1, Failed: 0, Done: 0
2021-02-28 22:52:44.966 INFO [progress] - Running: 1, Failed: 0, Done: 0
2021-02-28 22:52:49.966 INFO [progress] - Running: 1, Failed: 0, Done: 0
2021-02-28 22:52:54.967 INFO [progress] - Running: 1, Failed: 0, Done: 0
2021-02-28 22:52:59.940 INFO [thread00] - Stopped maintaining, waiting for workers to stop
2021-02-28 22:52:59.967 INFO [progress] - Running: 1, Failed: 0, Done: 0
2021-02-28 22:53:04.990 INFO [progress] - Running: 1, Failed: 0, Done: 0
2021-02-28 22:53:07.549 INFO [thread01] - Stopped
2021-02-28 22:53:07.553 INFO [thread00] - Complete. Failed: 0, Done: 1
We are good as we are not seeing any failures in our smoke testing. Now, let us inject more load to the demo app.
Let's Start Load Testing
As we are running the app locally, it is not a good idea to inject high load. Just to demonstrate, I am going with 2 workers for 2 minutes. Issue the below command and monitor the output for any issues.
After the testing is completed, the next step is to generate the test results.
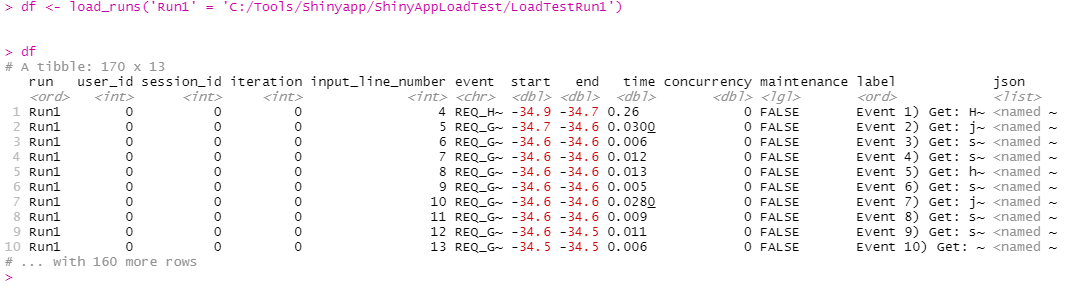
Back to RStudio project to issue few commands to generate the HTML report. Below command store the run to df.
df <- load_runs('Run1' = 'C:/Tools/Shinyapp/ShinyAppLoadTest/LoadTestRun1')
To plot the results in RStudio, you can enter the below commands.
slt_http_latency(df)
slt_hist_loadtimes(df, max_load_time = 5)
slt_session(df)
slt_websocket_latency(df, cutoff = 5)
To generate the HTML report, enter the below command.
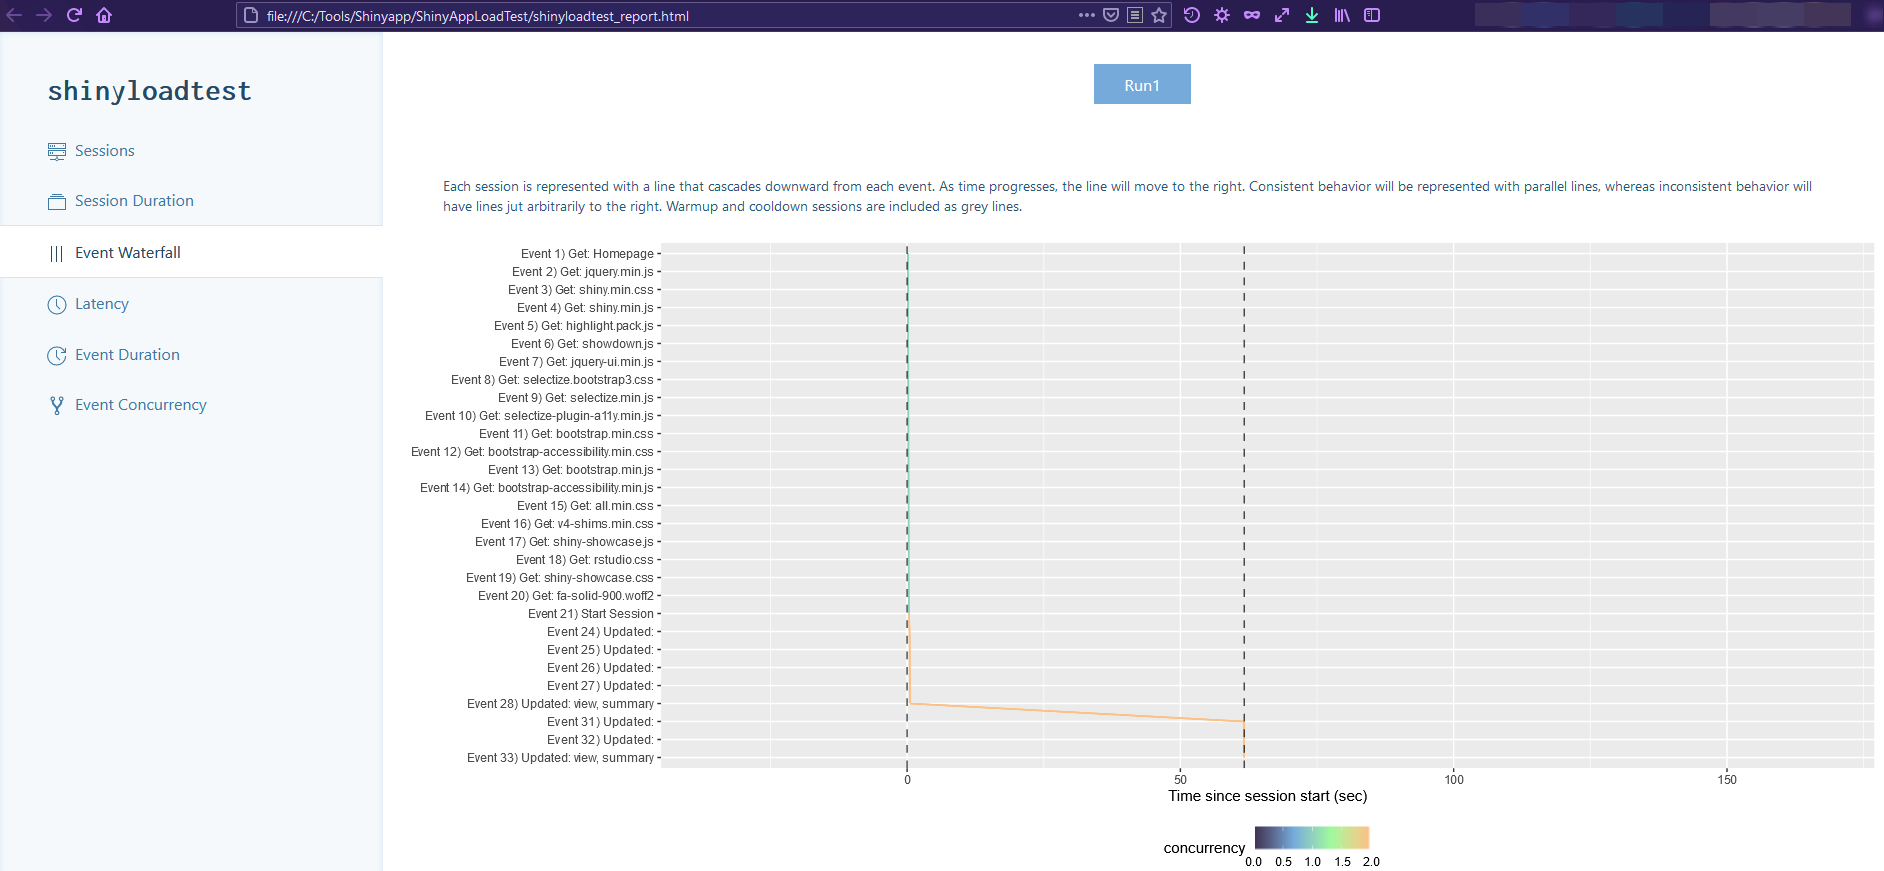
shinyloadtest_report(df)
This will generate all kinds of graphs, plots, table etc. You can find the HTML report in the project folder. Here is the Waterfall chart.
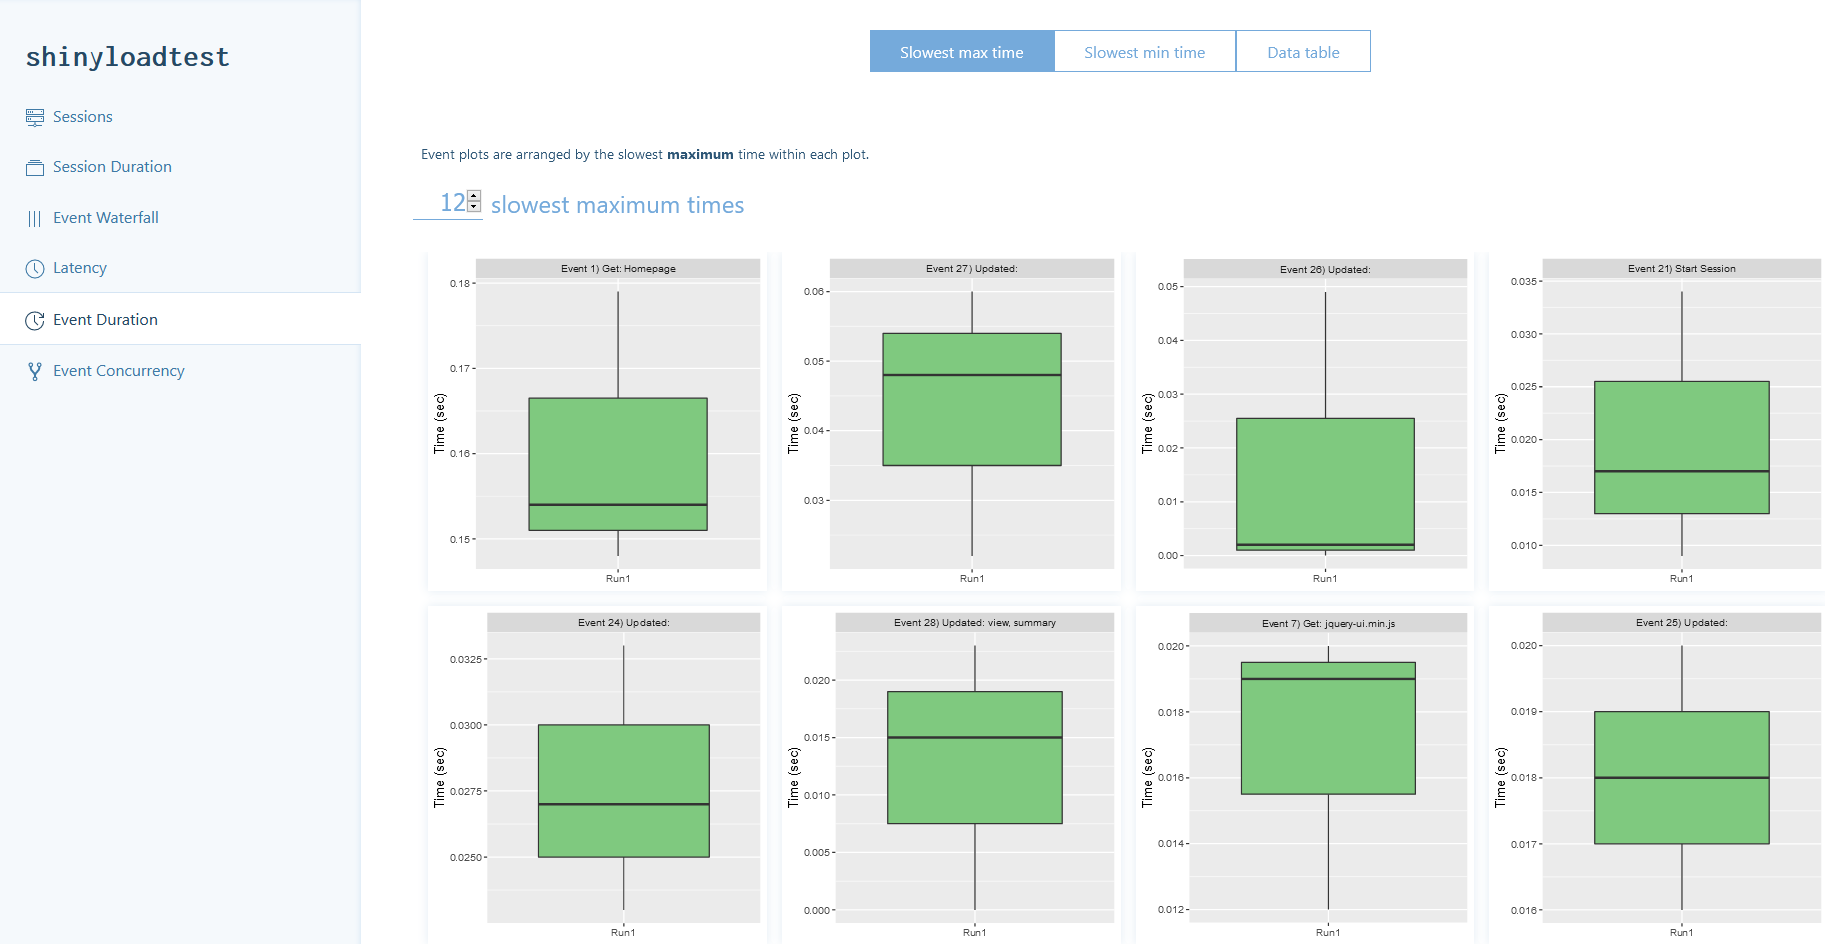
Here is the event duration chart.
Congratulations! Now you have successfully completed a load test of Shiny app.
Limitations
shinyload test comes with its own limitations in terms of deployment and application types.
You cannot record or load test the shiny app which are deploed at shinyapps.io.
You need WebSockets and recordings are server dependent.
R markdown documents with runtime: shiny are unsupported.
Apps with high latency may cause failures.
I suggest you to look out for the issues in the GitHub repo.
Conclusion
If you are working in Shiny apps, definitely you need to check out shinyloadtest. This package is king of fresh out of the oven, so it may not fulfill all of your requirements. But this is a good start for load testing shiny apps. Also, you can check out out my another article which uses JMeter under the hood.

Latest comments (0)