
For those who cannot afford the hustles of developing websites from scratch, there are now several content management systems (CMSs) such as WordPress that you can take advantage of to set up blogs and complete websites with a few clicks.
WordPress is one of the world’s most popular, if not the world’s most popular content management system (CMS). It is a free and open-source platform built entirely in PHP – it’s used by millions of people for running blogs, business websites, e-commerce stores, and much more. With features such as in-depth theming, thousands of plug-ins, and a huge community, WordPress is probably the most user-friendly CMS you can choose for building your website.
It is easy to install and learn, especially for persons who do not have prior website design and development knowledge. With millions of plugins and themes available, developed by an active and dedicated community of fellow users and developers, you can utilize them to tailor your blog or website to work and look just the way you want.
This blog will show you how to get your site hosted with WordPress on Ubuntu Linux. We’ll use Apache as our HTTP server and install PHP and MySQL since WordPress requires them to function. This assortment of packages is commonly referred to as a LAMP stack (Linux, Apache, MySQL, PHP). Once those packages are installed, we’ll go over the configuration of Apache and MySQL, including the initial setup of a database and user, before installing WordPress itself.
Prerequisites
- The operating system running Ubuntu Linux
- A root or non-root user with Sudo privileges
- Has stable internet connection
- Terminal window / Command line
1. Install Apache On Ubuntu
If you have installed Apache, you can skip this. If you have not installed Apache, then just follow this article Install Apache on Ubuntu 20.04 LTS
2. Install And Configure MySQL On Ubuntu
If you have installed MySQL, you can skip this. If you have not installed MySQL, then just follow this article How to Install MySQL on Ubuntu 18.04
3. Install PHP 8 On Ubuntu
If you have installed PHP 8, you can skip this. If you have not installed PHP 8, then just follow this article How to Install PHP 8 on Ubuntu 20.04
4. Install WordPress On Ubuntu
Download the latest version of the WordPress package and extract it by issuing the commands below on the terminal:
sudo wget -c http://wordpress.org/latest.tar.gz
sudo tar -xzvf latest.tar.gz
Then move the WordPress files from the extracted folder to the Apache default root directory, /var/www/html/:
sudo mv wordpress/* /var/www/html
Now set appropriate permissions on the website (/var/www/html) directory. It should be owned by the Apache2 user and group called www-data.
sudo chown -R www-data:www-data /var/www/html
sudo chmod -R 775 /var/www/html
5. Create WordPress Database On MySQL
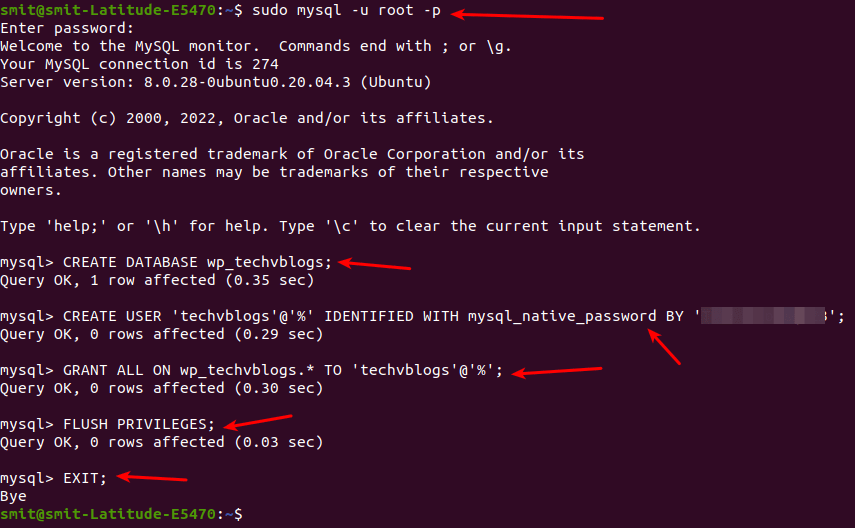
Execute the command below and provide the root user password, then hit Enter to move to the MySQL shell:
sudo mysql -u root -p
At the MySQL shell, type the following commands, pressing Enter after each MySQL command line. Remember to use your own, valid values for database name, database user, and also use a secure and robust password as database user password:
CREATE DATABASE wp_dbname;
CREATE USER 'db_username'@'%' IDENTIFIED WITH mysql_native_password BY 'db_password';
GRANT ALL ON wp_dbname.* TO 'db_username'@'%';
FLUSH PRIVILEGES;
EXIT;
Next, move into your website’s document root create a wp-config.php file from the sample configuration file provided as shown.
cd /var/www/html
sudo mv wp-config-sample.php wp-config.php
Then open the wp-config.php configuration file for editing.
sudo nano wp-config.php
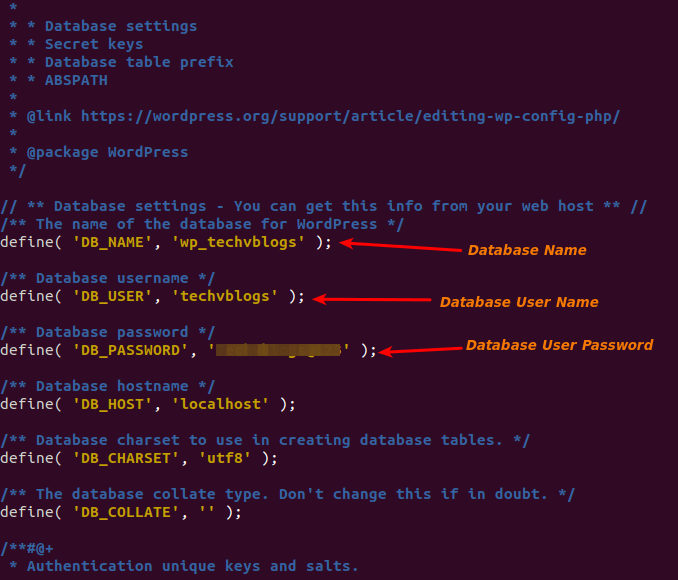
After updating your wp-config.php file, press CTRL+X, Y, and Enter key to save the wp-config.php file.
Afterward, restart the webserver and MySQL service, Run the following command:
sudo systemctl restart apache2.service
sudo systemctl restart mysql.service
6. Completing the WordPress Installation Via Web
Open your web browser, then enter your domain name or server address as shown.
http://server_address/info.php
//OR
http://your-domain.com/info.php
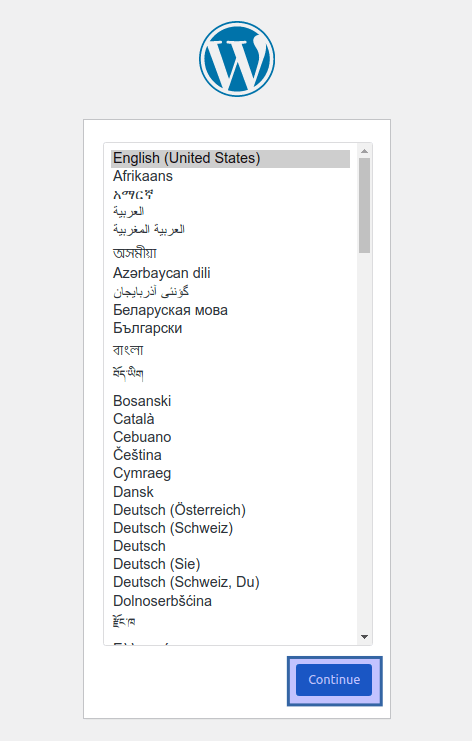
Once the WordPress web installer loads, pick the language you wish to use for installation and click Continue.
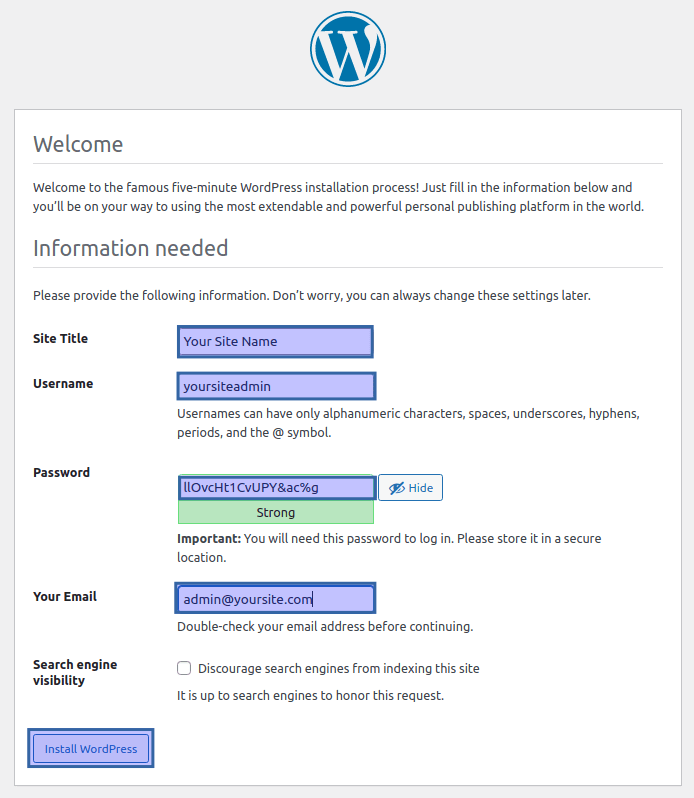
Next, set your site’s title, administrative username, password, and email to manage your site content. Then click Install WordPress.
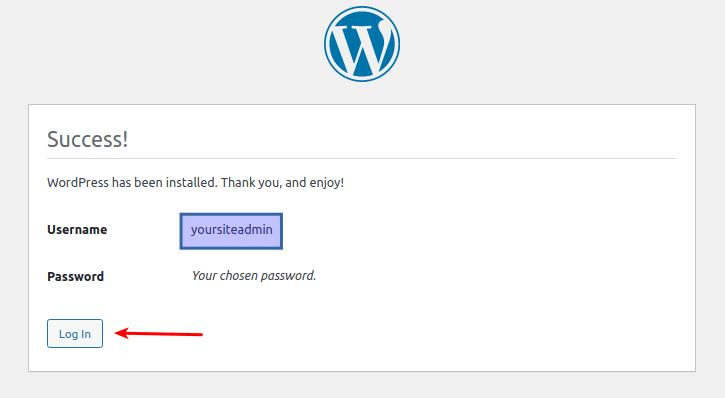
Once the WordPress installation is complete, click on Log in to access your site’s administrative login page.
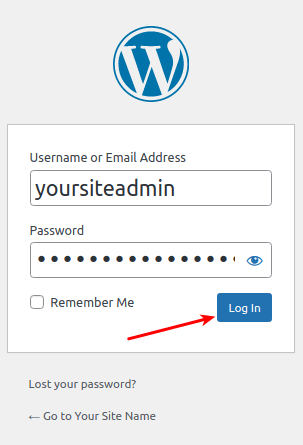
Now log into your new WordPress website using your administrative credentials (username and password created above) and start to customize your site from Dashboard.
Note that to get back to the WordPress admin panel in the future, you can always use the URL http://yoursite.com/wp-admin.

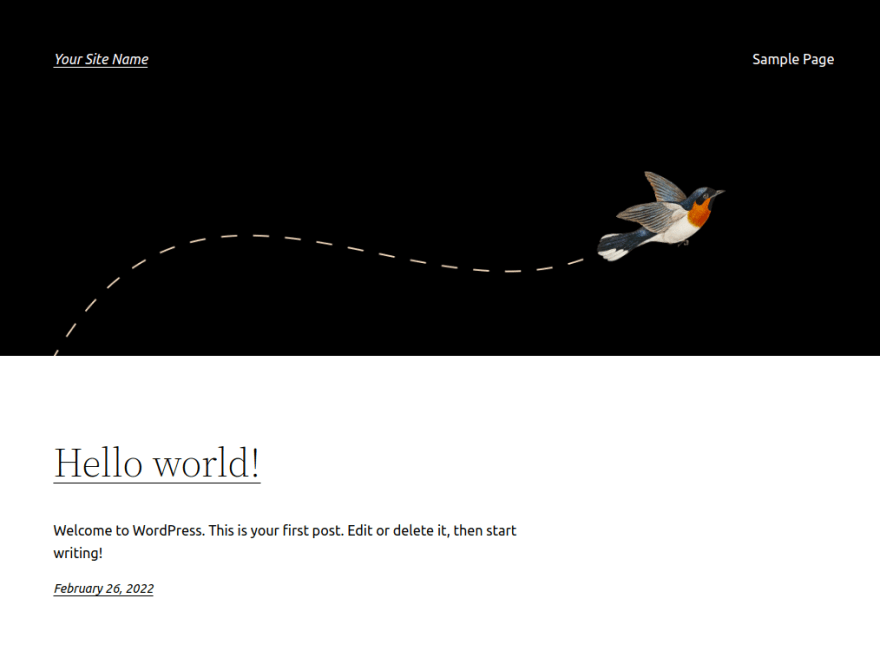
Your WordPress site should now be accessible from http://yoursite.com.
Thank you for reading this blog.

Top comments (0)