
Creating an online portfolio can be quite daunting, especially when you code it from scratch instead of using a content management system, such as WordPress.
This is my attempt at creating a tutorial, on creating an online portfolio, and my first attempt at creating a github project which I'd like other devs to collaborate on.
I had previously created a portfolio site in an attempt to showcase my skills while searching for a job... Unfortunately this site was created using only HTML and CSS (I wanted something done quick and dirty 😅).
I recently decided to convert my portfolio to an Angular application, and I really enjoyed the process. This made me want to create an open-source version of my portfolio site for other developers to use.
You may be wondering why I chose Angular and Firebase?? 🤔
Well it's because I've been using Angular for a while now and it integrates well with Firebase (mostly thanks to Angularfire). Firebase will also allow us to store data and host our site (free of charge of course😬).
🔥🔥🔥 Create a Firebase project 🔥🔥🔥
Firstly you will need to set up a Firebase account. By default you should have one if you have a Google account, but I may be wrong. Follow the link and do the following:
- Add a Firebase project.
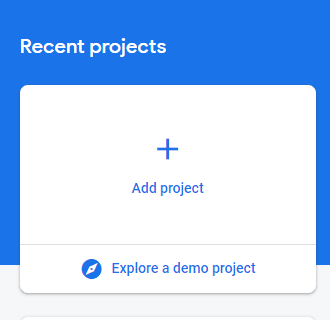
- Provide a name for your project.

- Create project (no need to enable analytics).
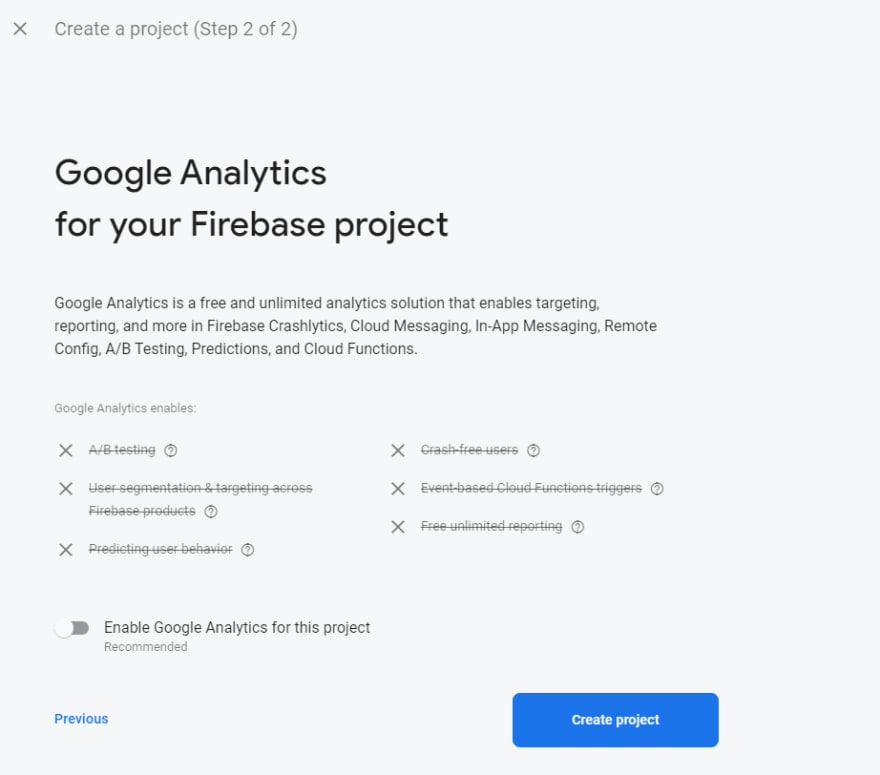
- Done!

🔑🔑🔑 Authentication 🔑🔑🔑
We'll need to enable authentication in order for us (or you... the admin) to view an admin dashboard for simple CRUD operations.
Let's keep it moving 🚶
- Let's navigate to the Auth section.

- Check out a list of sign-in methods.

- Enable Email/Password.

- Add a user (your email and password).

No need to worry about encrypting and storing passwords. Firebase does this for you and all you need to do is focus on the data.
📂📂📂 Database (Firestore) 📂📂📂
Let's start by setting up Firestore (if you're familiar with MongoDB then you'll notice that the structure is similar.)
- Create database.
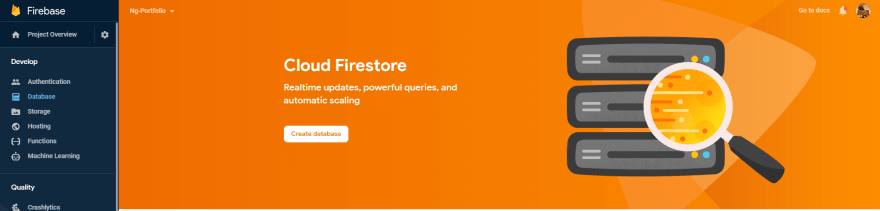
- Start in test mode.

- Select a Cloud Firestore location.

🔒🔒🔒 Adding Firestore Rules 🔒🔒🔒
This section is completely optional, however you may want to add some precautionary measures to safeguard your application.
We add these rules to only allow an authenticated user to write, while unauthenticated users can only read from Firestore:
rules_version = '2';
service cloud.firestore {
  match /databases/{database}/documents {
    match /profile/{document=**} {
      allow read;
      allow write: if request.auth.uid != null;
    }

    match /email-list/{document=**} {
      allow create;
      allow read, write: if request.auth.uid != null;
    }

    match /profile/{document=**} {
      allow read;
      allow write: if request.auth.uid != null;
    }

    match /projects-list/{document=**} {
      allow read;
      allow write: if request.auth.uid != null;
    }

    match /skills-list/{document=**} {
      allow read;
      allow write: if request.auth.uid != null;
    }

    match /tools-list/{document=**} {
      allow read;
      allow write: if request.auth.uid != null;
    }
  }
}
➕➕➕ Adding Firestore Collection ➕➕➕
This step is only necessary for the ability to store messages which users send.
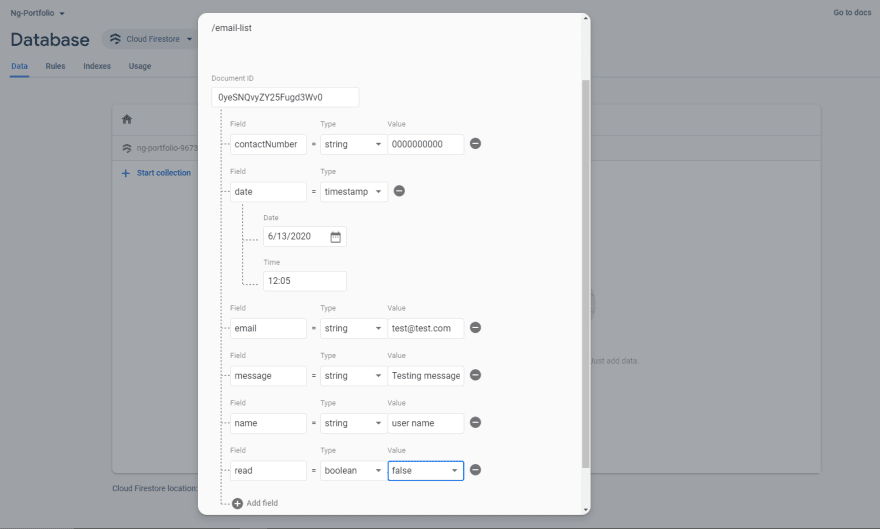
- Start a collection named 'email-list'.

- Add a document.
Ensure that the document fields and data types values matches what you see in the screenshot, this will ensure that our data source matches the data we expect in our application👍
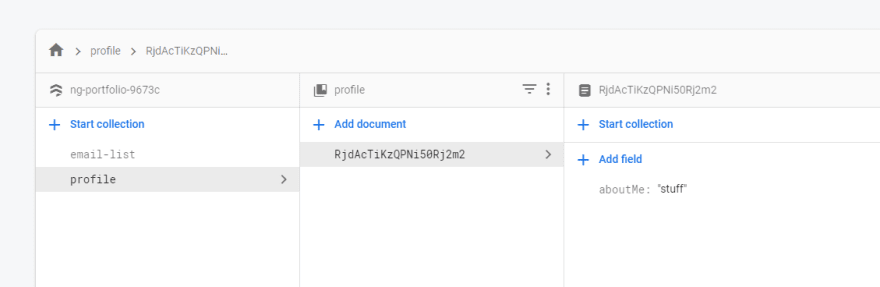
- Create another collection named 'profile'
This is so we can see the profile content
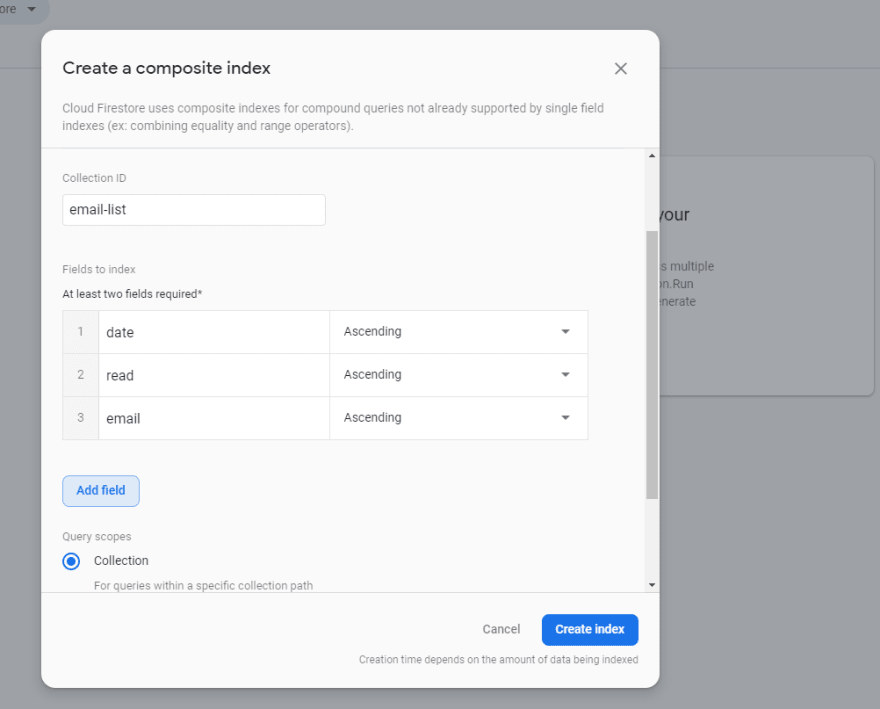
- Create a composite index.
This will allow us to query the data based on specific conditions... I just thought it was cool, so I included this 😅

Be sure to use the 'email-list' as your Collection ID, and select the fields:
- date
- read
💾💾💾 Storage 💾💾💾
Go ahead and set up Storage... by now you SHOULD be able to do this without me walking you through this 🙄. Don't worry about the rules, the default rules are fairly secure so there is no need to change anything.
While you're here, go ahead and upload your resume:

Right-click on the name of your file and copy the link address, this is the download URL... This will be used when we allow the user to download our resume in our application
🎉🎉🎉 AND THAT'S IT!!! 🎉🎉🎉
That concludes the first part of our Portfolio App! In the next section we will focus on the different components needed to bring our app together, and hosting it online 💪

Top comments (0)