
So congrats 🎉 you built your Django project and want to deploy it on Heroku 🚀. In this tutorial we are gonna go through the necessary steps to deploying a django project on Heroku, So let's start.
Install Libraries
First let's start by installing a couple of necessary libraries.
1. Install django_heroku
Install django_heroku library using the command below. It's a Django library for Heroku applications that ensures a seamless deployment and development experience.
pip3 install django-heroku
Note that django_heroku uses Heroku's default PostgresDB so you don't have to change anything in your settings.py DATABASES variable if you want to use Postgres as your database, otherwise you have to configure your own DB and provide your credentials in the DATABASES variable.
2. Install gunicorn
Install Gunicorn a Python WSGI HTTP Server for UNIX.
pip3 install gunicorn
Required Files
Then let's prepare the necessary files before deployment.
1. requirements.txt
You need to save all the packages you've installed and used in your project in your requirements.txt file using the following command.
pip3 freeze > requirements.txt
2. Procfile
Create your Procfile it doesn't have any extension just type the file name like mentioned above and add these couple of lines to it.
release: export DEVELOPMENT=True
release: python manage.py makemigrations --no-input
release: python manage.py migrate --no-input

web: gunicorn [YOUR_PROJECT_NAME].wsgi
This file is responsible for running any necessary commands that you wish to execute before starting the server. Feel free to edit the file but don't remove the last line which is responsible for starting your server.
3. runtime.txt
Add this file and include the Python version that your project is currently using.
python-3.8.0
4. Edit settings.py
Finally we need to add a couple of lines to your settings.py file
First Import the django_heroku library
import django_heroku
Then add this line to the end of your settings.py file
django_heroku.settings(locals())
Publish to GitHub
Create a repo on GitHub and push your project.
Like you haven't done that already 👀😅
Create Heroku App
Create an account on Heroku if you don't have one and create a new app. Enter your app name as well as your preferred region.

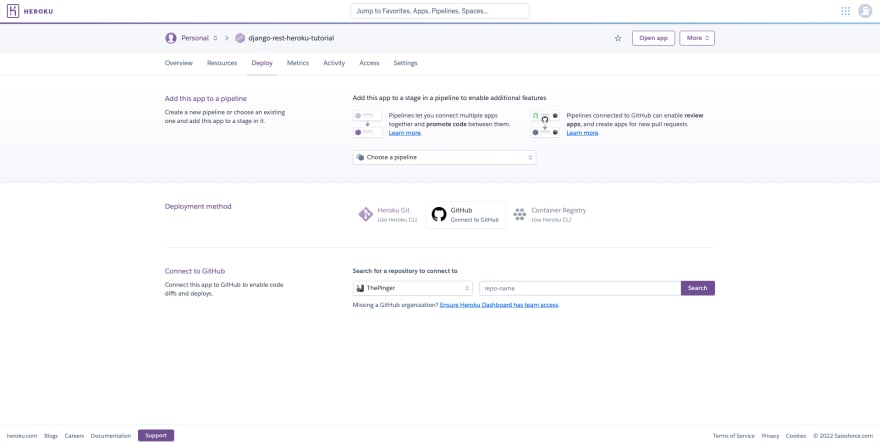
Connect Heroku Project to Github Repo
Navigate to the deploy tab inside your app dashboard and select GitHub as your deployment method.
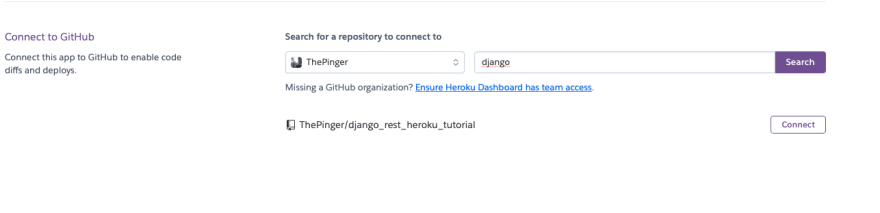
Search for your repo name and click on Connect
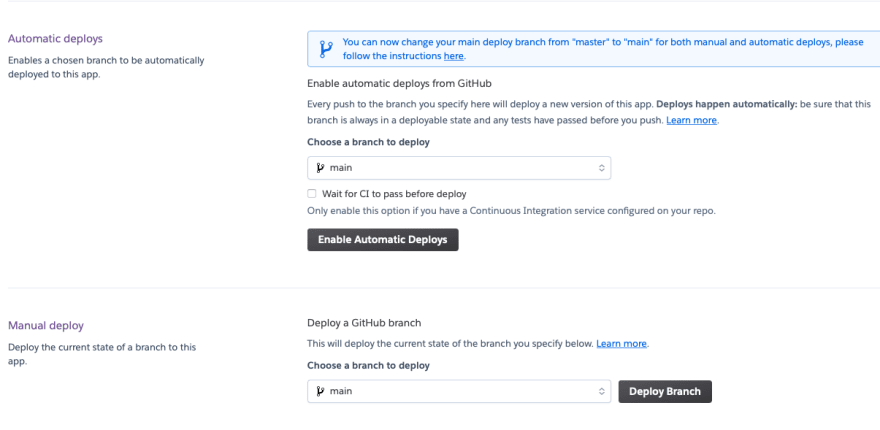
Enable Automatic Deployments
Under Automatic deploys select the branch you wish to deploy 🚀 whenever new commits are pushed on that branch it gets deployed automatically or if you don't wish to do that you can just select the branch you want to deploy under Manual deploy and then select Deploy Branch.
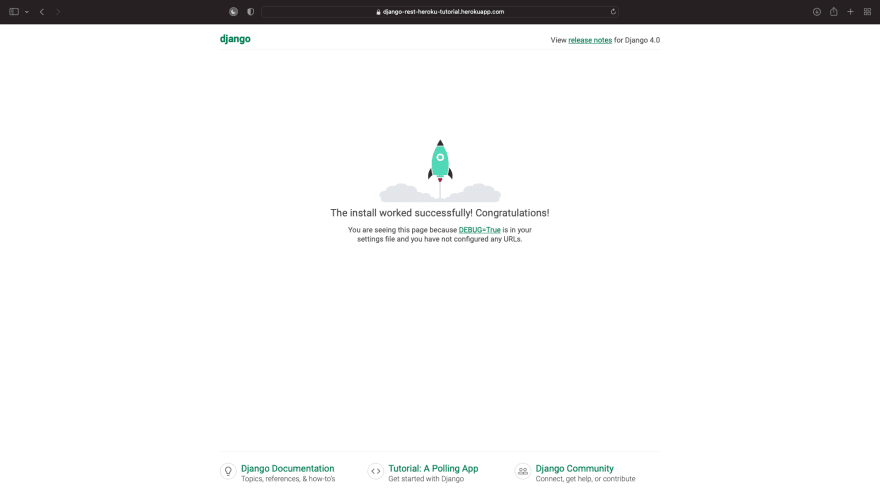
Check out your App
After the deployment is successful open your app and check it out. Now you're ready to go 🚀🔥.
Conclusion
That's it regarding deploying a Django project on Heroku. Here's the project source code if you wish to check it out. Also feel free to ask any questions 😉.

Top comments (2)
Great Article, Thanks it helped alot !
Thanks, You're welcome