
Earlier, I wrote about making a cute animal detector with machine learning for a mobile phone. Back then, I had to develop only for Android, since the iOS tools were incompatible with what I was using to train my model. But now the iOS tools are updated, and I had some time, so here is what I did to implement my cute animal detector on iOS.
The earlier article explains all the model training that needs to be done. Here, I talk about only the additions that needed to be made to make the app for iOS. The repository has been updated with the latest code.
Converting the Model
On iOS, CoreML is the format to use for machine learning models. Apple provides tools that are able to convert the Keras model I have into CoreML in a straightforward manner.
import coremltools

coreml_model = coremltools.converters.keras.convert('iscute.h5',
    image_input_names='input1',
    input_name_shape_dict={'input1': [None, 299, 299, 3]},
    class_labels=['cute', 'notcute'])
coreml_model.save('iscute.mlmodel')
As in the Android case, the converter requires the input shape to be provided. In this case, however, the first dimension in the input tensor had to be left to None, not set to 1. The image_input_names and class_labels are needed so that the iOS app knows that the model 1) processes images, and 2) is a classifier. This makes writing the app code easier, as special-purpose APIs are available.
Reading the Camera on iOS
The app needs to do the same things on iOS as on Android:
- Show the camera preview on screen
- Let the user press a button to capture the current image
- Feed the captured image to the classifier
- Display the result after the classification is complete
The Android implementation of image capture did not actually use the camera. Instead, when the user pressed the button, it grabbed the preview contents as a bitmap and generated the image to classify from that. On iOS I did not find a way to extract the preview contents as a bitmap, so I went with the route of instructing the camera to take a proper picture.

Before the app can access the camera, the user must grant it permission. There are other possible authorization statuses, and the user might deny permission when asked, but for a sample app that is only about using the camera, I consider it fine to assume that the permission is or will be granted.
switch AVCaptureDevice.authorizationStatus(for: .video) {
  case .authorized:
    self.setupCaptureSession()
  case .notDetermined:
    AVCaptureDevice.requestAccess(for: .video) { granted in
      if granted {
        self.setupCaptureSession()
      }
    }
  default:
    break
}
For custom use of the camera, as in this app, AVKit is the platform library to use. A camera session needs to be created and started. In a session, there are inputs and outputs, with inputs connecting to outputs. For this case, the input is set to video input from the back camera, so that the screen can show a live preview, and the output is a photo, since the app processes a single photo.
let captureSession = AVCaptureSession()
captureSession.beginConfiguration()
let backCamera = AVCaptureDevice.default(.builtInWideAngleCamera, for: .video, position: .back)
guard let backCameraInput = try? AVCaptureDeviceInput(device: backCamera!),
  captureSession.canAddInput(backCameraInput) else {
    return
}
captureSession.addInput(backCameraInput)
self.cameraOutput = AVCapturePhotoOutput()
guard captureSession.canAddOutput(self.cameraOutput!) else {
  return
}
captureSession.addOutput(self.cameraOutput!)
self.previewView!.previewLayer.session = captureSession
self.previewView!.previewLayer.connection?.videoOrientation = .portrait
captureSession.commitConfiguration()
captureSession.startRunning()
The photo output is what is used to take the picture. The target method of the evaluate button creates a settings object, where the default settings are fine for this use, and instructs the photo to be captured.
@objc func evaluate() {
  let pictureSettings = AVCapturePhotoSettings()
  self.cameraOutput!.capturePhoto(with: pictureSettings, delegate: self)
}
Cropping the Photo
In the Android app the app was processing a bitmap, which made cropping and scaling easy. On iOS, AVKit will produce an AVCapturePhoto object, which needs a bit more work to match with the screen, since the screen resolution is different from the photo resolution.
func cropImage(photo: AVCapturePhoto) -> UIImage {
  let photoOrientation = CGImagePropertyOrientation(rawValue: photo.metadata[String(kCGImagePropertyOrientation)] as! UInt32)!
  let fullCgImage = photo.cgImageRepresentation()?.takeUnretainedValue()
  let fullCgImageSize = CGSize(width: fullCgImage!.width, height: fullCgImage!.height)
  let bounds = self.view.bounds
  let orientedBounds = size(from: bounds.size, in: photoOrientation)
  let scale = fullCgImageSize.height / orientedBounds.height
  let frameSize = CGSize(width: 299.0 * scale, height: 299.0 * scale)
  let center = CGPoint(x: fullCgImage!.width / 2, y: fullCgImage!.height / 2)
  let frame = CGRect(x: center.x - frameSize.width / 2, y: center.y - frameSize.height / 2, width: frameSize.width, height: frameSize.height)
  let croppedCgImage = fullCgImage!.cropping(to: frame)
  let imageOrienation = imageOrientation(from: photoOrientation)
  let croppedImage = UIImage(cgImage: croppedCgImage!, scale: UIScreen.main.scale, orientation: imageOrienation)
  return croppedImage
}
The best image type in this case that supports cropping is CGImage. Unlike UIImage that would be used for on-screen display, a CGImage does not know its orientation, so that needs to be extracted from the AVCapturePhoto object. The orientation is used to make sure that the screen bounds are oriented in the same way as the photo, so that the scaling factor can be correctly computed. (The width and height scales were different; using height worked correctly but I’m not sure why.)
The picture to extract for classification is a 299x299 area in the center of the photo. So the code scales a 299x299 rectangle to the photo resolution, centers it, and does the cropping. Finally, a UIImage with the appropriate screen scaling factor and orientation is returned, since working with a UIImage is handier than with a CGImage.

Running the Classifier
Creating the model is best done at startup since it is not going to change while the app is running, and it takes a while to create. The created model type is from the Vision framework, which is a nice library to use for image classification purposes.
required init?(coder: NSCoder) {
  let modelConfiguration = MLModelConfiguration()
  modelConfiguration.computeUnits = .cpuAndGPU
  do {
    let isCuteModel = try iscute(configuration: modelConfiguration)
    model = try VNCoreMLModel(for: isCuteModel.model)
  } catch {
    return nil
  }
  super.init(coder: coder)
}
When trying to run the model with the default configuration, I encountered an Overflow Error that apparently means the model is too big for the neural engine. So that is why it is limited to CPU and GPU only.
Starting the classification with the Vision framework is straightforward. Create a classification request with the model and a callback method, create a handler from the (cropped) image, and call the handler with the request.
let image = cropImage(photo: photo, photoOrientation: photoOrientation)
let request = VNCoreMLRequest(model: model, completionHandler: pictureClassified)
let handler = VNImageRequestHandler(cgImage: image.cgImage!, orientation: photoOrientation, options: [:])
try handler.perform([request])
When the classifier has finished, the completion method will be called with the results. The method verifies that the results are classification results. Since the model was converted as an image classifier with the appropriate labels for the outputs, the code can look for the identifier cute instead of needing to know which index corresponds to which class.
func pictureClassified(request: VNRequest, error: Error?) {
  guard let results = request.results as? [VNClassificationObservation] else {
    print("Fail \(String(describing: error))")
    return
  }
  for classification in results {
    if classification.identifier == "cute" {
      showResult(classification.confidence)
    }
  }
}
Summary
Building the iOS app was somewhat less work than building the Android app, in part because I already had some experience from the Android app. The biggest hurdle was the image processing that needed to be done on the captured photo, since I was not that familiar with the intricacies of UIImage, CGImage, and AVCapturePhoto. As after making the Android app, I am now more confident in my ability to apply machine learning in a real iOS app.
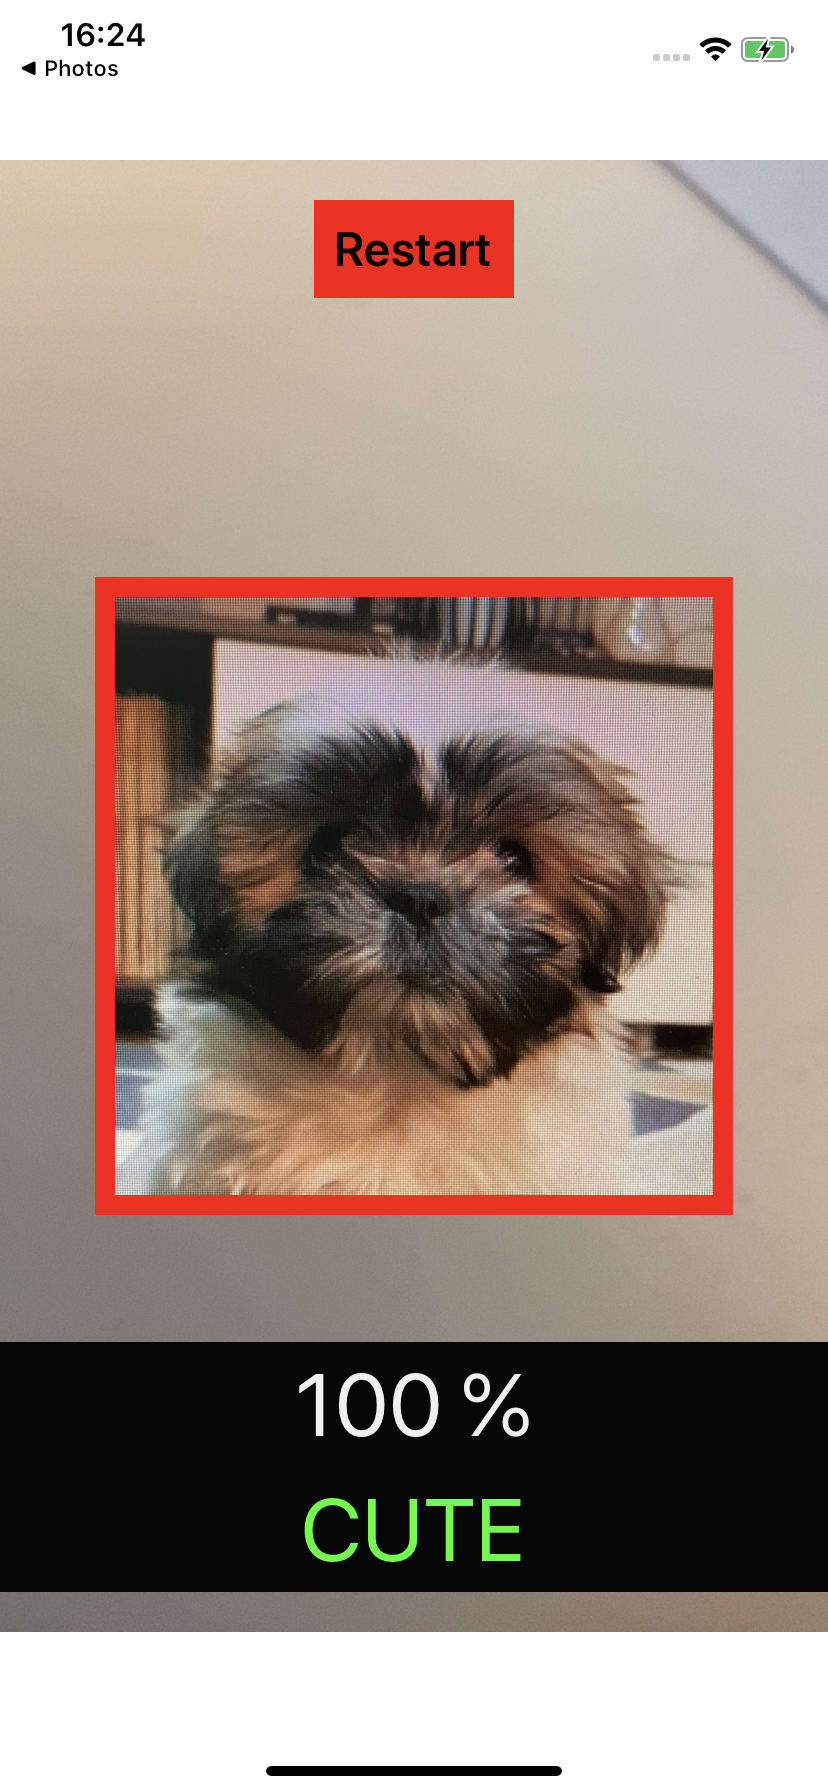
Yep, it still works.

Top comments (0)