Have you ever wondered how to properly setup the Continuous Integration for you new Github repository? Let’s dive deep on it together!
Overview of the tools used
In this tutorial I will help you configure CircleCI to setup your builds, running on a customized Docker image. I will focus on a Python codebase, using pytest for test automation and pytest-cov for coverage reports generation.
In addition, I will explain you how to setup Code Climate, a useful tool to statically analyze your code, and Codecov, that will help you better visualize the coverage of your code.
Practical how-to
We will take as example the following repository: tutorial_ci.
Setting up CircleCI
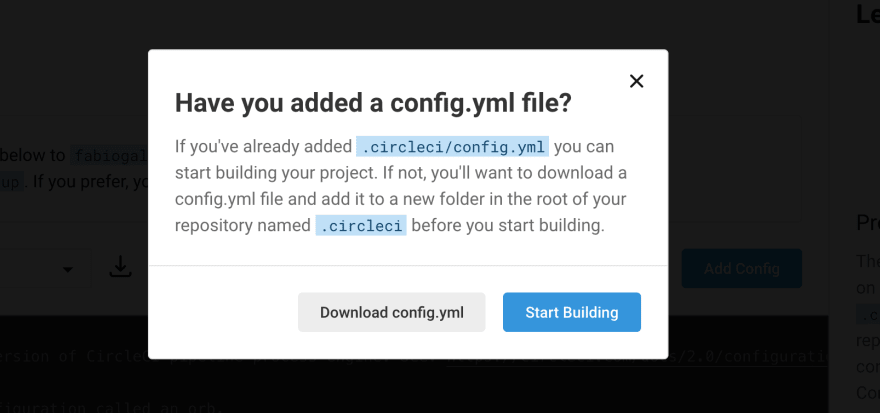
The first thing we need to do is creating, at the root of our repository, a folder .circleci, where we will create the file config.yml .
As a test, let’s start with the default “Hello World” workflow:
For the sake of this example, we can directly commit our change on the master branch of your repository.
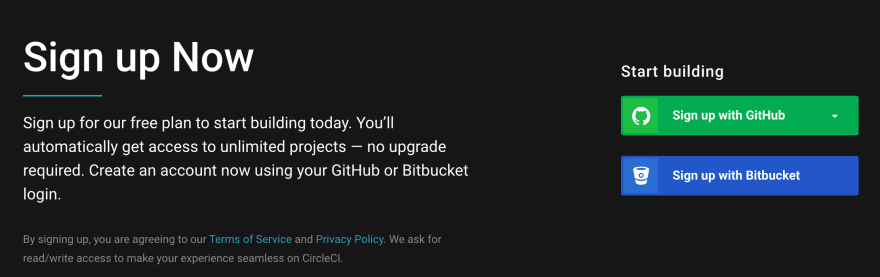
Then we need to sign up with our Github account to CircleCI…
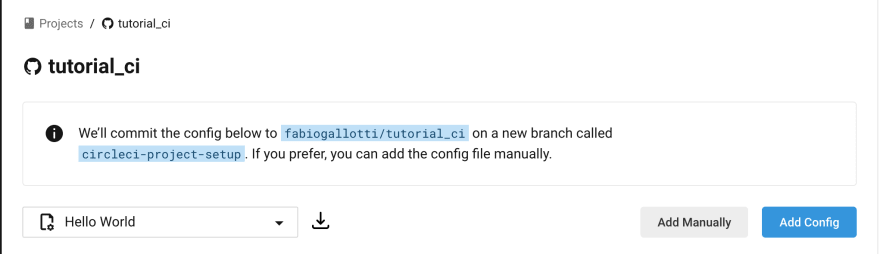
…and select the repository we want to build, clicking on Set Up Project and in the following window, on Add Manually *and on Start Building*

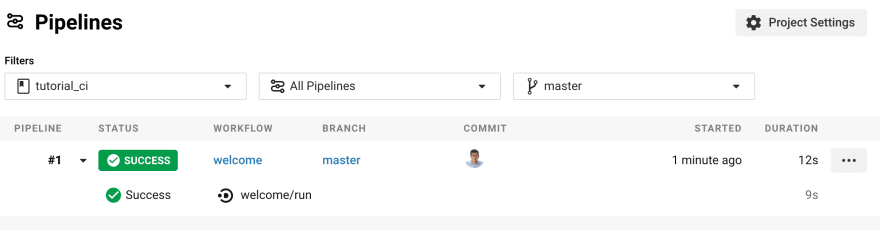
And here it is, our first working build!
Custom Docker Image
As of now, our build is not doing much, so let’s start doing some customization. All what we need to change is the .circleci/config.yml file. (note: y*ou can always validate your .yml file using yamllint.*)
The first customization I want to explain it’s how to generate and use a custom Docker image in your builds. To do so, you need to have an account on Docker Hub, where you will push the image to use.
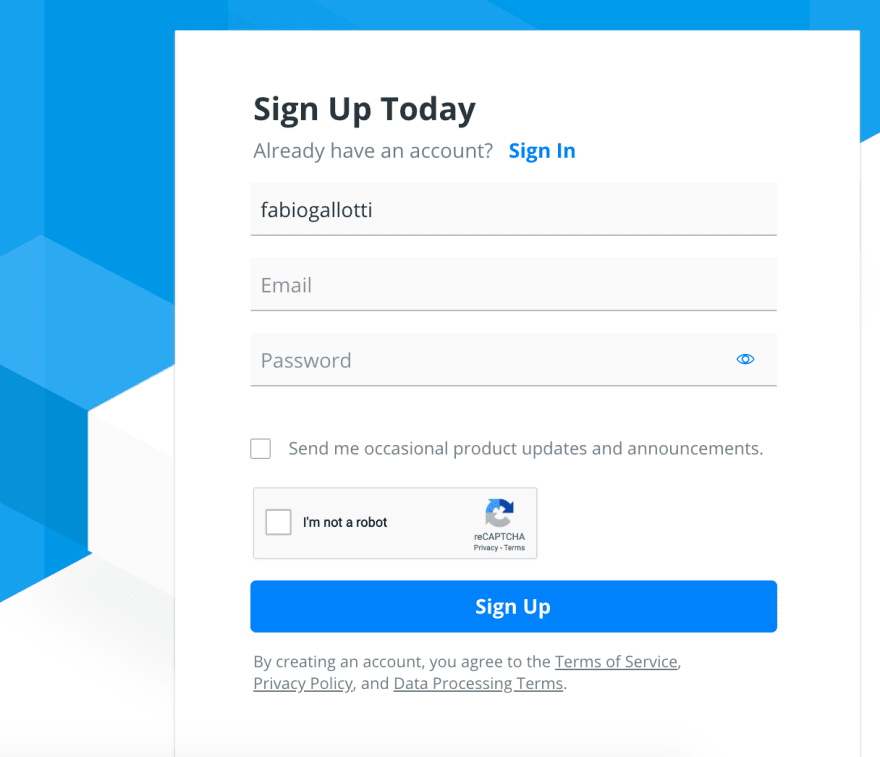
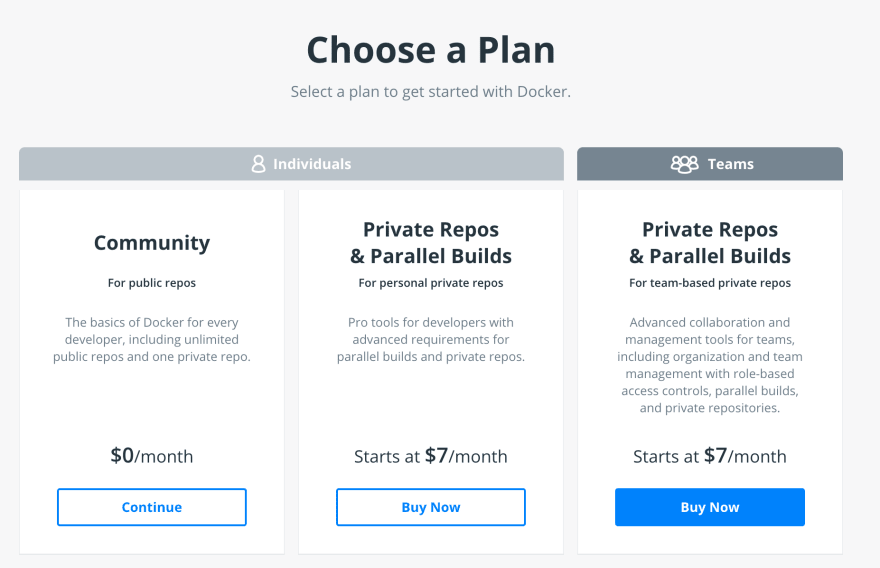
If you don’t have an existing account, Sign Up and chose the Community plan.
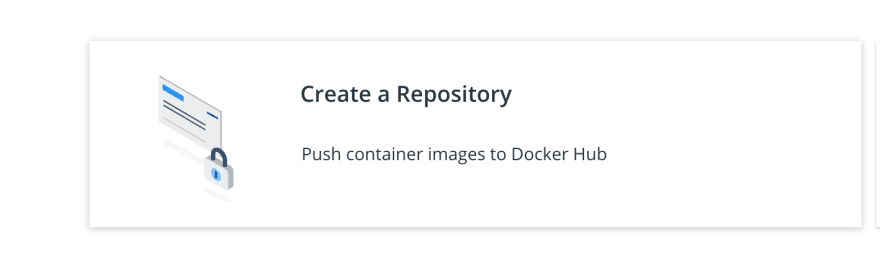
Once validated your email, you can start creating a repository, where you can push the image we are going to create. We will call it tutorial_ci and keep it public.
Let’s create the image!
As I told you, we will focus on a Python codebase, so for this example we will create, in a folder docker at the root of the repository, the following Dockerfile:
and requirements.txt:
In the folder docker, we need to build our image, with the command:
docker build -t <your_user_name>/tutorial_ci .
and then push it to Docker Hub:
docker push <your_user_name>/tutorial_ci
Here it is, ready to be used for our builds:

In the config.yml, we will remove the usage of an external orb, and we will create our customized jobs using our newly created docker image.
To give you a bit of details, we are defining a new job called “hello”, that will run on the image we just created, and will print out “Hello World”. The workflow “hello” will run this job.

Setting up Code Climate
What if we want some static analysis of our code?
We will start linking our github account to Code Climate

and adding our repository

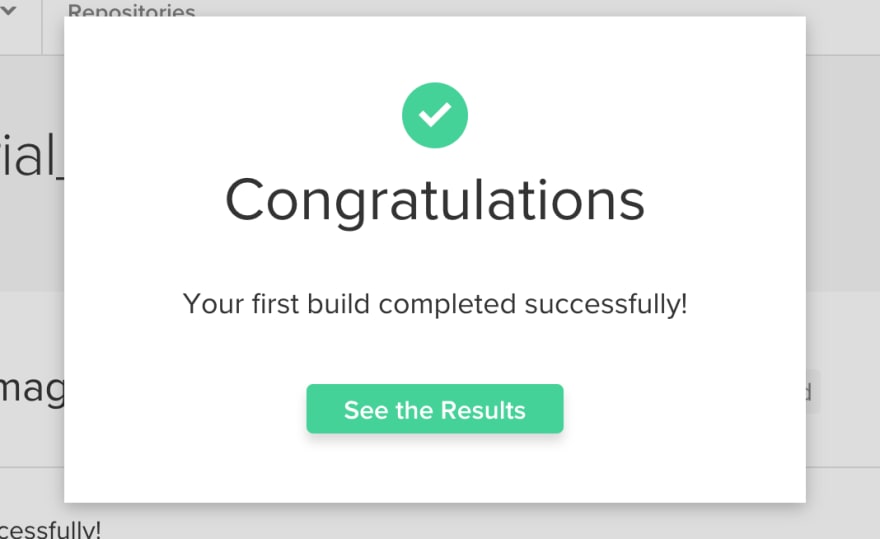
You will be prompt a warning related to having only a Dockerfile at this stage, you can proceed, and you will have your first build completed!
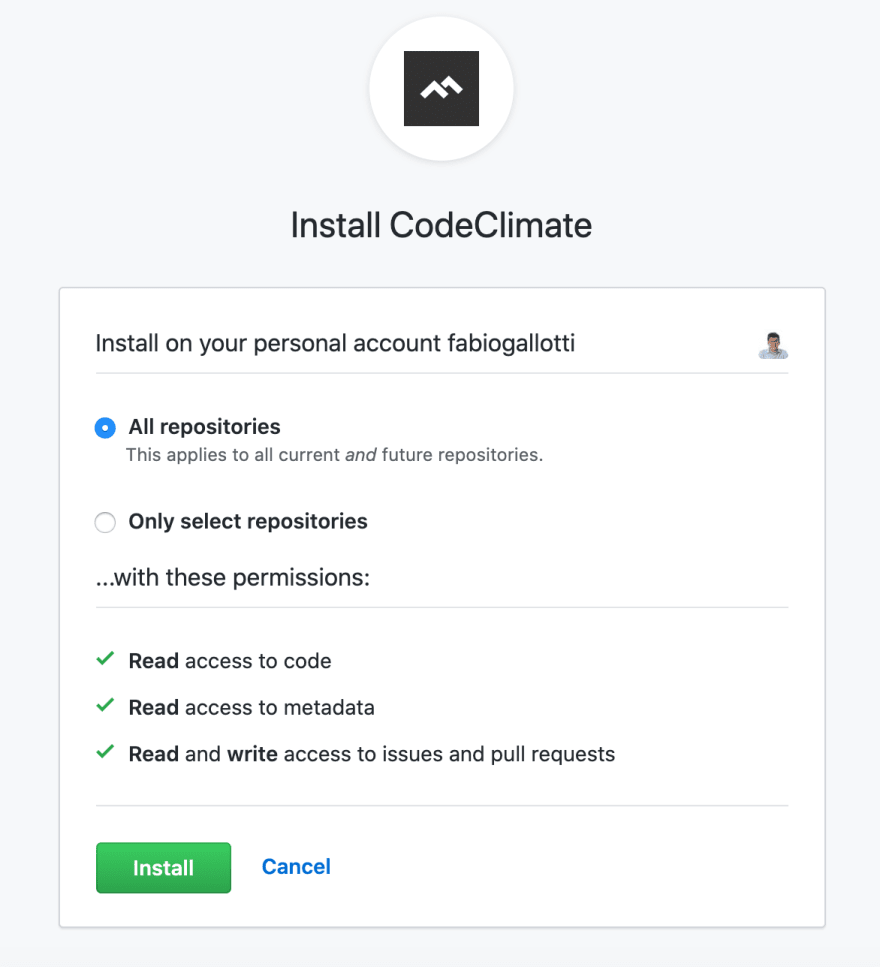
In the Repo Setting, Github tab, enable all the features clicking on the first Set Up; this way you will allow Code Climate to provide useful comments in your Pull Request.

Give permission to Code Climate:
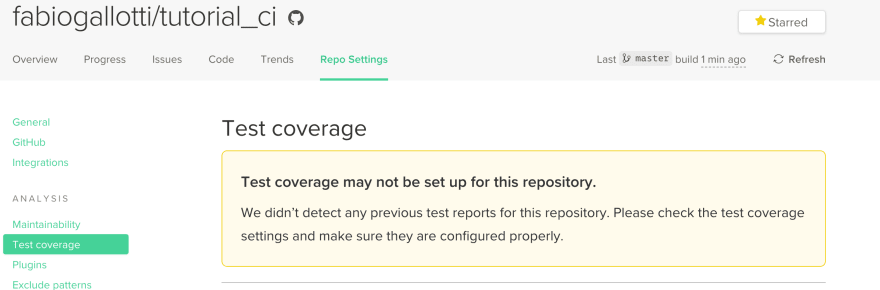
Code Climate offers also the possibility to have some visualization of the coverage of your code.
Let’s configure it in our config.yml:
We first setup the test-reported, before the run of the test. Then we use pytest to run the tests, and we generate a coverage.xml file. Finally we upload the results to Code Climate.
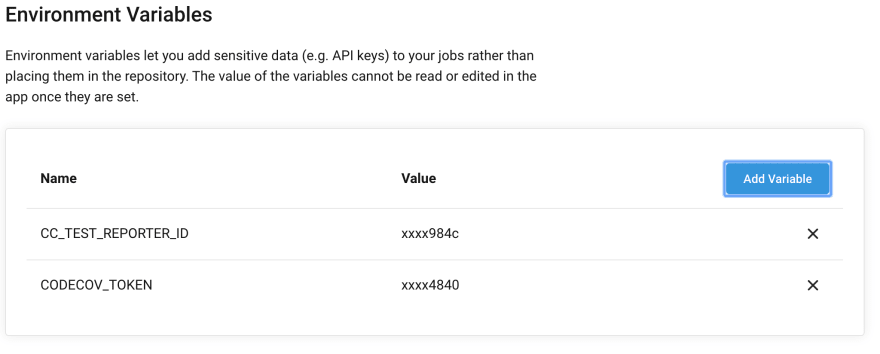
There is one step missing though! We need to configure an Environment Variable in our CircleCI, in order to have everything working. Let’s do it, from the Project Settings.
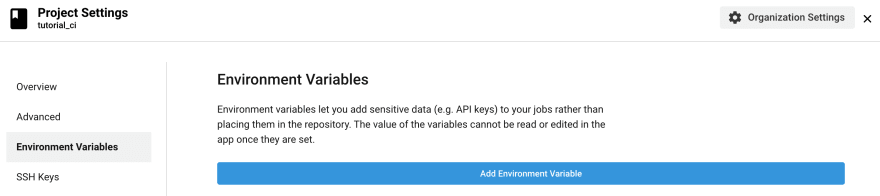
The variable we need to add is called CC_TEST_REPORTER_ID, and the value for it is available in the Repo Setting of our Code Climate account: (I regenerated mine after taking the screenshot)

Once we add it, this is what we have:

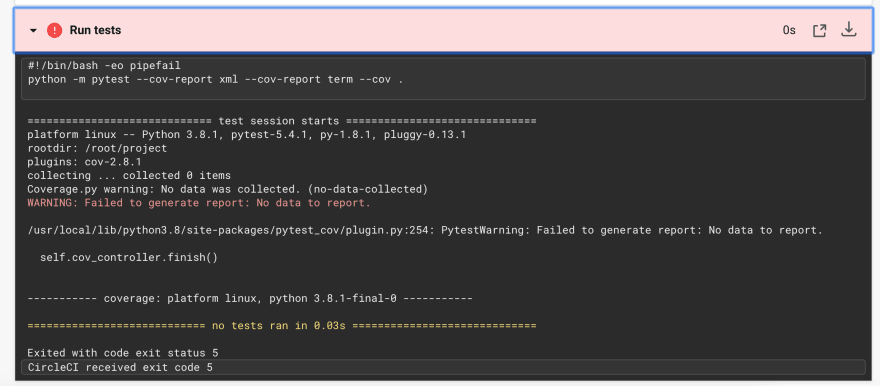
If we then push our changes to the central repository, we will have a failed build, because we don’t have any code yet.
Let’s create a basic function and a test to in order to have some results:
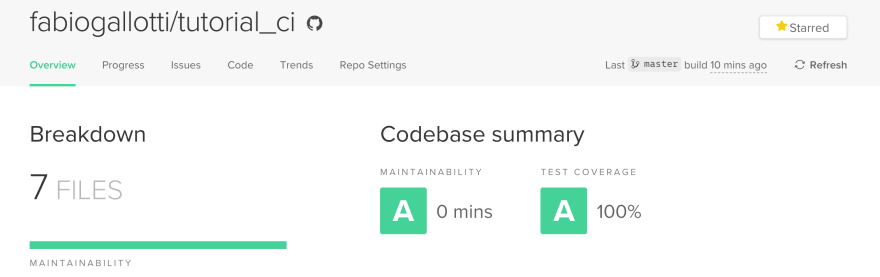
Now the build it’s green, and we have our statistics on Code Climate!

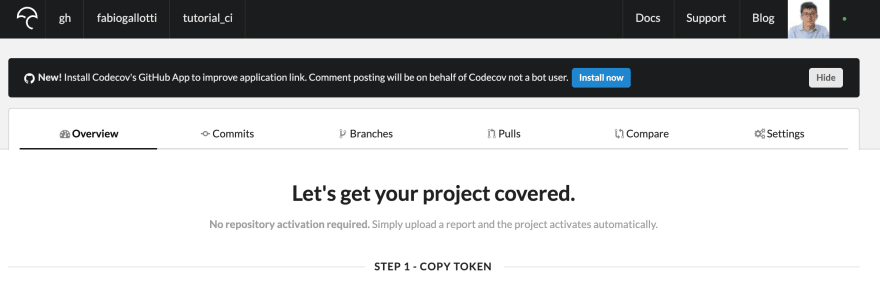
Setting up CodeCov
And what if we want some more coverage visualization for our code? Maybe even detailed at Pull Request time? CodeCov will help us on this.
Again, we will link Github and CodeCov.
We will need again to create an Environment Variable in CircleCI, CODECOV_TOKEN, and you will find your token directly when you add the repository to CodeCov.
As before, in the Project Settings of our Repository in CircleCI, we will add the needed variable.
Then, we need to customize our config.yml adding the Send to codecov step:
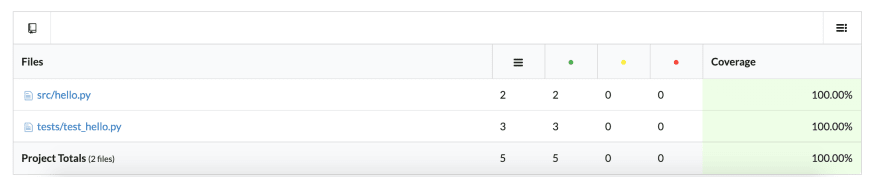
And here is the result on CodeCov:
As latest step, we can also customize the coverage that is run, in order to not run agains the tests folder. What we need to do is simply to add a .coveragerc file, like this one:
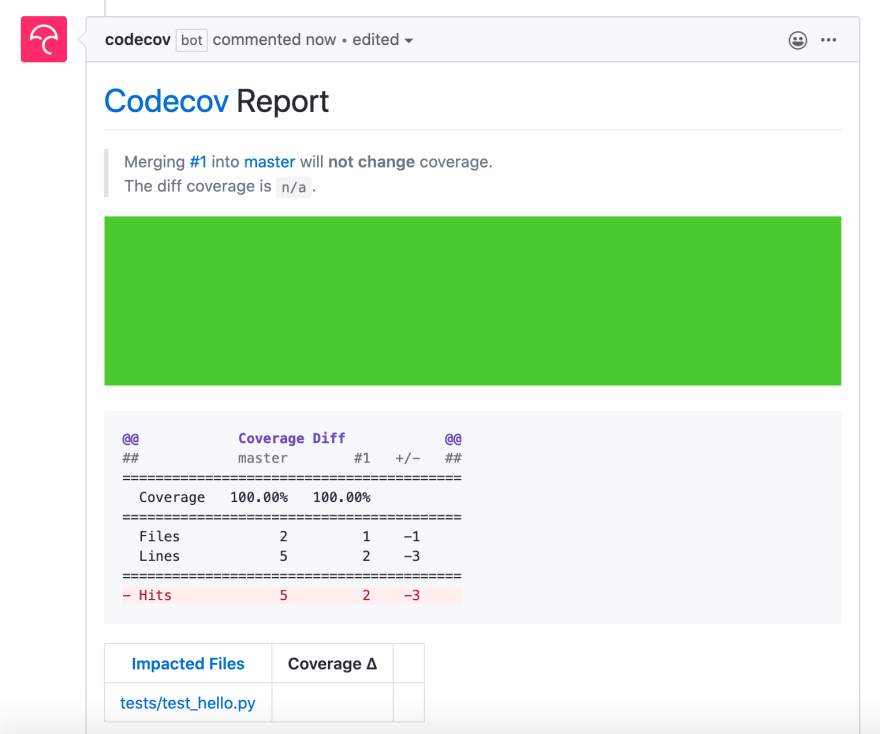
If we open a Pull Request for this change, we can see how CodeCov is directly adding a comment in it, reporting the result of its analyses:
Configurations of builds for Pull Requests from forks
The last thing I want to show you in this tutorial, is how to properly setup builds also for Pull Request from any fork.
In the Project Settings, Advanced tab, you have to enable the options:
Build forked pull requests,
Pass secrets to builds from forked pull requests,
Only build pull requests,
Auto-cancel redundant builds.
To end my tutorial, I would like to add two things:
- first one, you can ensure that these checks are ran before merging any of your Pull Request, creating Branch protections rules in Github:


- and that you can, for each one of the tools I spoke about today, add a badge in your README.md.

We reached the end of this long tutorial, I hope you enjoyed it and that you will benefit from it!

Top comments (0)