After you finished your projects, you want to be able to host your project online to show off to your friends and family, and there's a ton of available options when it comes to hosting your project, including popular cloud based solutions like AWS, which has a lot more customization options. If you want something simple, Heroku has everything you'll want for your hosting purposes. There's a ton of documentation on the Heroku website for how to set up for different languages, but this is what you'll need to do for a Ruby on Rails project.
1) Create a heroku account
Go to https://www.heroku.com/ to create a Heroku account.
2) Create a new Heroku project
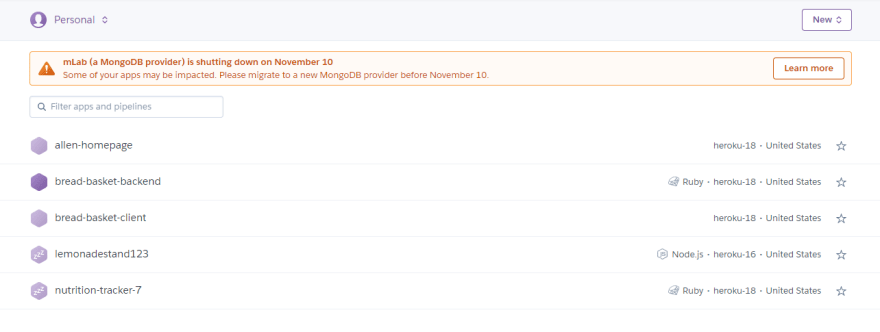
After signing in you should be redirected to this homepage. You'll want to create a new heroku project by clicking on the new button in the top right corner.
3) Download Heroku Cli
Go here to download the Heroku Cli onto your machine which will allow you to run heroku command in your console.
4) Login to Heroku
Run heroku login on your console and type in your heroku account credentials to login.
5) Link heroku remote to your existing Git repo
If you don't already have a git repo you'll have to create that first. Navigate to your git repo on your local machine, and run this command
heroku git:remote -a PROJECT_NAME
6) Push to heroku and build.
Run these to start your build
git add .
git commit -m 'commit message'
git push heroku master
7) Make database migrations and seed your data
After your build is successful you can run these to create necessary migrations and seed data.
heroku rake db:migrate
heroku rake db:seed
8) Open your heroku project!
Run heroku open to open your project. If you get something like "Something went wrong on your webpage" you can type heroku logs for more information on your particular error. If you're here, good luck on Stack Overflow.

Top comments (0)