
This article was written by Chidume Nnamdi as part of the Hasura Technical Writer Program. If you would like to publish an article about Hasura or GraphQL on our blog, apply here.
I have worked with Hasura for a long time and have realized that developers find it hard to understand what webhooks are in Hasura and how to set them up. In this blog post, I will be explaining how a webhook in Hasura works and how we can set it up to call an API endpoint in a Next.js app.
Data Models & API
Let's say we have a PostgreSQL database food with the tables:
food table
id
|
name
|
|
1
|
rice
|
Connecting our Postgres database will expose the GraphQL API endpoints and we can now perform CRUD operations on the table via queries and mutations:
Mutations
mutation {
    delete_foods(where: {})
    delete_foods_by_pk(id: 10)
    insert_foods
    insert_foods_one(object: {})
    update_foods(where: {})
    update_foods_by_pk(pk_columns: {id: 10})
}
Queries
query {
    foods
    foods_aggregate
    foods_by_pk(id: 10)
}
We can perform the queries and mutations on http://localhost:8080/v1/graphql locally.
Webhooks in Hasura
A webhook is a database event trigger that calls a web URL when an action is performed on a database table.
Let's see it this way... We have a database table named food. Now, we can create an event trigger on the food table and set it up to be triggered when any of the following actions are performed:
- an item is inserted into the table
- an item is deleted from the table.
- an item was edited or read from the table.
The event has an event handler—A web URL that is called when the database event is triggered.
In the next section, we will learn how to set up the Hasura GraphQL engine in our local environment and create a webhook.
Setting up Hasura
First, create a folder where everything will be housed:
mkdir hasura-prj
cd hasura-prj
Now, let's fetch the Hasura docker compose file. Run either of the below commands:
wget https://raw.githubusercontent.com/hasura/graphql-engine/stable/install-manifests/docker-compose/docker-compose.yaml
OR
curl https://raw.githubusercontent.com/hasura/graphql-engine/stable/install-manifests/docker-compose/docker-compose.yaml -o docker-compose.yml
This will download the docker-compose.yaml file to the hasura-prj folder.
Next, run the Hasura GraphQL engine along with a Postgres database.
docker-compose up -d
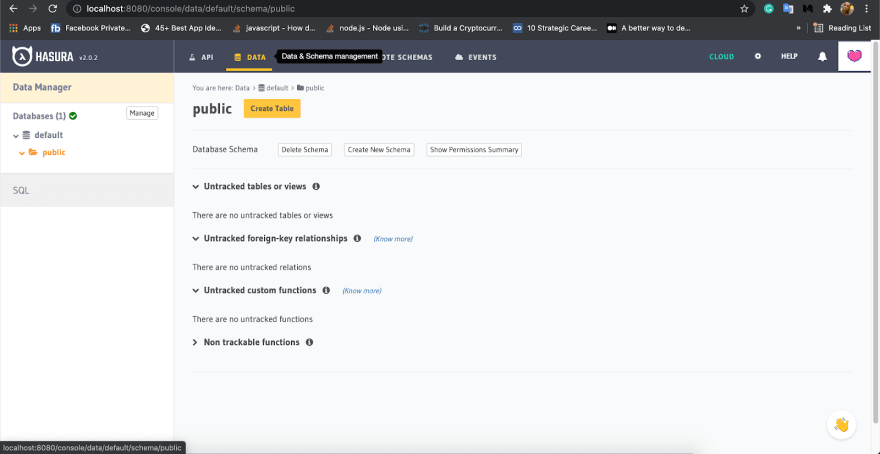
This command will pull the container and run it. Let's open our browser and navigate to localhost:8080/console. This will open up the Hasura admin UI. This admin UI is where we can connect our SQL database, create data in our database, test the data, and do many other things.

We will connect a Postgres database to our Hasura. To do that click on the Data, and on Manage and last on Connect Database.
Fill in the inputs, leave the Database Display Name as default. Type PostgreSQL in Data Source Driver. In the Database URL type in postgres://postgres:postgrespassword@postgres:5432/postgres.
Finally, click on the Connect Database button on the form. This will connect Hasura to the Postgres database.
Create a table
Now, let's create a table users. This table is where we will register database events to trigger our webhook URL when a record is inserted into it.
Navigate to Data -> Create Table, enter the fields to look like below:


After that click on the Add Table button. It will create the table and also the mutations and queries for the table.
Now, we need to create an event trigger on the users table. Before that, we need to create a Next.js project and deploy it.
Setting up Next.js project
Let's set up a Next.js project.
npx create-next-app hasura-webhook
OR
yarn create next-app hasura-webhook
This will create a Next.js project in hasura-webhook folder.
In Nextjs, the API endpoints are housed in the pages/api folder. The files and folders in this pages/api folder map to an endpoint.
For instance:
-
pages/api/hello.jsmaps tohttp://DOMAIN/api/hello. -
pages/api/index.jsmaps tohttp://DOMAIN/api/.
So we saw how the mapping works!
Now, this API endpoint from our Next.js app is what we want to call when an event is fired from our Hasura webhook.
We already have hasura-webhook/pages/api/hello.js generated by Next.js. Let's set it as the webhook URL to be called by our Hasura event.
The code inside the file is:
// Next.js API route support: https://nextjs.org/docs/api-routes/introduction

export default (req, res) => {
console.log("triggered");
res.status(200).json({ name: "John Doe" });
};
Woohoo! We now have our Next.js app being served locally. Let's go ahead and deploy it to the cloud.
Deploying our Next.js project
In this tutorial, we will be using ngrok. Let's install it via Yarn in our project.
Run the following command:
yarn add ngrok
Next, let's add an NPM script to our package.json file, as follows:
"scripts": {
//...
"ngrok": "ngrok http 3000"
},
This command will start an HTTP tunnel on port 3000. Run the command below:
yarn ngrok
We can this cascade on our terminal as follows:
ngrok by @inconshreveable (Ctrl+C to quit)

Session Status online
Version 2.3.40
Region United States (us)
Web Interface http://127.0.0.1:4040
Forwarding http://474a28b0fd1a.ngrok.io -> htt
Forwarding https://474a28b0fd1a.ngrok.io -> ht

Connections ttl opn rt1 rt5 p50
https://474a28b0fd1a.ngrok.io is the URL of our deployed Next.js project. Not that when you try this out, your URL will be different from mine. So copy it because it will be your webhook URL.
Now, our api/hello API endpoint will be https://474a28b0fd1a.ngrok.io/api/hello. So this is our webhook URL.
Creating an event trigger
Now, let's go back to our Hasura admin UI. We will now create our first event trigger!

Clicking on Events > Create will open up a form.
Add the Trigger Name to be insert_users. This will be the unique name of the Event Trigger. Select the Schema to be public and the Table to be users. This table is where the event trigger will be created.
On Trigger Operations check the Insert box, this will make the event be triggered on the users table when a record is inserted into it.
On the Webhook URL type in http://474a28b0fd1a.ngrok.io/api/hello, this URL will be called with the event payload when a record is inserted in the users table.
Test run
Now, let's go to API tab and run the following mutation:
mutation {
    insert_users_one(object: { name: "David" }) {
        returning {

        }
    }
}
The insert_users event will be called along with our API at https://474a28b0fd1a.ngrok.io/api/hello.
Go to Events > Invocation Logs and you will see an entry that is made there. That is the details of the event insert_users that has been fired.
Conclusion
In this blog post, we briefly learned about Hasura and how it works. Next, we learned what a webhook is and how it functions. Then, to fully demonstrate how to set up a webhook in Hasura, we created a Hasura instance and deployed a Next.js project using ngrok. We then created a webhook and pointed the event handler to our Next.js API endpoint. Finally, we performed a mutation in our table to fire the webhook! Hurray! 🎉
About the Author
Chidume Nnamdi is a software developer and writes technical articles about JavaScript, Angular, React.js, and Node.js.

Top comments (0)