Azure Data Explorer (ADX) is a great service to analyze log types of data. And you need data to play with it. There are many ways to ingest data into ADX, and I explain how to ingest data from blob storage by using Azure Data Factory (ADF).
Prerequisites
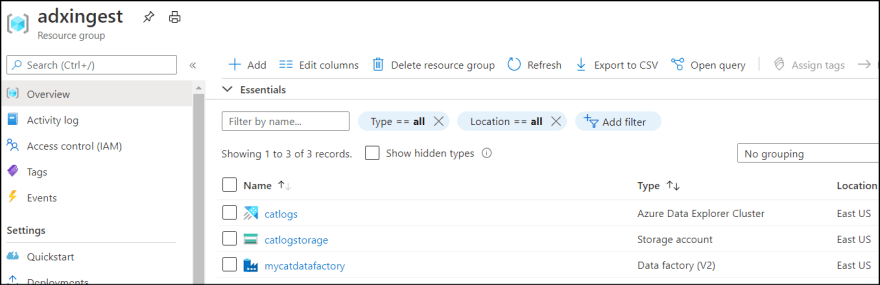
I created following Azure resources.
- Azure Data Explorer
- Azure Data Factory
- Azure Storage Account
Upload log to storage
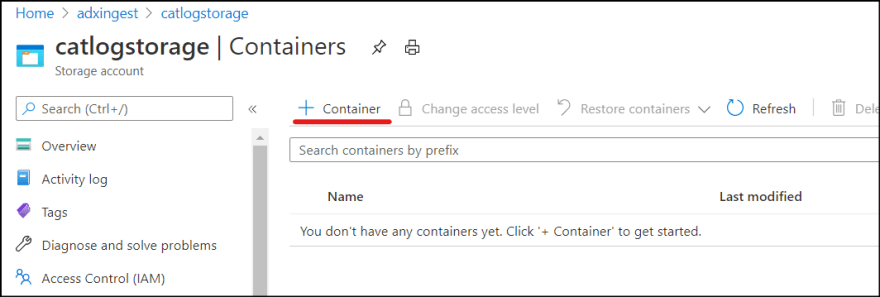
I uploaded csv as data source to blob storage.
1. Go to Storage Account and select "Containers". Then add new container. I named it as "catlogs".
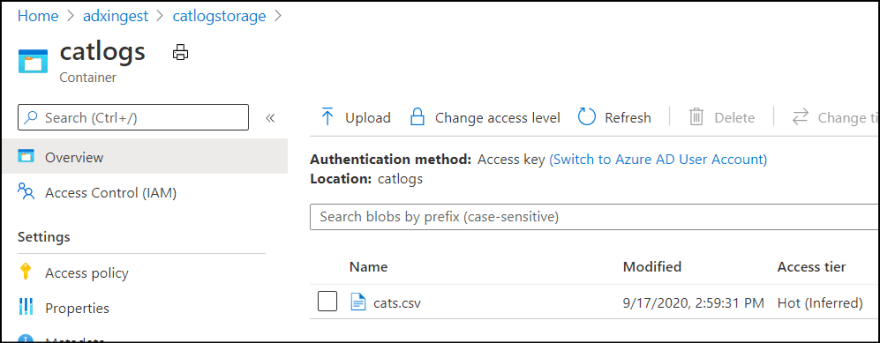
2. Then I uploaded CSV which contains following data.
name,age
chibi,3
mei,3
chelsea,2
Create Database and Table in ADX
1. Go to ADX account from Azure Portal and click "Add database".
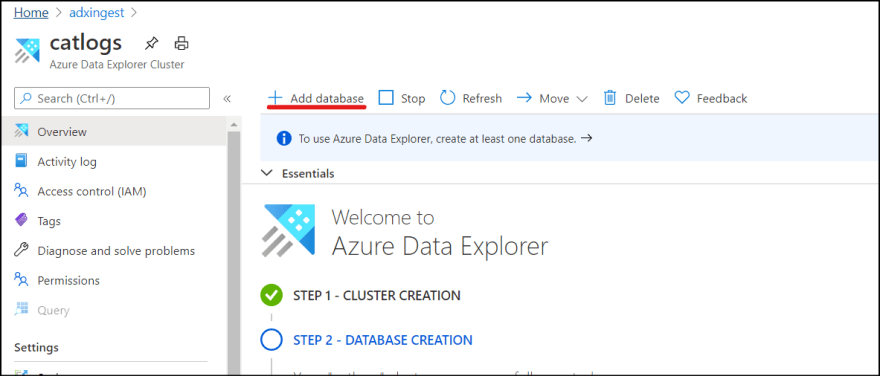
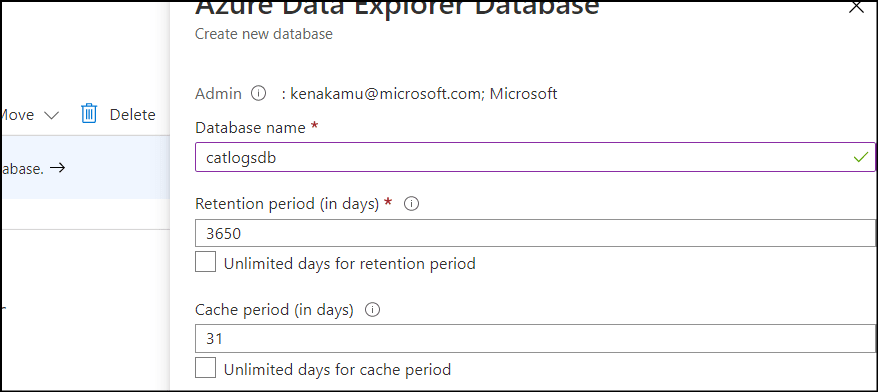
2. Create database by giving any name. I call it "catlogsdb".
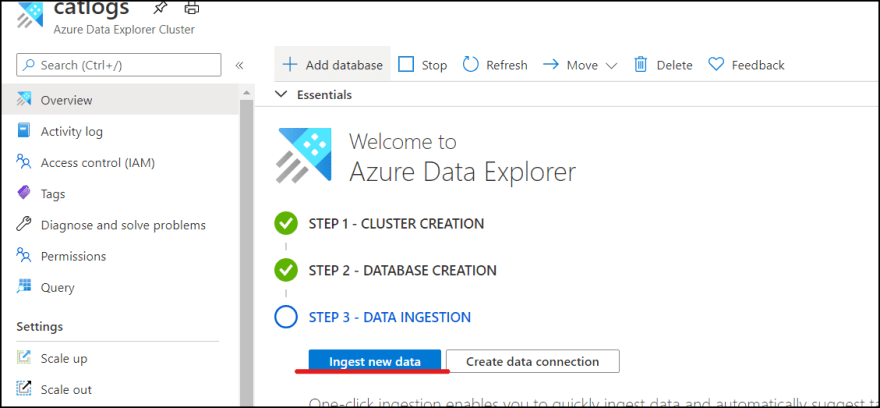
3. Once database is created, then click "Ingest new data" which brings you to ADX portal.
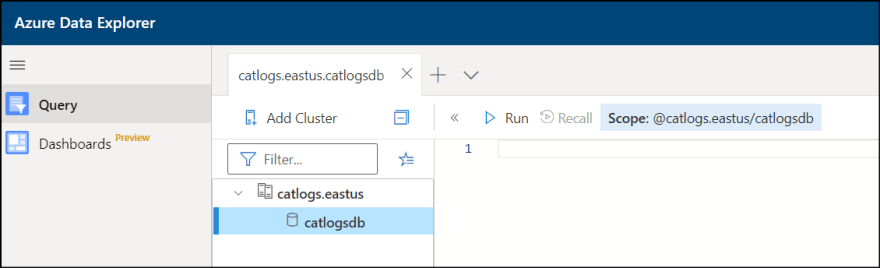
4. Click "Query" to display created database.
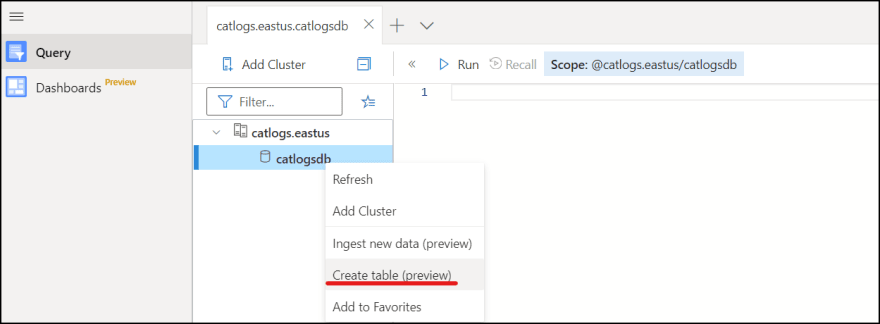
5. Right click the database and click "Create table".
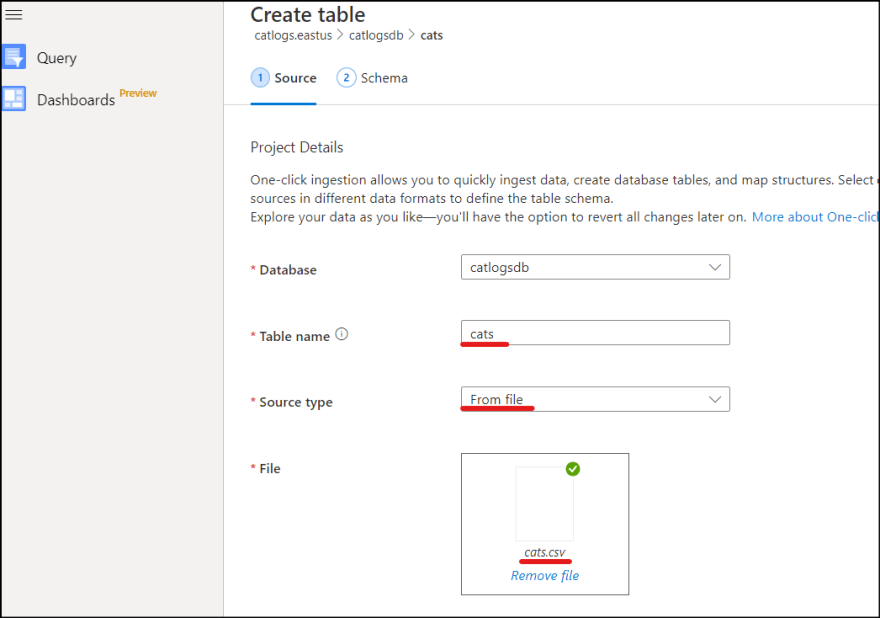
6. Enter table name and select csv from local file.
7. Click "Edit schema", select "Includes column names" to make first row as header, and "Create mapping". Note the mapping name.
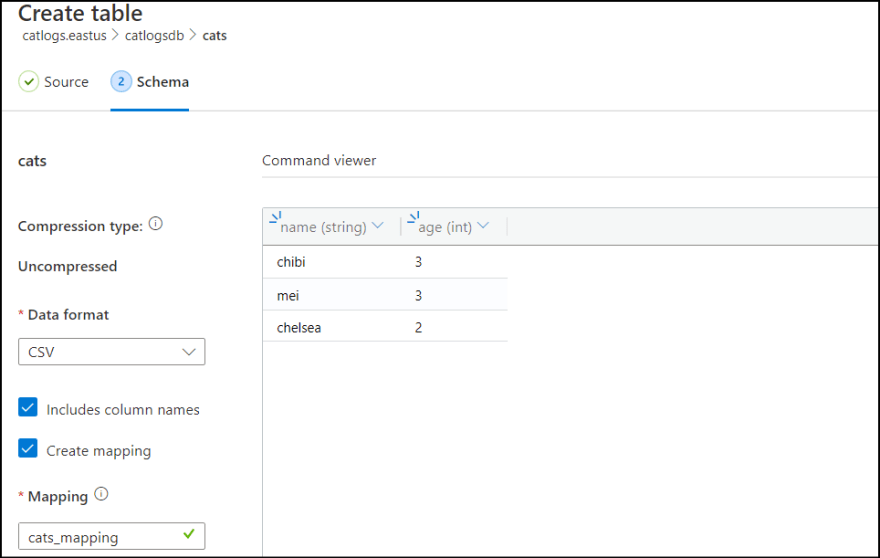
8. Finally click create and close to complete the process.
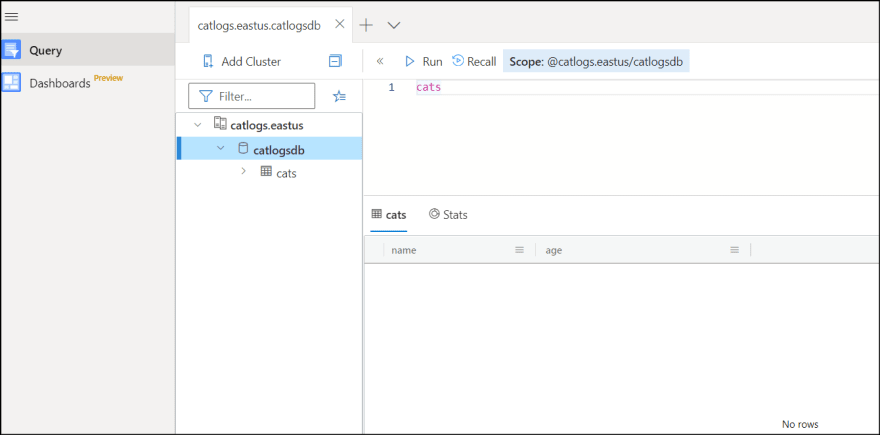
9. Query cats table and confirm you don't have any data yet.
Create pipeline to ingest data
Finally create pipeline in ADF.
Add service principal
To let ADF access to ADX, I need to create service principal. You can give permission at two levels.
- ADX resource level
- ADX database level
I give permission on resource level this time.
1. Go to Azure Portal | Azure Active Directory | App registrations and click "New registration".

2. Enter service principal name and click "Register". I named it as "mycatadx-sp".
3. Note "Application ID".
4. Select "Certificates & secrets" and generate new key. Note the key.
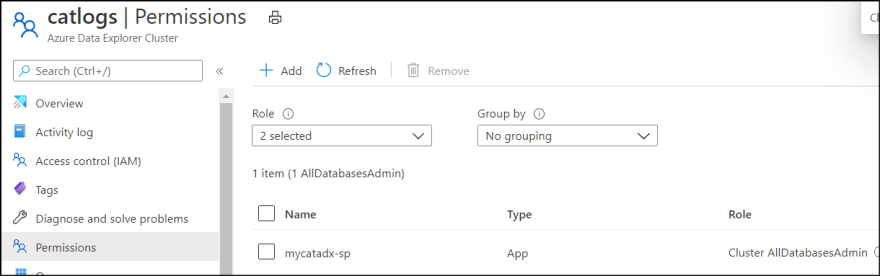
5. Then go back to Azure Portal and select ADX resource. Go to "Permissions". Click "Add".
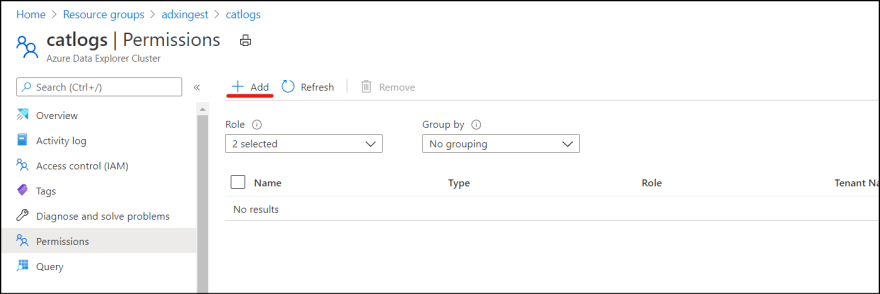
6. Select the created service principal and add.
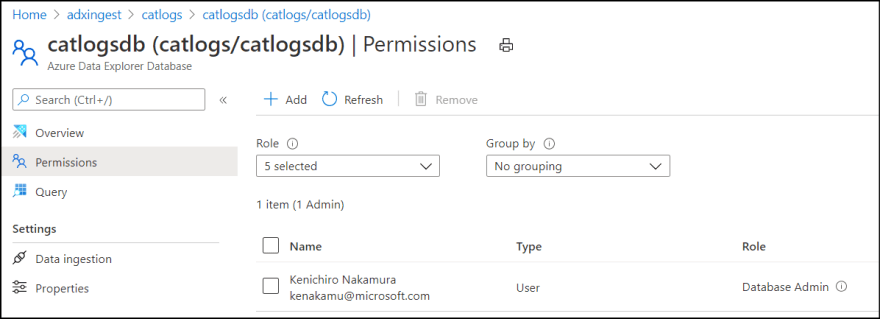
If you want to give permissions on database level, rather than go to "Permissions" on resource, go to databases and select a database, then select "Permissions".
Add ADX as Linked Service
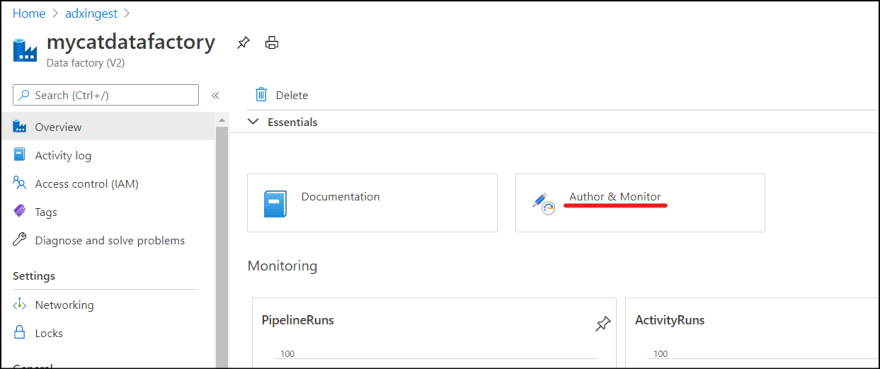
1. Go to ADF resource from Azure Portal and click "Author & Monitor" which brings you to ADF portal.
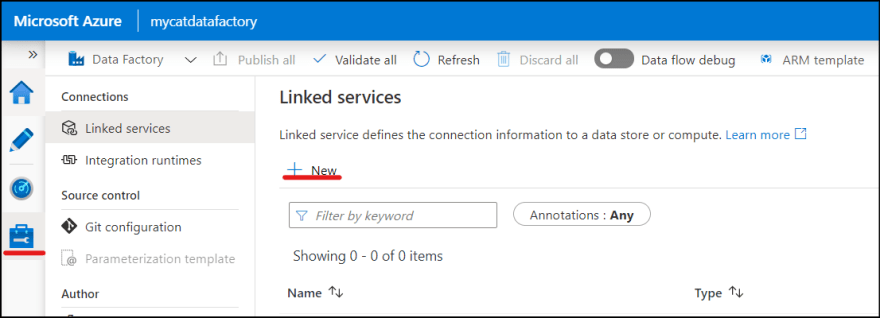
2. Select "Manage" icon and click "New" in Linked services.
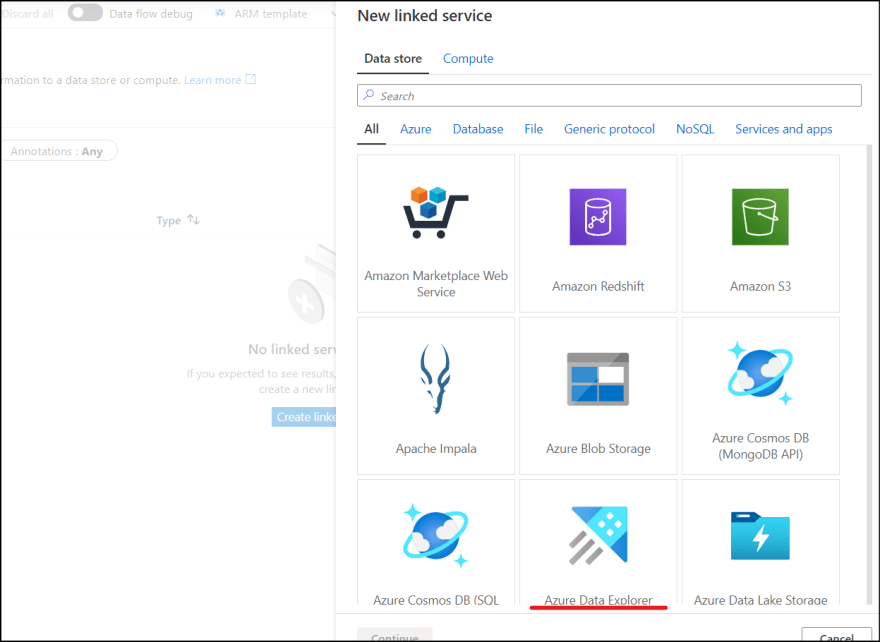
3. Select " Azure Data Explorer" from the list.
4. Select ADX resource from Azure Subscription, and enter service principal ID/key which you created.
5. Enter database name (catlogsdb) and click "Create".
Add Blob storage as Linked Service
By using similar step, add "Azure Blob storage" as linked service.
Add Dataset
After created linked service, I add dataset to define data model.
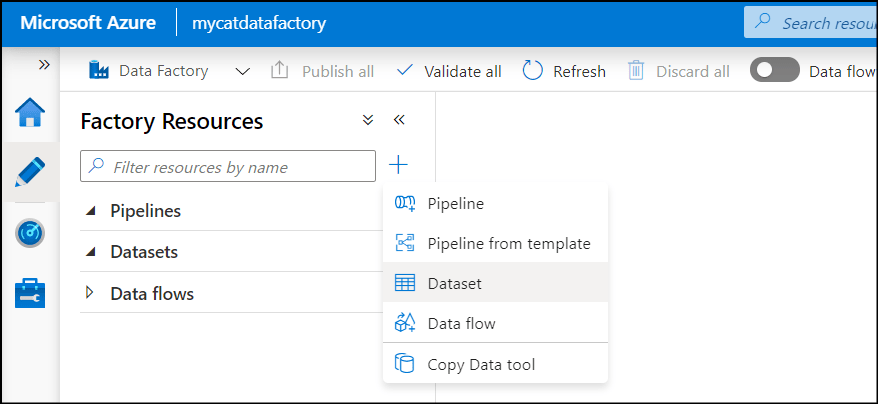
1. Go to "Author" menu, and click "+" to add datasets.
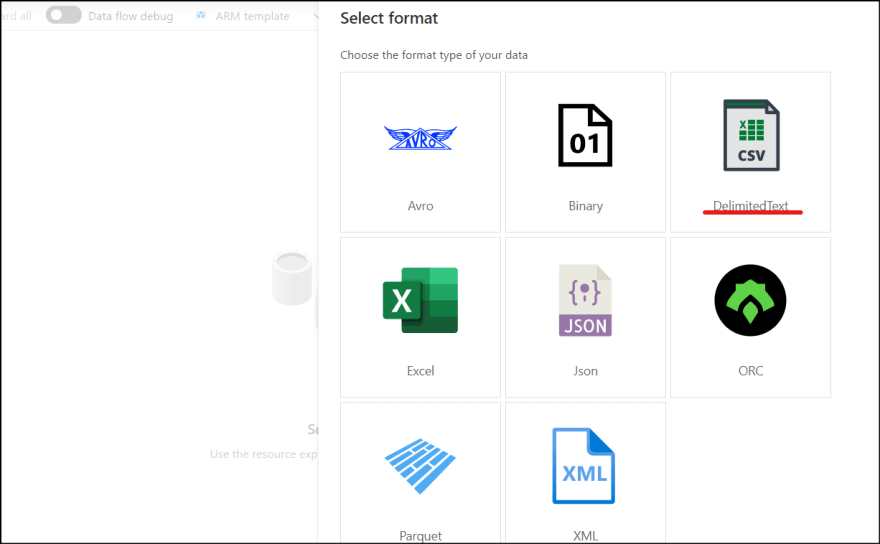
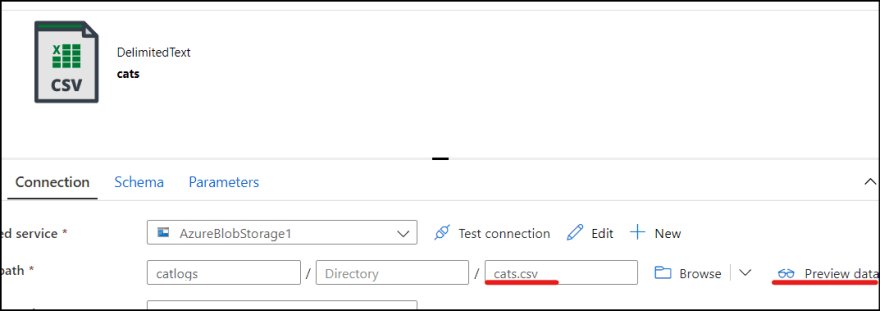
2. Select "Azure Blob Storage", then "DeliminatedText".
3. Select created blob linked service and specify file path. Also check "First row as header".
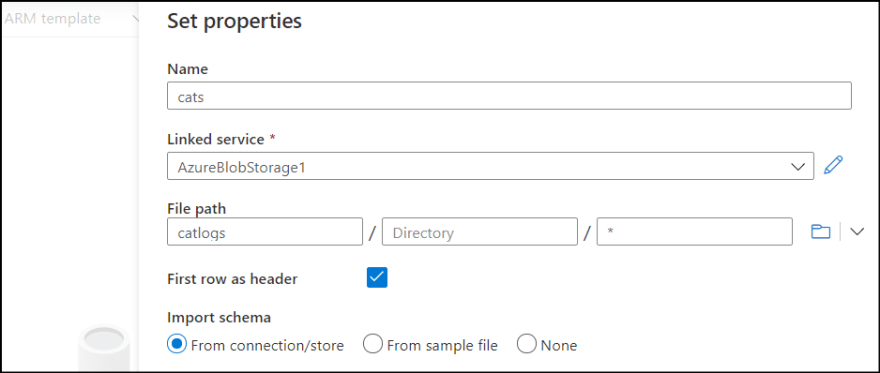
4. Once dataset it created, make sure to add "cats.csv" as file name path and click "Preview for File to confirm you can see the csv file.
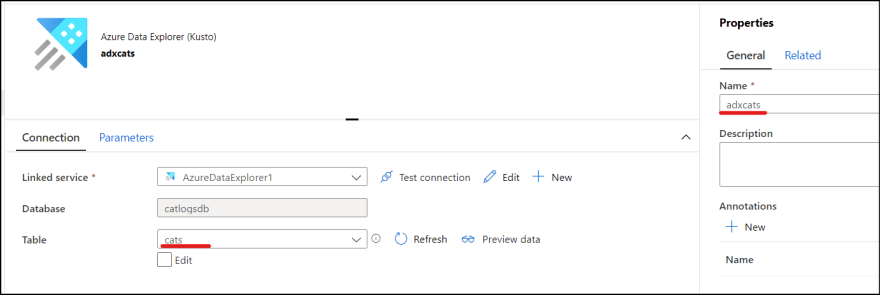
5. Add another dataset. Select ADX and select created linked service. Database is auto resolved. Select table. I also renamed the dataset as "adxcats" to distinguish from blob cats dataset.
Create pipeline
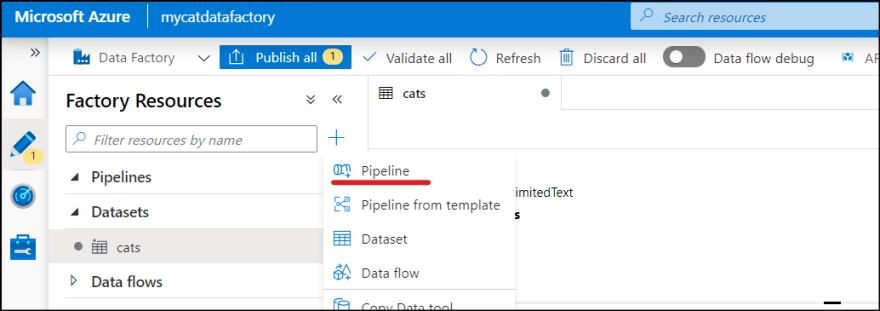
Finally create pipeline.
1. From "+" button, select pipeline.
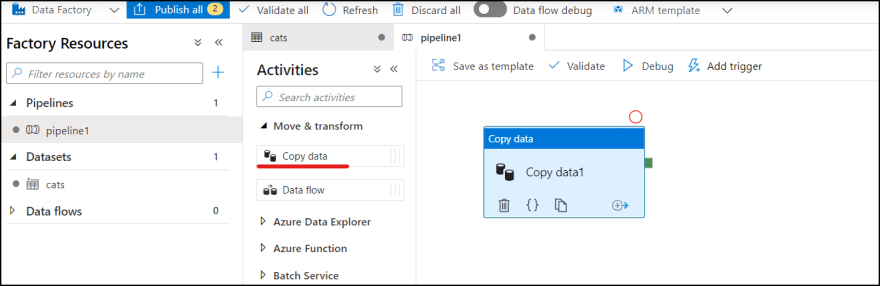
2. Drag and drop "Copy data" from "Move & transform" to the pipeline campus.
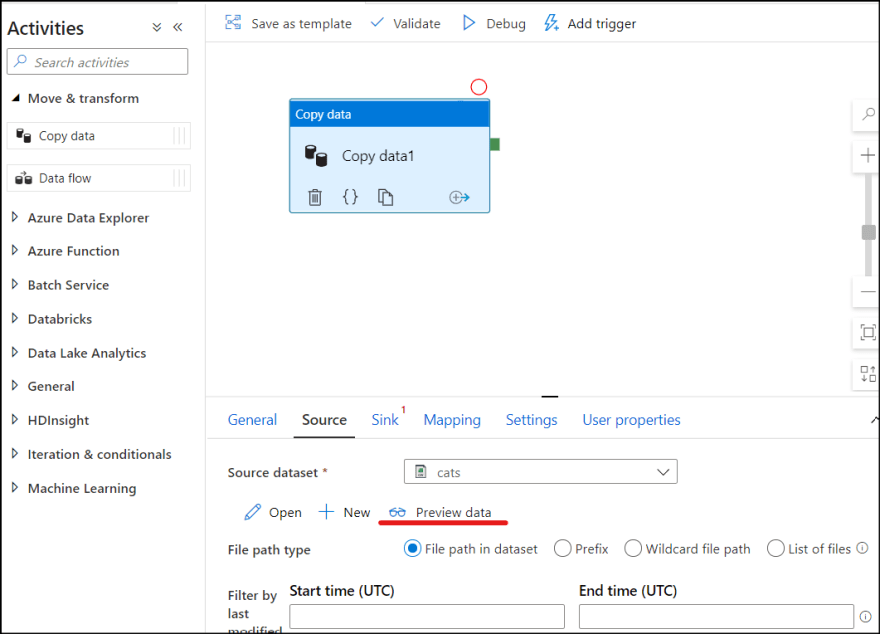
3. Select "Source" property and select "cats" dataset which you just created. Click "Preview data" to see the data.
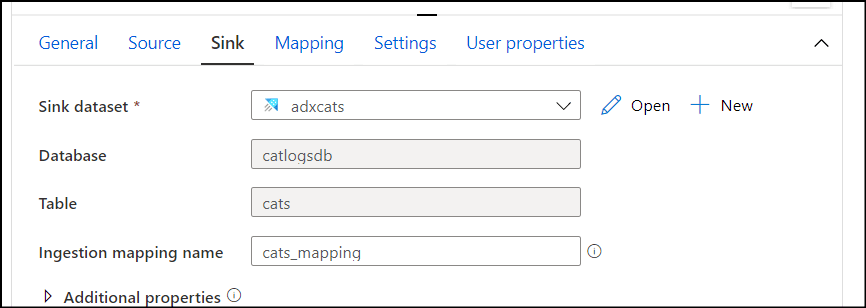
4. Select "Sink" and select "adxcats" from dropdown. Enter mapping name which you obtain when you created table in ADX.
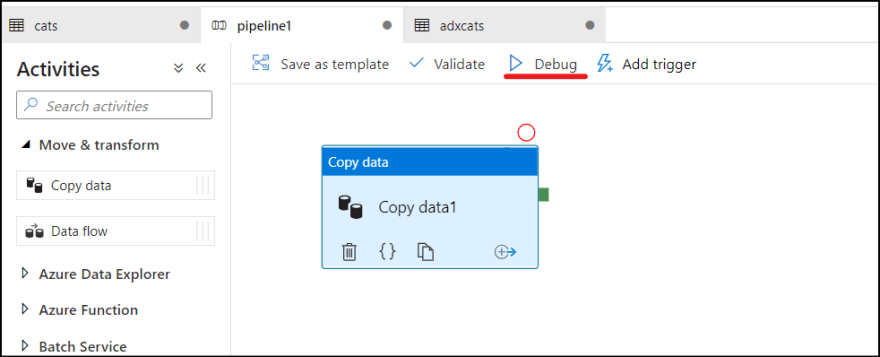
Run the pipeline
Click "Debug" menu to test the pipeline, which triggers the pipeline in debug mode.
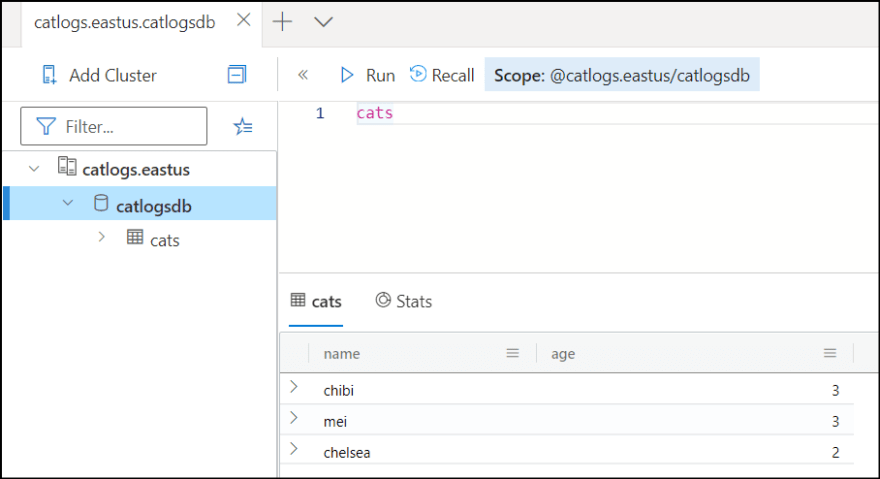
Once the pipeline completed, go to ADX portal and query cats table.
Summary
Even though there are multiple steps to provision resources, settings and permissions, everything can be done via GUI.
If you want to automate the process with flexibility, please consider using ADF.
In the next article, I will explain how to consume the data from Databricks.

Top comments (0)