
OpenLiteSpeed is a high-performance, lightweight, open-source HTTP web server, that helps your website load faster. Think of it as Apache, but quicker. This service is best used for WordPress websites because it makes them quicker to load compared to Apache. Let's get started configuring and setting OpenLiteSpeed up.
Step 1: Install all the dependencies needed
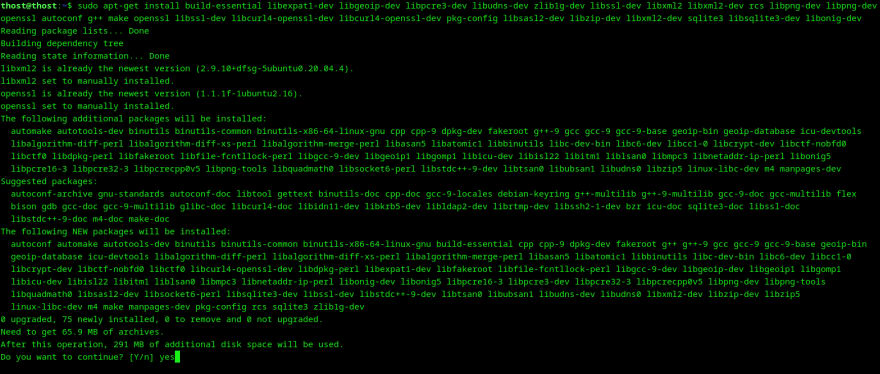
sudo apt-get install build-essential libexpat1-dev libgeoip-dev libpcre3-dev libudns-dev zlib1g-dev libssl-dev libxml2 libxml2-dev rcs libpng-dev libpng-dev openssl autoconf g++ make openssl libssl-dev libcurl4-openssl-dev libcurl4-openssl-dev pkg-config libsasl2-dev libzip-dev libxml2-dev sqlite3 libsqlite3-dev libonig-dev
Step 2: Install OpenLiteSpeed
wget https://openlitespeed.org/packages/openlitespeed-1.7.16.tgz && tar -xvzf *.tgz
Then, once it's done unpacking, you can move into the openlitespeed directory and run the following script.
cd openlitespeed
sudo sh install.sh

Once openlitespeed is finished installing, you will receive a password to the admin account. This will be used to log into the web server's dashboard.
If you cleared the screen and cannot remember your password. You can always find it typing the following command:
sudo cat /usr/local/lsws/adminpasswd
output: WebAdmin user/password is admin/NmQ0ODli
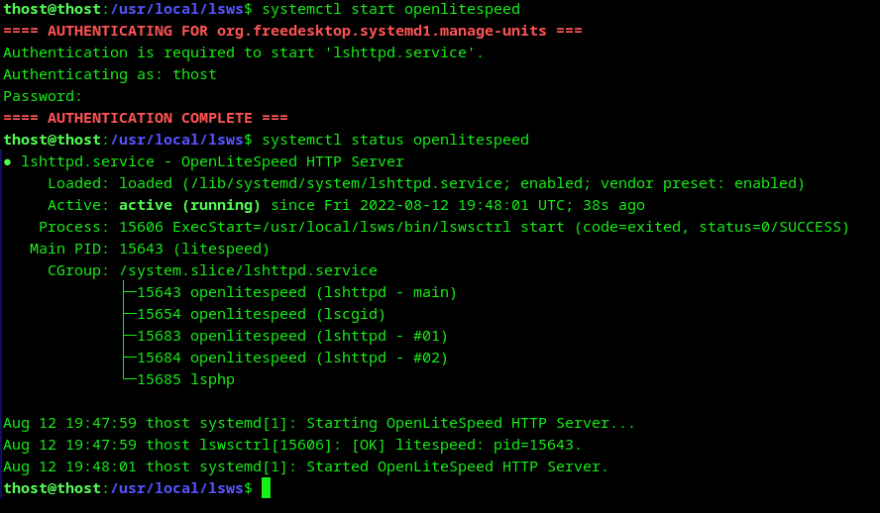
Step 3: Start openlitespeed
Now it's time to start the openlitespeed service. To do that, we will use systemctl to start the openlitespeed.service
systemctl is a a service manager used for controlling and examining the systemd system and services.
sudo systemctl start openlitespeed.service
sudo systemctl status openlitespeed.service
Now in a web browser, if we type http://IP:8088. You should see the following page.
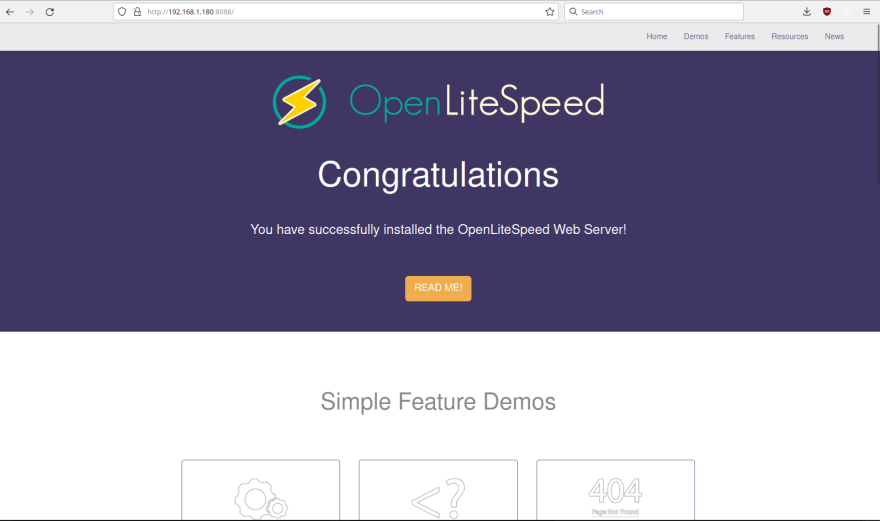
That's it! In the next chapters, we will install PHP and MariaDB.
Thanks for reading
Kenji

Oldest comments (0)