When performing penetration testing on web applications, there's often the need to bypass the login. Of course, you could manually enter values for the username and password fields one at a time, over and over. Obviously, this isn't practical. But with the Interceptor tool in Burp Suite, you can automate the process of brute forcing login credentials. Let's take a look at how to setup and perform a brute-force dictionary attack.
We'll start this process with Burp Suite started, and the proxy turned on. If you don't have Burp Suite installed and configured take a look at the first article in this series, Getting Started with Burp Suite, to get setup. And if you don't have previous experience using Burp, you may want to take a look at the Inspecting Web Traffic with Burp Suite Proxy article.
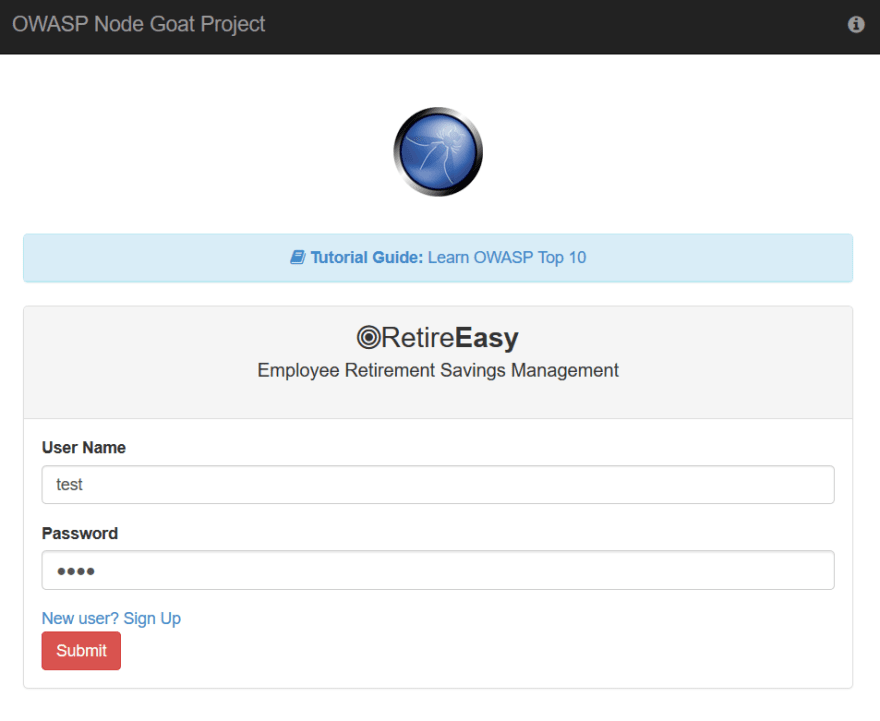
To demonstrate our dictionary attack, we'll be using the NodeGoat web app. This is a web application maintained by OWASP specifically for cybersecurity professionals to practice exploiting vulnerabilities. You can download and run the application on your own, but we'll be using a version that's already deployed at http://nodegoat.herokuapp.com/login.

We'll start at the login page, with Burp Suite running and the Interceptor turned on in the Proxy tab.

In your browser, enter values for the username and password. It doesn't matter what you enter here (I'm using "test" for both). We're not expecting the values to be correct at this point, we just want to get the request started from the browser, so we can intercept it with Burp.
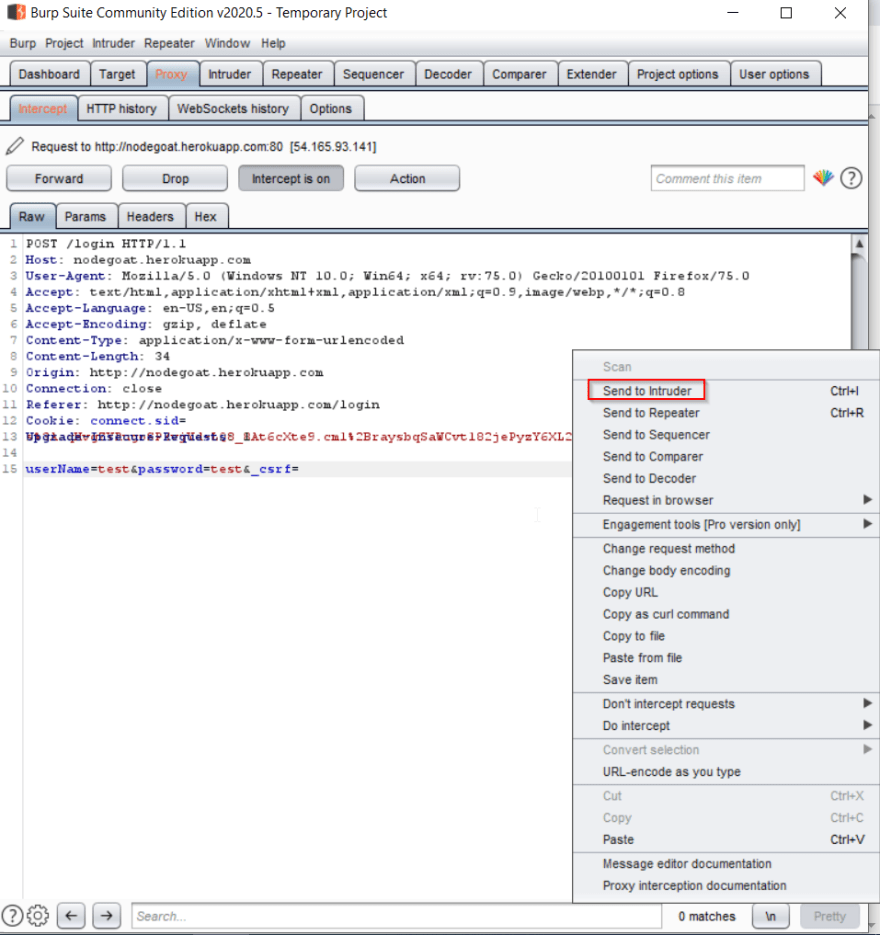
Click the Submit button, then switch over to Burp. The request should have been intercepted. Now, instead of forwarding the request with our initial values, right click in the request window, and select "Send to Intruder".
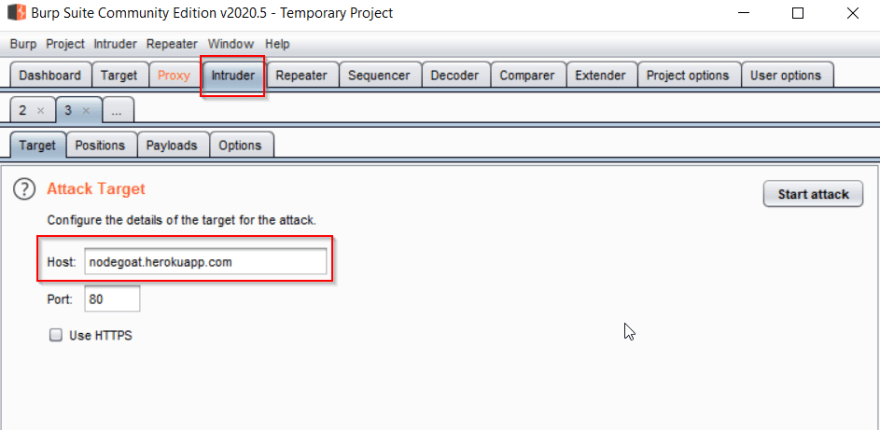
Switching over to the Intruder tab, we'll see the Target sub-tab with the host and port set for us. There isn't anything we need to do here, so go ahead an move on to the Positions sub-tab.
This section is where we'll set the parts of the request that we want Intruder to automate. Start off by clicking the Clear § button. This will clear out the values that are automatically set when the request was sent to Intruder.

Next we want to add the two "test" values back in as positions. To do this, highlight the word that you want Intruder to replace, then click on the Add § button. You should then see the § symbol before and after the value that was highlighted. Add positions around the values for username and password in the last line of the request.

Once we have both of our positions set, there's one last thing we need to do in this tab. Above the request window, we need to change the attack type to "Cluster Bomb". There are four different options for attack type, and each one applies the payloads to the positions a little differently. In our case, we have two fields that we're automating, and two dictionary sets that we'll be using, one for usernames and one for passwords. Since the correct values could be any combination from the two sets, we need to test every possibility. The "Cluster Bomb" attack will try the first value from the username set with every value from the password set. Then, it will move to the second value in the username set, and try it with each password, etc.

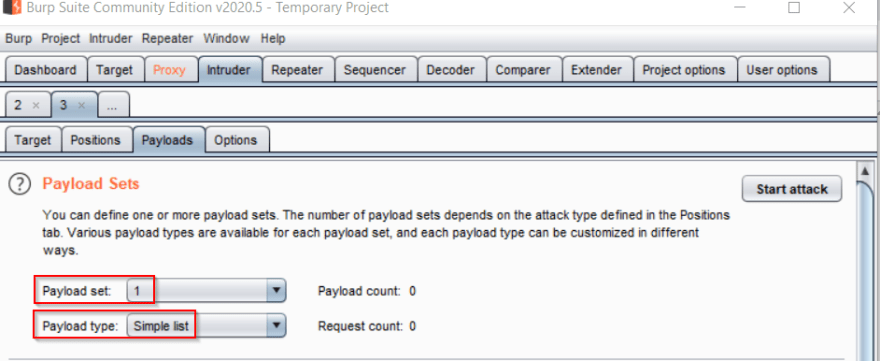
Next, we'll set our payloads in the Payloads sub-tab. Payloads are the values that will be used to replace the positions in the automated requests. The number of payload sets you need depends on the type of attack you chose in the Positions tab. Since we're using the "Cluster Bomb" attack, we need one set for each of the two positions we have set. There are a couple of ways to set the payload sets that you want to use. The Burp Suite Professional version comes with a lot of built-in payloads that you can select from. In the Community Edition, which is what we're using, you can add values manually, or you can upload values from a text file. We're going to be uploading our lists. For demonstration purposes, I'll be using fairly short lists so we can get a result in a reasonable amount of time. One of the most notable drawbacks of using the Community Edition is that it throttles automated requests fairly heavily. If you're using lists with thousands of entries, it can take a very long time to run. I've also made sure that a working username/password combination exists in the lists, to ensure we get a result.
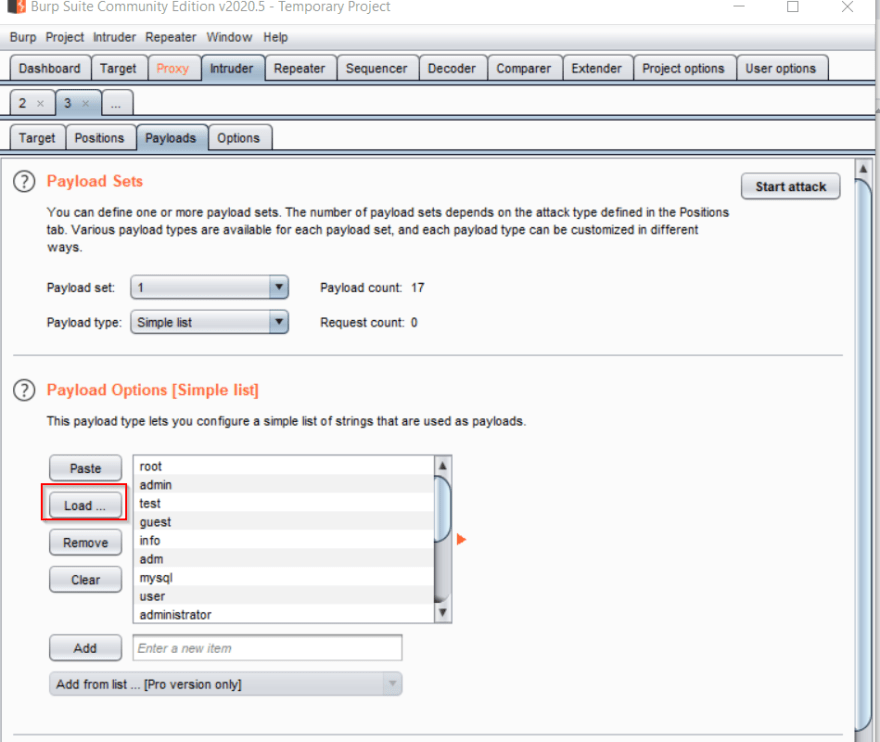
We'll start with uploading the username list for Payload Set #1. In the first section (Payload Sets) you'll see two dropdowns. The first lets you switch between sets, and the second lets you select the type of payload you'll be using. We'll be using a simple list for both payloads, so you shouldn't need to change that field. Make sure you have Payload 1 selected.
In the next section (Payload Options), click the Load button and select the file you want to upload for Payload Set #1. This will be the usernames list. Once the list is loaded, you'll see the parsed list to the right.
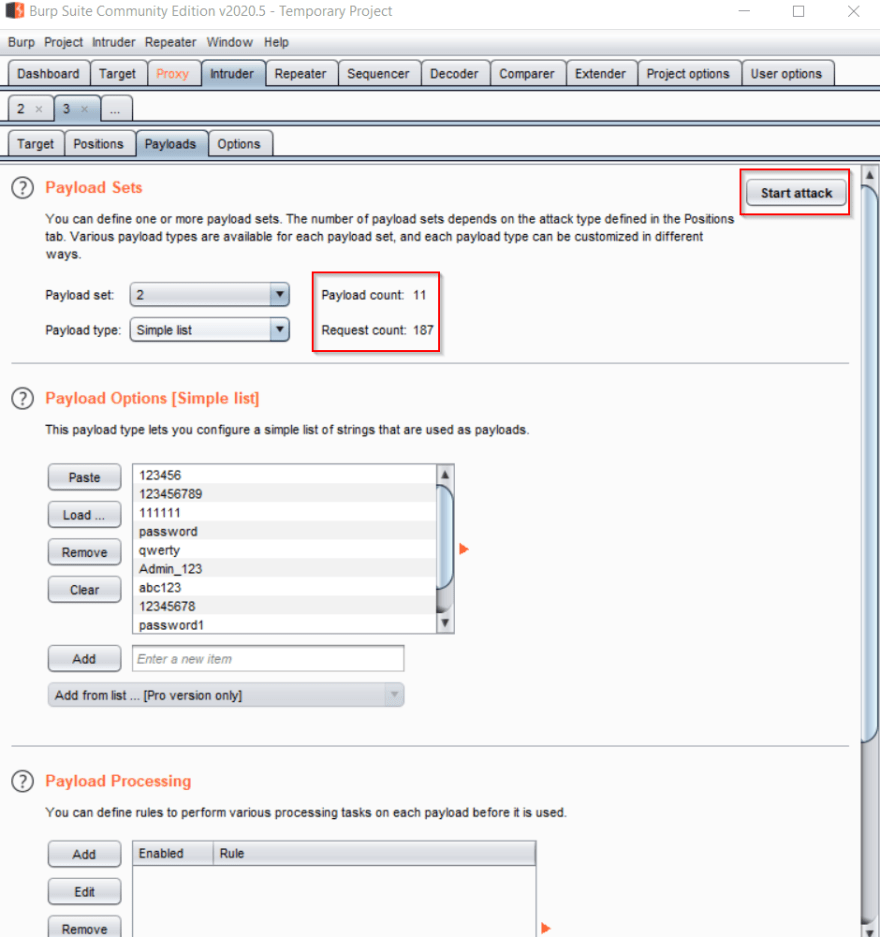
Next, switch to Payload Set #2, and repeat the process for the passwords list. Once this list is loaded, we're ready to start the attack. If you look to the right of the dropdown boxes in the Payload Sets section, you'll see the number of entries in the current payload, and, below that, the total number of requests that will be made, based on the type of attack being performed. Since both of the lists I'm using are fairly small, we'll only have 187 total requests to wait for. In the top right corner of the section click the "Start Attack" button.
If you're using Community Edition, you'll get a pop-up warning you that the available features are limited, and that requests will be throttled. Click "OK" and the attack will begin.
After about 10 minutes, Intruder will have attempted all 187 permutations, and we'll have a list of results to sift through. When looking at the results from an automated attack, it's useful to look for any anomalies in the responses. Looking at the result list from our attack, you'll see that most of the responses look pretty much the same, except for one. Most requests have come back with 200 status, but request 87 gave us a 302 status.

So, let's take the values from request 87, "admin" and "Admin_123", and try them in the target application.
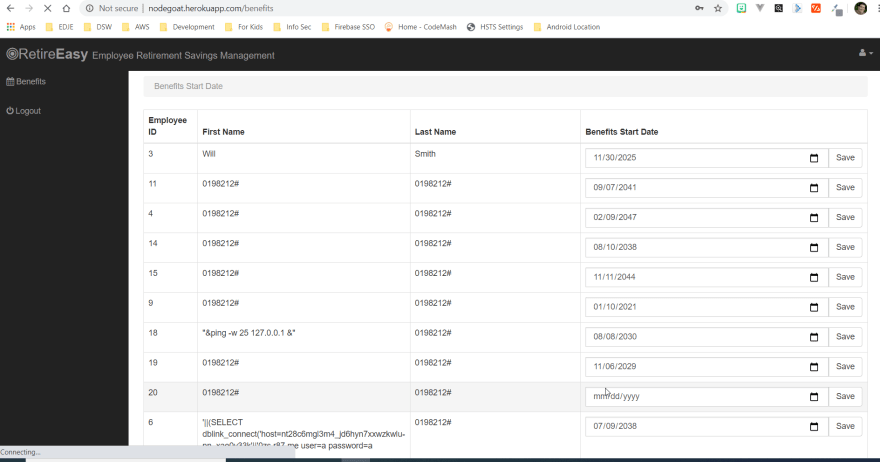
Success! We've managed to use a dictionary attack to brute force our way into the NodeGoat application.

Oldest comments (0)