If you're just getting started in information security, you're going to want to become familiar with Burp Suite. Whether your looking to start a career in the security field, are doing some bug bounty hunting, or just want to participate in CTFs, Burp is an extremely useful tool to learn.
So, what is Burp?
Burp Suite is a web application testing platform developed by PortSwigger. Burp serves as a proxy for intercepting internet traffic, but it's so much more than that! You can intercept and modify http requests, inspect the response data, and automate sequential requests. Burp gives you total control of the requests you send, and makes penetration testing easier and faster. If you're going to be using Burp on a daily basis, the Pro version is well worth the investment, but when you're just getting started, the Community Edition should handle most of your needs.
Installing Burp
If you're running Kali Linux as you operating system, then Burp Suite should already be installed for you. If you're using a different OS, go to https://portswigger.net/burp/communitydownload, and click the button to download the latest version. On the next screen, select the Community Edition and your OS from the drop down menus, and click the download button. I'll be explaining how to install on Windows 10, but there are also Mac and Linux versions available, or you can download the JAR file.
Once the file has finished downloading, run the executable to start the installation. Click the Next button through the wizard screens, leaving the defaults selected, and then click Finish. Open your start menu, locate the Burp Suite Community Edition folder, and launch the application.
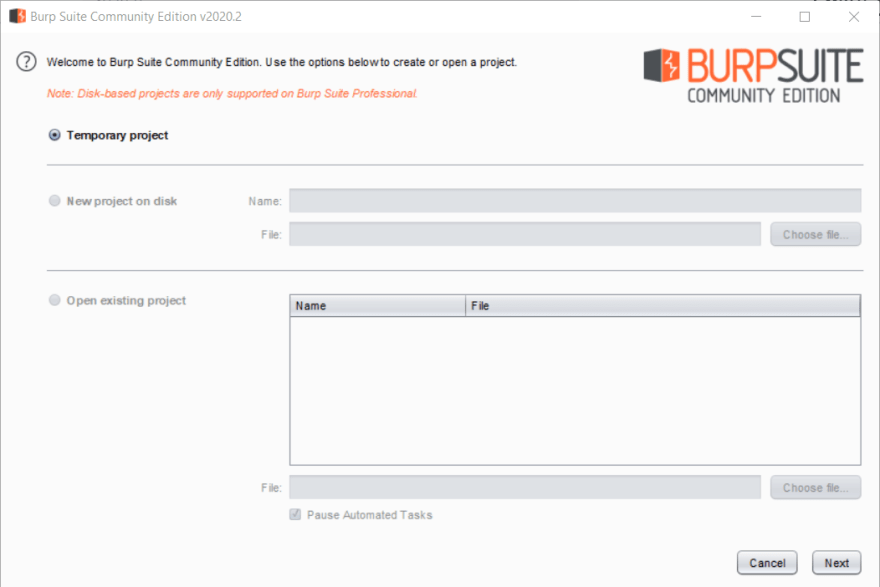
On first launch, you'll need to accept the terms and conditions. After clicking I Accept, you'll be taken to the Open Project screen. The Community Edition only allows you to run temporary projects, so go ahead and click Next.
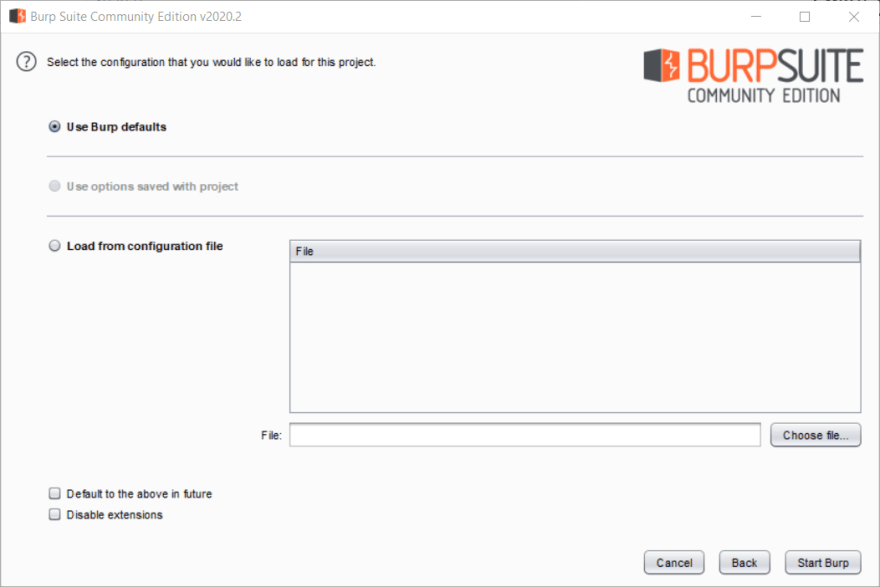
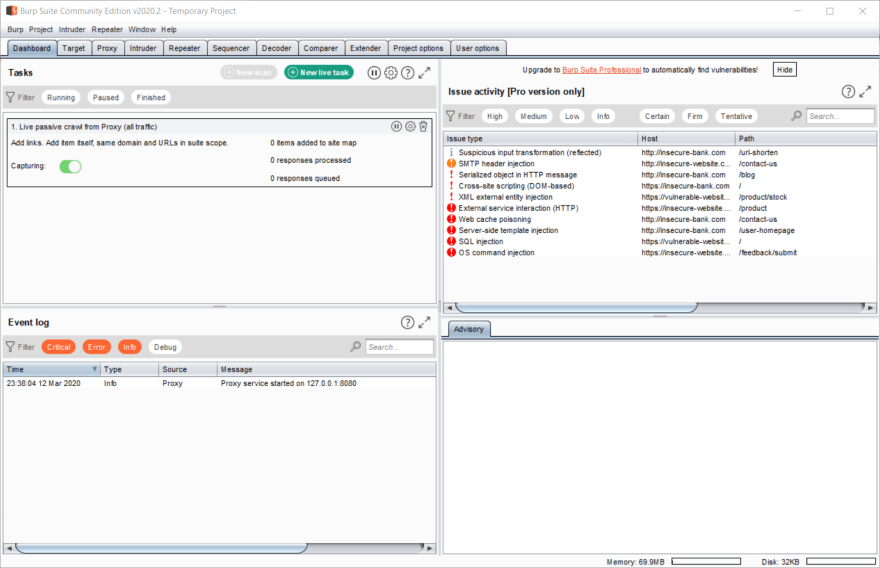
On the configuration screen you can choose to use the Burp defaults, or load a configuration file. Saving and loading configurations is beyond the scope of this article, so we'll just use the defaults for now. Click Start Burp, and you'll be taken to the dashboard.
Configuring the Proxy
Now we have Burp installed and running, but it won't do anything for us until we set up the proxy. I recommend using Firefox as your browser when you're running Burp. The reason for this is that Firefox allows you to set the proxy within the browser preferences, rather than system wide. If you'd prefer to use another browser, there are instructions for configuring Chrome, Safari and IE here.
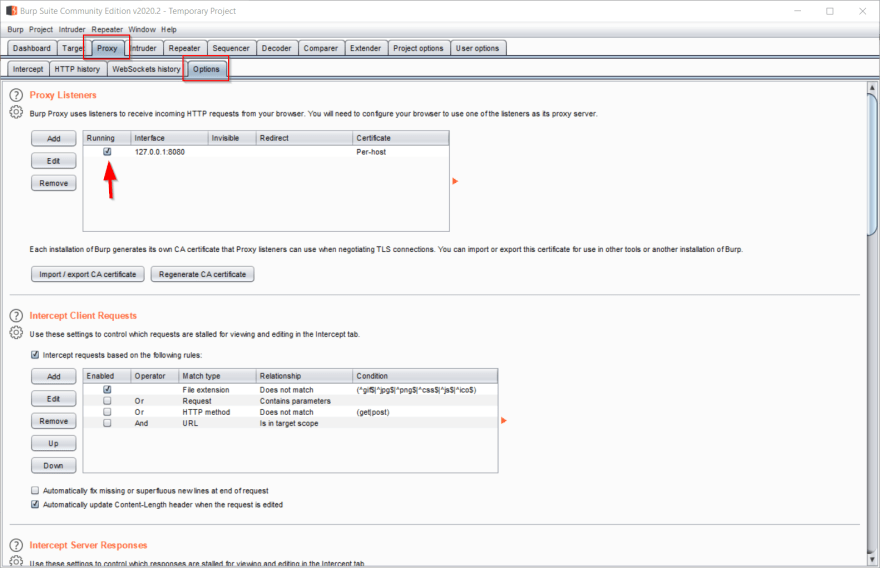
The first thing we need to do, is confirm that the proxy is setup and active in Burp. Click on the Proxy tab at the top of the screen, then on the Options sub-tab. These are highlighted in red in the image below. Make sure you have a proxy listener with interface 127.0.0.1:8080, and that the checkbox under the Running column is selected (see arrow in image below).
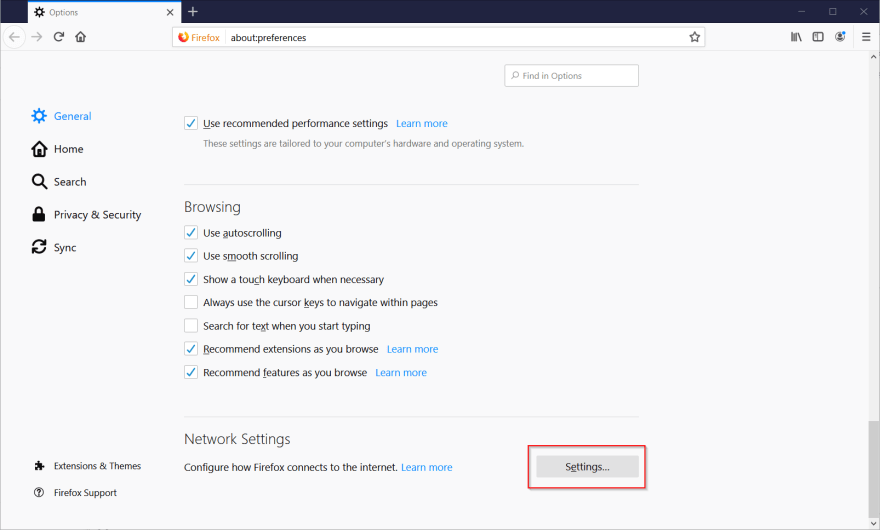
Next, open up Firefox. Open the menu and select Options. In the general tab, scroll all the way to the bottom to the Network Settings section, and click the Settings button.
In the Connection Settings modal that opens, select the "Manual proxy configuration" radio button. In the Http Proxy field enter the IP from the Burp listener (127.0.0.1), and enter 8080 in the Port field. Finally, click the checkbox next to "Use this proxy server for all protocols", and click OK.

So, now we have Burp listening on 127.0.0.1:8080, and Firefox proxying all of its requests through the listener, but we're not quite done yet. If you try to visit a site, like google.com, in Firefox right now, it may look like nothing's happening, but if you jump back over to Burp and click on the Intercept sub-tab, you'll see that the request has been intercepted and is waiting for your instructions. However, if you turn off the interceptor by clicking on the button that says "Intercept is on", you'll notice that instead of continuing to Google, we're getting a security warning from Firefox.
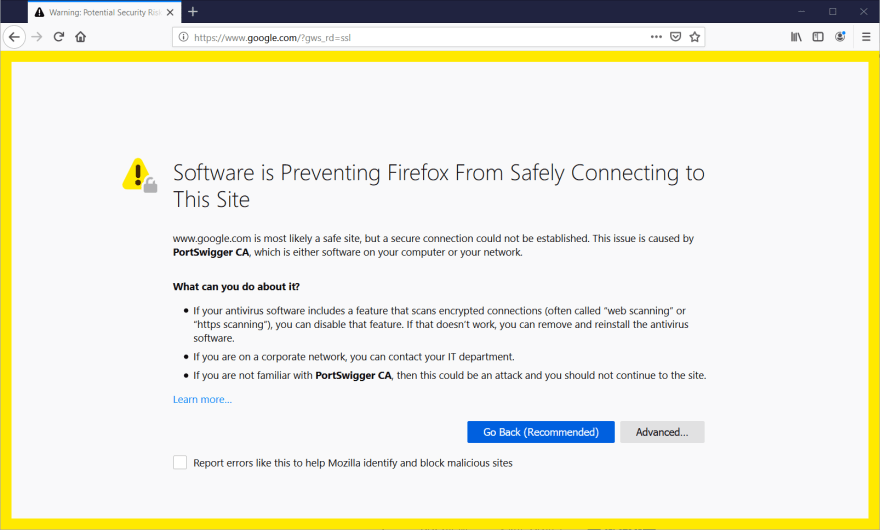
This is because we're making a request for a secure website, but our browser is getting all of the responses from Burp, and it doesn't have a valid certificate. Let's take care of that next!
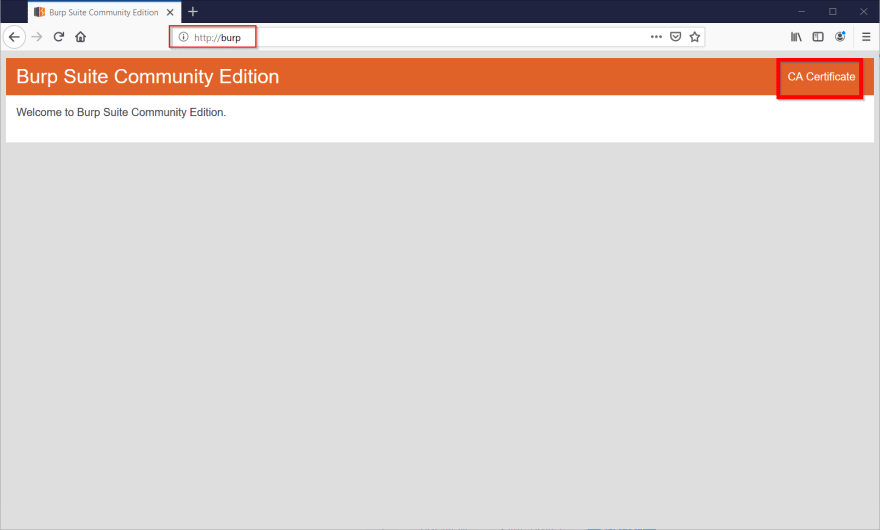
Back in the Intercept tab in Burp, make sure intercept is turned back on. Switch back to Firefox, and navigate to http://burp. In the top right of the screen, click CA Certificate. This will open the download dialog. Select Save File and click the OK button.
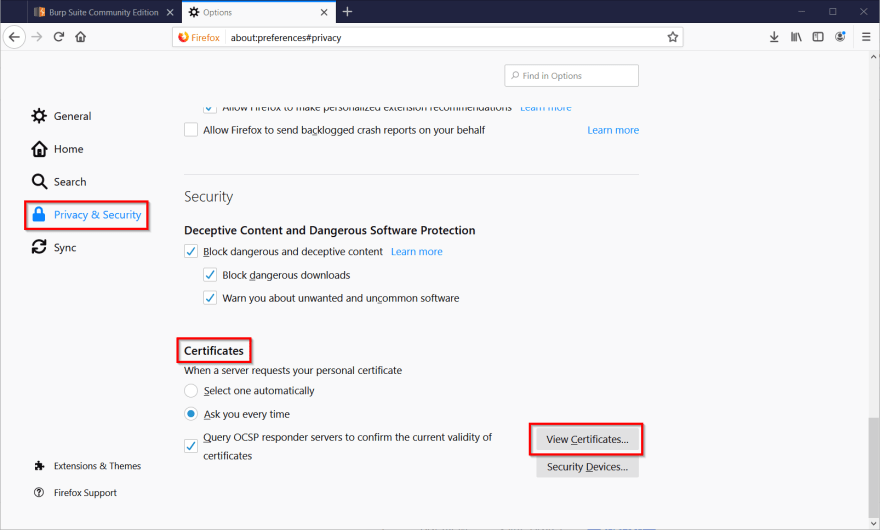
Now, go back into the Firefox options, click on Privacy & Security and scroll all the way down to the Certificates section. Click the View Certificates button.
In the Certificate Manger modal, under the Authorities tab, click the Import button, and browser for the certificate file you just saved. Click Open.

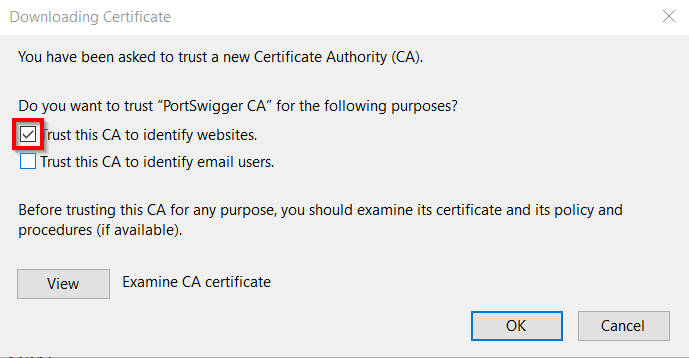
Next, you'll see the Downloading Certificate modal. Select the checkbox next to "Trust this CA to identify websites". Click the OK buttons in both modals.
And that's it! Burp is now set up to intercept your requests in Firefox. Try navigating to a website. You should see that the request is intercepted in Burp. If you turn the intercept off, navigation should continue to the website as normal.


Top comments (0)