
What You’ll Need to Get Started
- An activated Google Cloud Platform account
- Google Cloud SDK
If you have previously worked on some HTML + CSS web pages, or anticipate to, you can only showcase your work to the world by uploading your project files to a hosting source where your websites become accessible through the internet. This has been a painful task in the last couple of decades. However, it has gotten much easier today. With all the cloud technologies getting more and more popular—and the pricing for the services getting cheaper and cheaper—you can basically host your website for free today with the help of some tools like Google Firebase Hosting.
You are free to choose any static website to upload to Firebase Hosting. If you already have a project ready to be uploaded to the cloud, feel free to skip the first step below.
1. Creating a Bootstrap Website from a Template
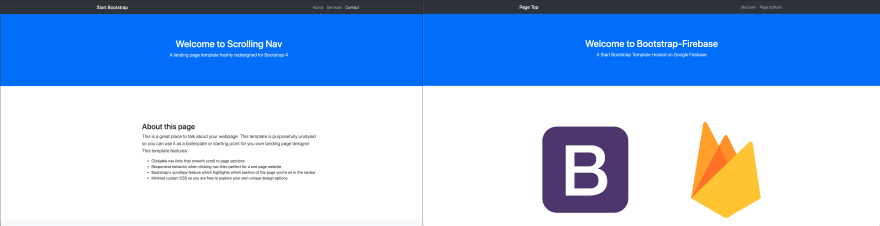
For this tutorial, we will be using a Bootstrap template. To get started, let’s get a Bootstrap project from your favorite source of Bootstrap templates. I like to use Start Bootstrap. For my project, I will use an easy template for simplicity. Once you have chosen yours, download it to a known folder then edit your index.html to personalize your page. Finally, open your index.html page in the browser to see your changes. Below is the template I downloaded before and after adding some changes.
2. Creating a Firebase App
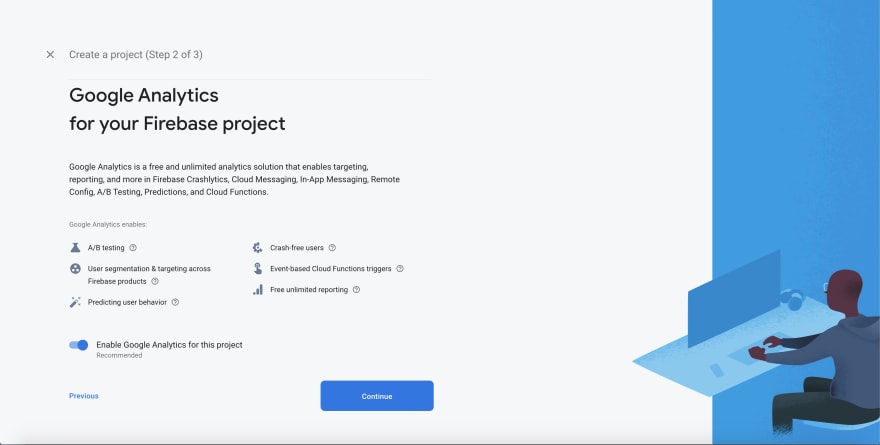
Navigate to the Firebase console and create a new project. Below is a series of screenshots representing every step of the process. You are free to enable/disable Google Analytics, but it is not a necessity.


3. Preparing Project for Deployment
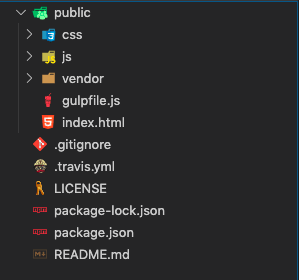
Before we can use the CLI to deploy our static website, we need to have a default public directory with our static files in it. So, in your project directory, move all your website files to a new folder named public. Follow the screenshot below for help.
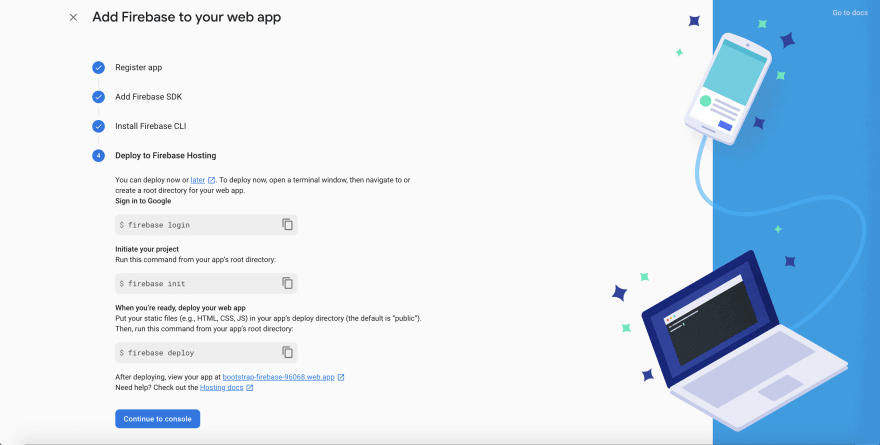
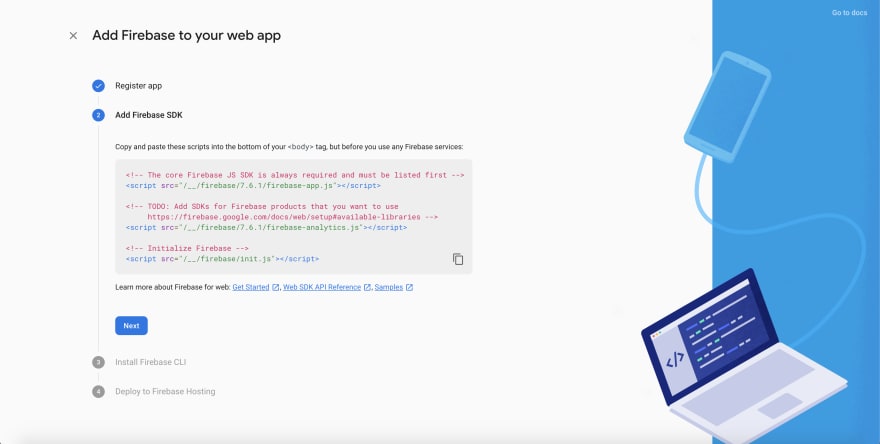
The last change we will need to make to our project before deploying it is to include the Firebase SDK. Upon creating your Firebase app, you will be shown a code snippet (see screenshot below). This is responsible for allowing your static website to interact with Firebase. Copy the code block and add it to the bottom of your index.html.
4. Using the Firebase CLI
If you do not have firebase installed, use this link or this npm command:
npm install -g firebase-tools
Now, using the terminal, make sure you are in your project’s directory and execute these three commands in order. Follow screenshots for detailed steps.
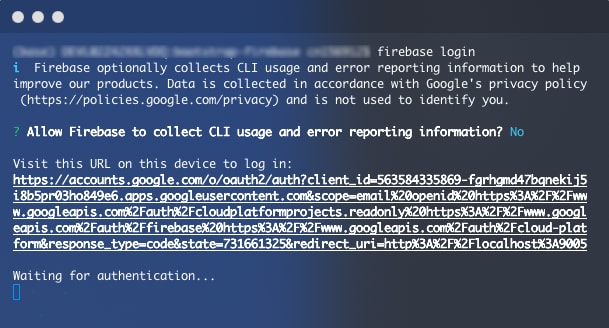
firebase login
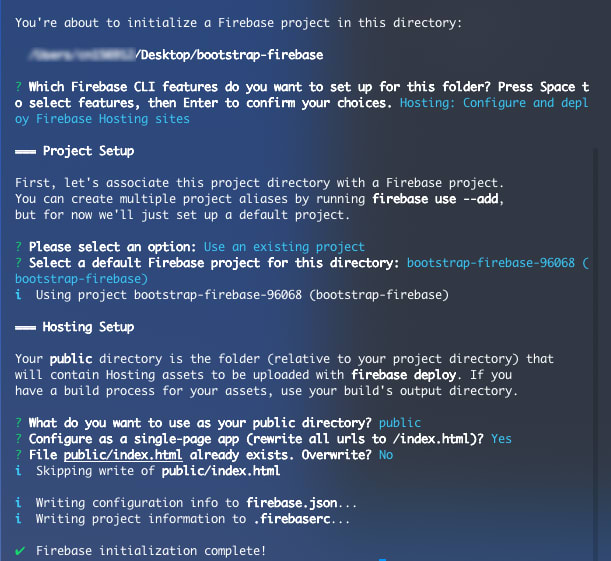
firebase init

firebase deploy
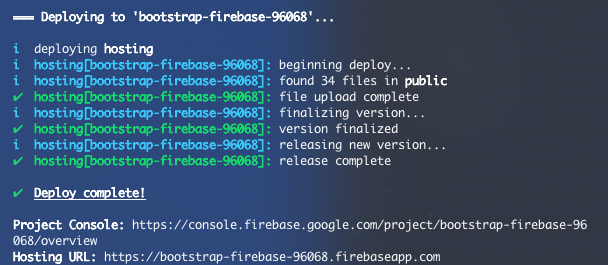
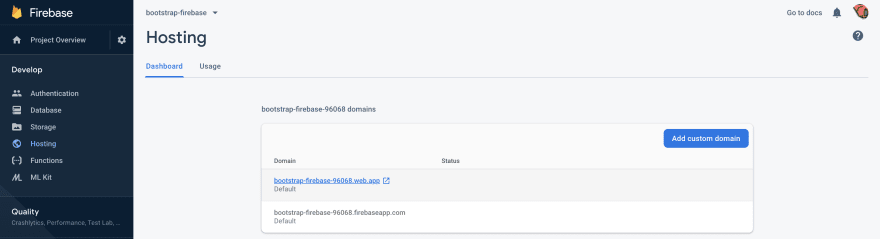
Visit the hosting URL shown at the bottom of your terminal and you should see your deployed static website. Here is mine. You can also find some more information about your hosting in the Firebase console. You made it! 🎉
As an optional cleanup task, add .firebase, .firebaserc, and firebase.json to your .gitignore.
Check out the Github repo for the source code that was used for this article.
Original Source: https://medium.com/better-programming/deploying-a-static-bootstrap-website-to-google-firebase-a2eb043ff015

Oldest comments (0)