
What is Firebase ?
Firebase is a service from Google that provides some convenience for developers in developing something in their application. By using firebase, we or developers can focus more on application development.
In terms of service. in the past, Firebase provided its services on a trial, but at this time Firebase provides its services for free. But for free, it has its limitations in terms of features.
Hosting Steps on Firebase
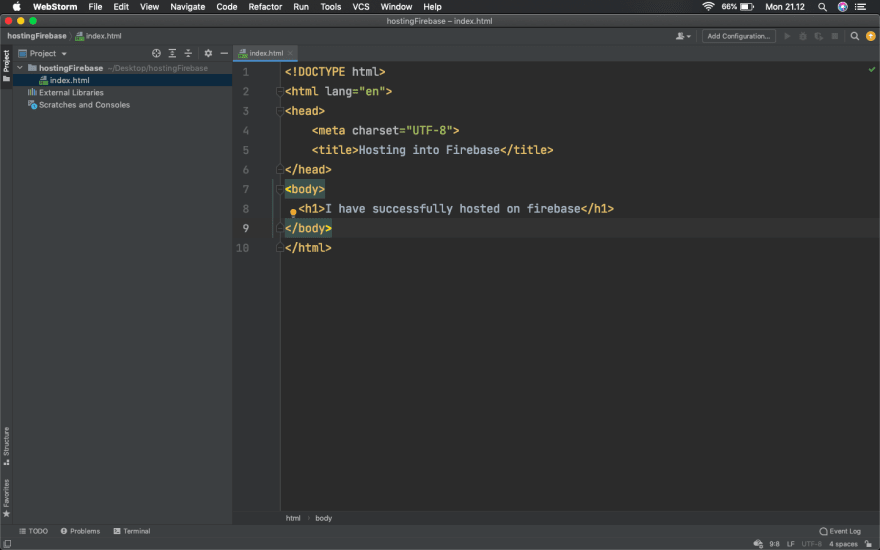
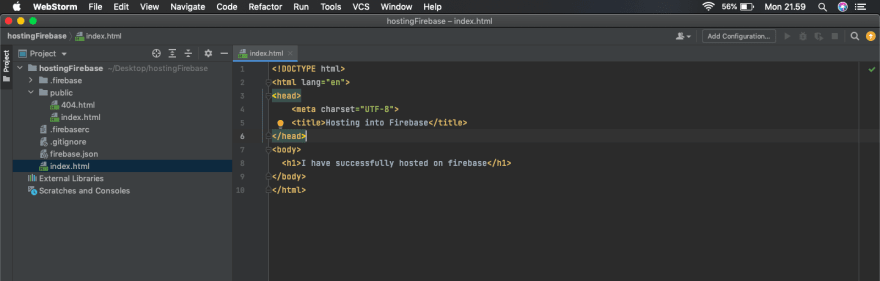
For example, I am here create a folder called 'hostingFirebase' and in it, there is index.html to display a message that hosting has been successful
1. Install NPM
Install npm on your computer to make it easier to install the firebase-tools package. Firebase-tools, also known as Firebase CLI. is a tool to test, manage, and deploy our projects in the command line. to install npm you can visit the page https://nodejs.org/en/download/
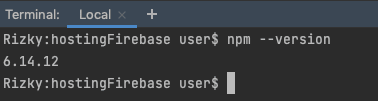
After you have installed npm you can use npm --version to check the version of npm and whether it was successfully installed
2. Install Firebase-tools
Now we install firebase-tools using npm. Here we install globally so that later it can be used without us installing every project that will be hosted.
-g is the command to install globally
type this command in terminal
npm install -g firebase-tools
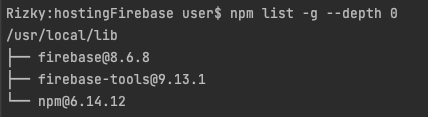
After you install firebase tools you can see the version of the global package you installed. You can use this command
3. Login to the Firebase Web and Create a Hosting Project
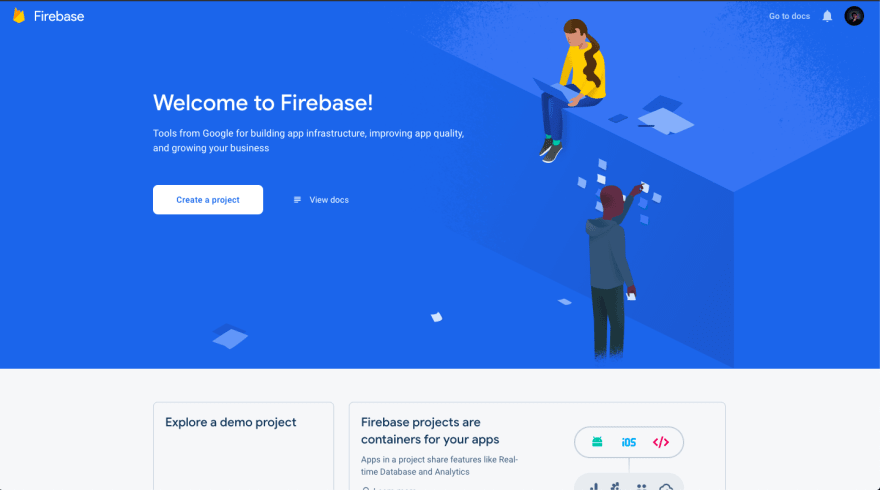
You can visit the firebase website at the following this link firebase. after you login, then you can see the button in the right corner next to your account profile, you can click the 'console' button
After that, you will be presented with a screen like the following:
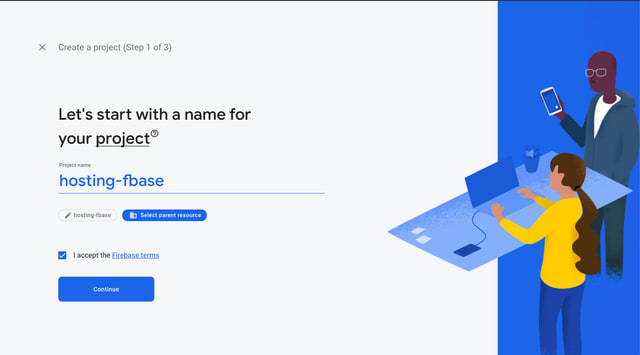
To start creating a project you can click the create project button, and later it will be redirected to a page like this and you can fill in the project name as you like. But what you need to pay attention to is that the project name will usually be your domain name in Firebase. Click i accept the aggrement and continue.
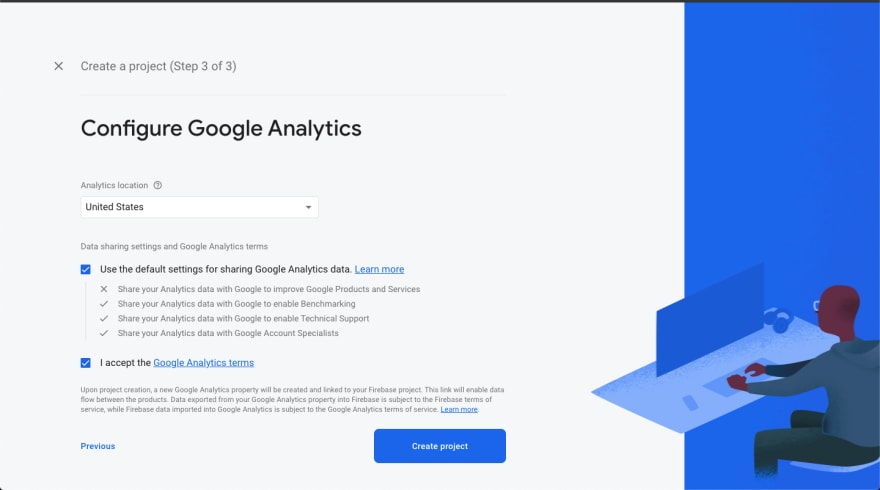
Then the second stage you can turn on Google analytics for needs such as cloud messaging, remote config and others.

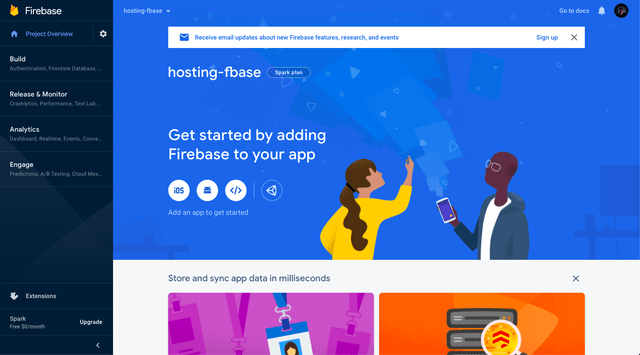
At the final stage you specify the location of the analytics then tick the checkbox in both and create project. and later you will be redirected to the dashboard of your project.
Project Dashboard
4. Login Firebase Account in Terminal
After you have successfully created the project, you must log in to the Firebase CLI to authenticate your account so that it is connected. use this command inside terminal to login firebase login. After typing this, you will be run into the browser to login to the firebase account that will be used. Make sure you select the same firebase account as the firebase account in the previous project creation

allow this section

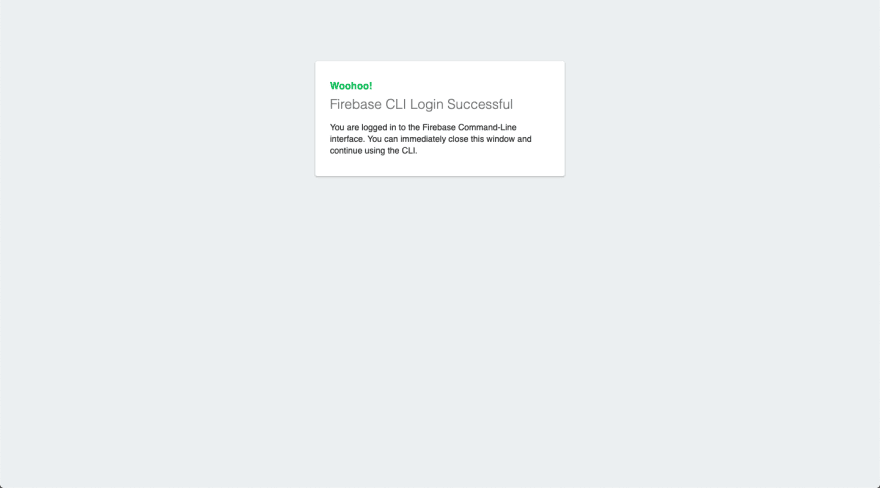
after you follow the next step, and then you will get a page that you have successfully logged in to the Firebase CLI.

5. Firebase Project Initialization
After you login to the firebase CLI. Now we will initialize our project with the command in terminal firebase init hosting. After pressing the enter key, several questions will appear, you can answer like this.
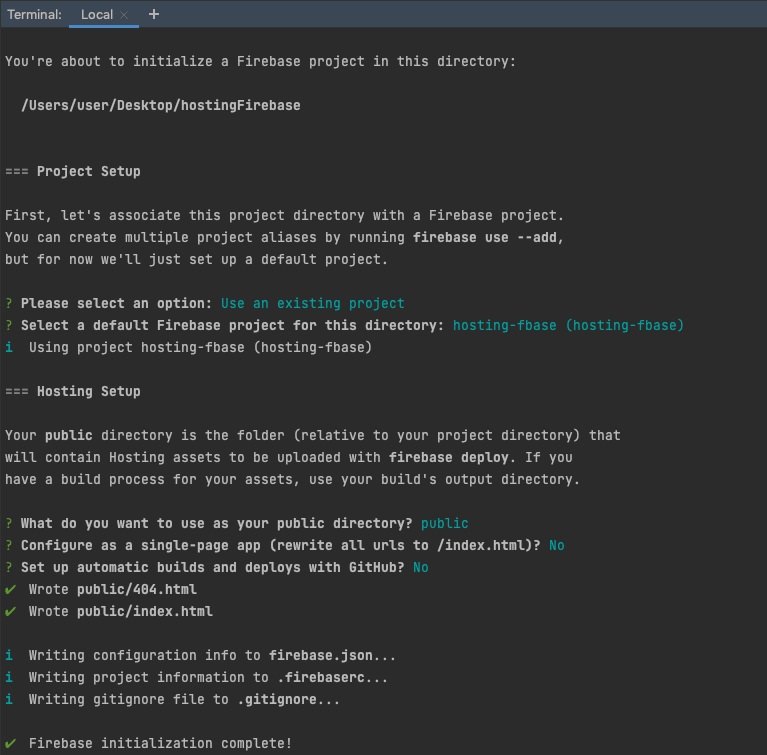
Please select an option :
This option is used to select the option whether you will use a previously createrd porject or create a new project. Here we have previously created the project, so we select 'use an existing project'
select a default Firebase project for this directory :
This option is used to select the default firebase directory
what do you want to use as your public directory :
This option is used to determine the folder at the time of hosting later, by default is a folder named public
quoted configure as a single-page app (...) ?
This option is used to ask if you want to configure a single app, if you don't use it, you can type no.
quoted set up automatic builds and deploys with Github ?
This option is use to ask if you want to automate and deploy it to github, if you don't want it, you can type no
6. Move Files Into Public Folder
Move the file to be hosted into the public folder, by default you will find 404.html and index.html, you can rewrite the file in the public folder.
7. Deploy Project
The final stage we will send our files to the firebase hosting, we can use this command in the terminal to send our files to the firebase hosting firebase deploy.
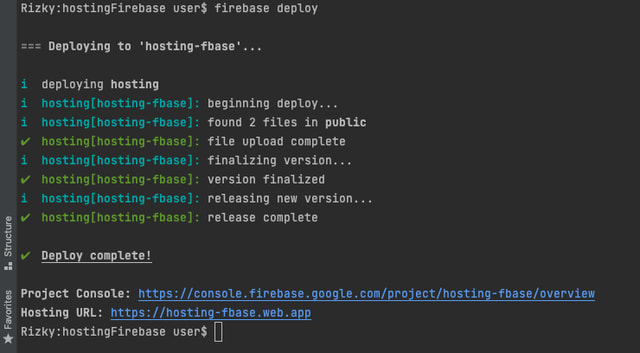
And it can be seen after the deploy process is successful, then you can see the hosting url. The hosting url is a url for our website, so we can visit the link by typing it in the search bar or clicking on the link.

Conclution
Firebase is a service from Google which one of them can use as file hosting. Using firebase is free, so we can try it with some of the features offered by firebase itself. Hosting on Firebase is easy.

Oldest comments (0)