
We will leverage OpenStreetMap tile server to generate a map preview and Ruby Appwrite SDK to save it to Appwrite Storage. Our code will be deployed as an Appwrite cloud function to be used with other . Let's grab your keyboard (and mouse) and get started.
Table of Contents
☁️ Appwrite Cloud Function
First, you need to install Appwrite on your local machine. I believe their documentation has a straightforward explanation of the single-step installation process. All you have to to is to execute a Docker command (you can get Docker here):
Unix:
docker run -it --rm \
    --volume /var/run/docker.sock:/var/run/docker.sock \
    --volume "$(pwd)"/appwrite:/usr/src/code/appwrite:rw \
    --entrypoint="install" \
    appwrite/appwrite:0.11.0
Windows:
docker run -it --rm ^
    --volume //var/run/docker.sock:/var/run/docker.sock ^
    --volume "%cd%"/appwrite:/usr/src/code/appwrite:rw ^
    --entrypoint="install" ^
    appwrite/appwrite:0.11.0
After that, you can run Appwrite and create a project. Then:
- Navigate to "Functions" from the side navbar
- Click "Add Function"
- Enter a function name
- Select "Ruby 3.0" for "Runtimes"
- Click Create

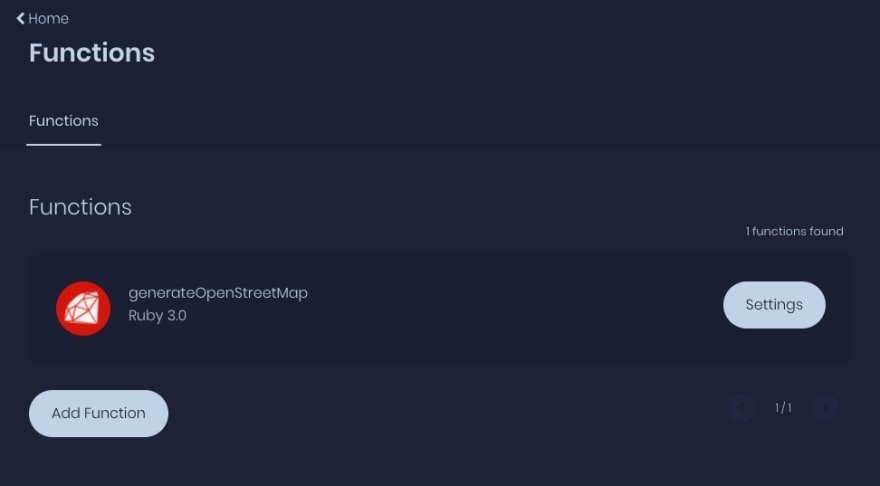
You should see your newly created function on Functions page after completing the steps above:
📍 OpenStreetMap Tile Server
Once you have the cloud function container up and running, let's write some code.
We're going to fetch a map tile (256px × 256px PNG file) by latitude and longitude from OpenStreetMap slippy map application hosted at https://tile.openstreetmap.org. To achieve this, we have to make a request to the correct route (i.e. /zoom/x/y.png) based on OpenStreetMap's file naming conventions. How can we convert latitude and longitude into x and y?
Luckily, OpenStreetMap Wiki already provides us with the implementation for it in various programming languages. You can check out the wiki for a detailed explanation. Here's the Ruby version:
def get_tile_number(lat_deg, lng_deg, zoom)
  lat_rad = lat_deg/180 * Math::PI
  n = 2.0 ** zoom
  x = ((lng_deg + 180.0) / 360.0 * n).to_i
  y = ((1.0 - Math::log(Math::tan(lat_rad) + (1 / Math::cos(lat_rad))) / Math::PI) / 2.0 * n).to_i

  {:x => x, :y =>y}
end
The function above should help us calculate x and y from latitude, longitude, and zoom level. We can then make a request to OpenStreetMap tile server and download the PNG file:
require 'down'

def fetch_map_preview(latitude, longitude, zoom)
  tile = get_tile_number(latitude, longitude, zoom)
  api_url = "http://tile.openstreetmap.org/#{zoom}/#{tile[:x]}/#{tile[:y]}.png"
  # Rename the file for easier programmatical access
  file_name = "#{latitude}_#{longitude}_#{zoom}.png"
  File.new(file_name, File::CREAT)
  Down::NetHttp.download(api_url, destination: "./#{file_name}")

  file_name
end
💎 Ruby Appwrite SDK
Once we can download map tiles, we're ready to store them in Appwrite Storage. Ruby Appwrite SDK should be the gem for this task 😉 (excuse my pun).
Let's initialize an Appwrite Client. Since we're going to deploy our code as a cloud function, we can take advantage of Appwrite environment variables to set the client's properties. We can easily save an image file by invoking create_file() on an instance of Appwrite::Storage:
require 'appwrite'

def save_image(file)
  client = Appwrite::Client.new()

  client
    .set_endpoint(ENV['APPWRITE_ENDPOINT']) # Your API Endpoint
    .set_project(ENV['APPWRITE_FUNCTION_PROJECT_ID']) # Your project ID available by default
    .set_key(ENV['APPWRITE_API_KEY']) # Your secret API key

  storage = Appwrite::Storage.new(client)

  response = storage.create_file(file: Appwrite::File.new(file));

  puts response
end
Now, we only need to put them together and parse the arguments passed to our cloud function. They can be accessed (as strings) through the environment variable APPWRITE_FUNCTION_DATA:
require 'json'

data = JSON.parse(ENV['APPWRITE_FUNCTION_DATA'])
map_preview_image = fetch_map_preview(data["latitude"], data["longitude"], data["zoom_level"])
save_image(map_preview_image)
# Remove the downloaded image after it's uploaded to Appwrite
File.delete(map_preview_image)
📦 Code Packaging
Once our code is functionally complete, we can build and package it before deployment. Let's handle the dependencies before packaging our code. Run this command inside your project folder:
docker run --rm -v $(pwd):/app -w /app --env GEM_HOME=./.appwrite appwrite/env-ruby-3.0:1.0.0 bundle install
Make sure your project's folder structure look like this:
.
├── .appwrite/
├── Gemfile
├── Gemfile.lock
├── main.rb
├── ...
└── README.md
Now, let's compress our project's directory with tar:
$ tar -zcvf ../generate-open-street-map.tar.gz .
🚀 Testing
It's time to deploy our code package to test it:
- Navigate back to our function on Appwrite Console.
- Click "Settings" then "Deploy Tag" to deploy our code
You should then see the popup window below:
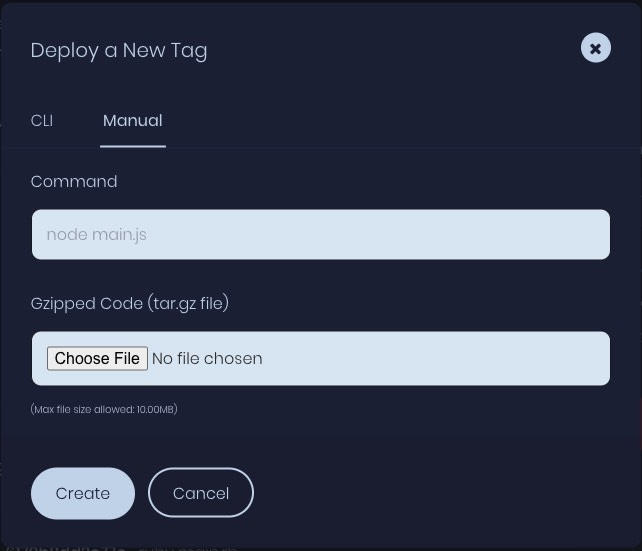
- Enter the command to run your code (i.e.
ruby main.rb) - Upload our code package (i.e.
generate-open-street-map.tar.gz) and click "Create"
There's only one last step before we can run our code: add the necessary environment variables.
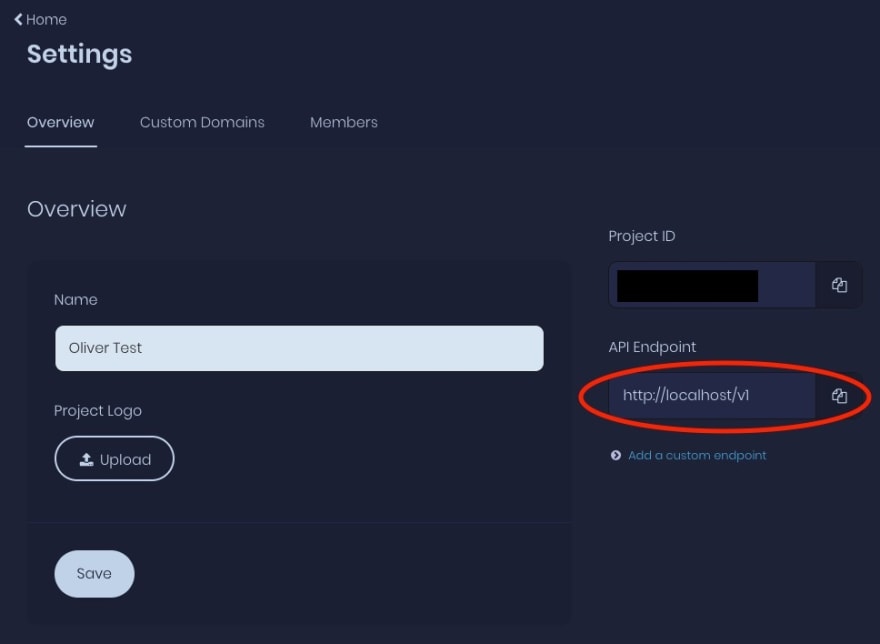
-
APPWRITE_ENDPOINT: Navigate to Home > Settings
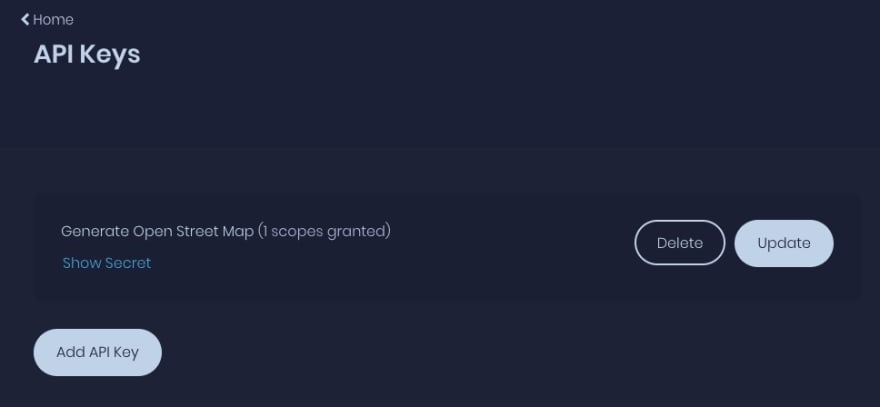
-
APPWRITE_API_KEY: Navigate to Home > API Keys (ensurefiles.writepermission is enabled)
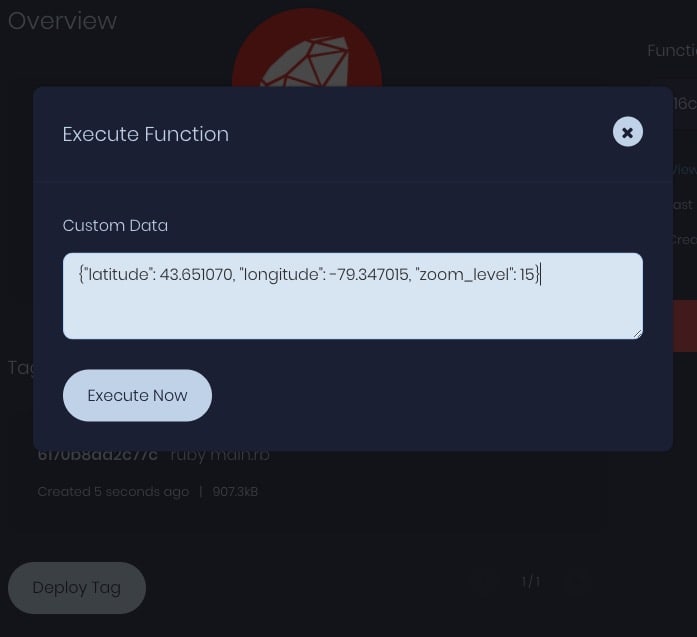
Finally, we can pass data to our cloud function and execute it:
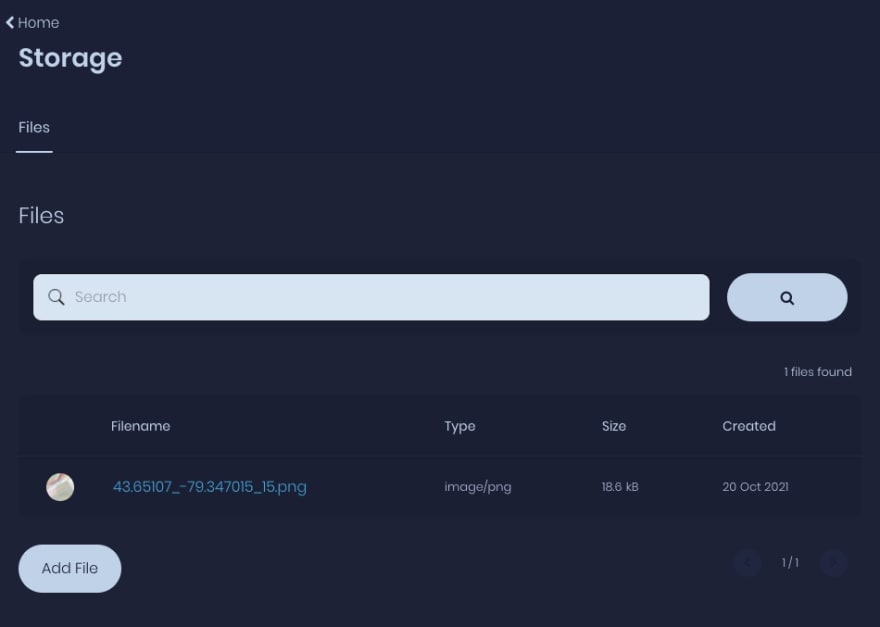
If you've followed all the steps above, you should see a new image file in your Appwrite Storage 🥳:
Additional Resources
Appwrite Docs: https://appwrite.io/docs
Ruby Appwrite SDK: https://github.com/appwrite/sdk-for-ruby
OpenStreetMap Wiki: https://wiki.openstreetmap.org/wiki

Top comments (0)