
HashiCorp Consul is an open source tool that solves these new complexities by providing service discovery, health checks, load balancing, a service graph, mutual TLS identity enforcement, and a configuration key-value store.
Service discovery is the Consul feature we’ll focus on in this blog post. Service discovery is particularly important in environments where workloads are more ephemeral than the traditional server that runs for years. Service discovery is very similar to how we think of name resolution using DNS but with a richer set of features.
- Workloads register themselves and their services through agents
- Consul enables health checks to be used for checking the health of a service
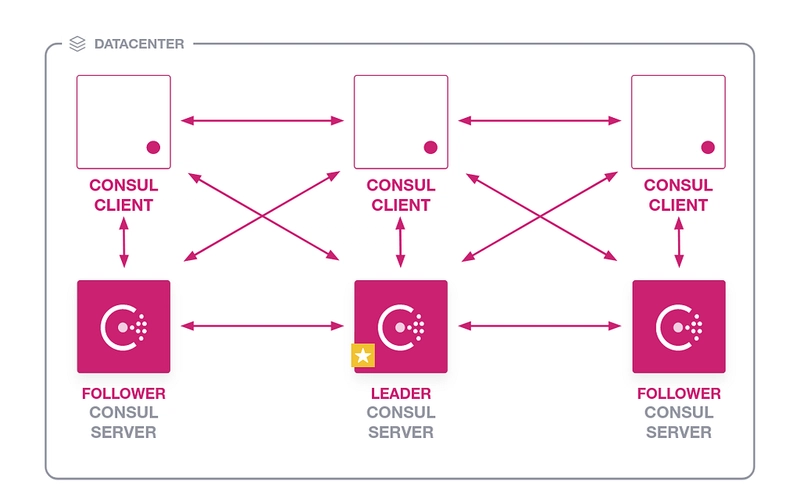
Consul is a distributed system that is composed of servers and clients. This blog post assumes that a server or group of servers have already been deployed and now clients need to be deployed.
In this blog post we’ll take a look at how to use Puppet Bolt to deploy a Consul agent alongside an NGINX web server and register it as a service in Consul.
Initialize the Bolt project
Ensure that the latest version of Puppet Bolt is installed before getting started.
Puppet Bolt utilizes Project directories as launching points for running Bolt operations. Create a directory for our Puppet Bolt project name consuldeploy.
mkdir consuldeploy
Change the working directory to consuldeploy directory
cd consuldeploy
Now that we have a directory for hosting our Bolt project, we need to initialize the project.
bolt project init --modules kyleanderson-consul, puppet-nginx
Create the Bolt YAML plan
In order to utilize plans in Bolt, we need to create a directory named plans.
mkdir plans
Now that we have our plans directory created we’ll plan out what we want to accomplish as part of our plan. We’ll accomplish the following tasks:
- Deploy NGINX
- Install unzip to unzip the consul agent zip file
- Install the Consul agent
- Register the web service in Consul
We’ve got a plan of what we want to do and now we are ready to create the Bolt plan.
Create a file named consul_agent.yaml with the following content in the plans directory. The plan includes four parameters that are used to specify various configurations.
---
parameters:
  targets:
    type: TargetSpec
  consul_datacenter:
    type: String
    description: "The consul datacenter to join"
    default: puppet-bolt
  consul_agent_version:
    type: String
    description: "The consul agent version to install"
    default: 1.9.0
  consul_servers:
    type: Array[String]
    description: "An array of consul servers to connect to"

steps:
  - name: installnginx
    targets: $targets
    resources:
      - class: nginx
  - name: deployconsul
    targets: $targets
    resources:
      - package: unzip
        parameters:
          ensure: latest
      - class: consul
        parameters:
          version: $consul_agent_version
          config_hash:
            data_dir: '/opt/consul'
            datacenter: $consul_datacenter
            retry_join: $consul_servers
          services:
            web:
              checks:
                - http: http://localhost
                  interval: 10s
                  timeout: 5s
              port: 80
              tags:
                - web
                - nginx
Now that we’ve created our plan we can ensure that it’s recognized by Bolt by running the following command.
bolt plan show
If the plan registers properly the output should include a consuldeploy::consul_agent_ entry.
aggregate::count
aggregate::nodes
aggregate::targets
canary
consuldeply::consul_agent
facts
facts::external
facts::info
puppet_agent::run
puppetdb_fact
reboot
secure_env_vars
terraform::apply
terraform::destroy
With the plan registered we are now ready to run the plan by running the bolt plan run consuldeploy::consul_agent command. We’ve specified the target which is the node we want to install the consul agent on as well as an array of consul servers. In this example we’ve used IP addresses but resolvable hostnames could have been used as well.
bolt plan run consuldeploy::consul_agent --target 10.0.0.123 consul_servers='["10.0.0.193"]'
If the plan ran successfully it should have generated output similar to that displayed below.
Starting: plan consuldeploy::consul_agent
Starting: install puppet and gather facts on 10.0.0.123
Finished: install puppet and gather facts with 0 failures in 24.97 sec
Starting: apply catalog on 10.0.0.123
Finished: apply catalog with 0 failures in 20.06 sec
Starting: install puppet and gather facts on 10.0.0.123
Finished: install puppet and gather facts with 0 failures in 3.37 sec
Starting: apply catalog on 10.0.0.123
Finished: apply catalog with 0 failures in 22.18 sec
Finished: plan consuldeploy::consul_agent in 1 min, 12 sec
Plan completed successfully with no result
Once the plan has completed successfully we can now view the web service in the consul server dashboard.

This blog post has shown the basic consul agent configuration using Puppet Bolt but the consul module on the Puppet Forge that was used in this post highlights additional settings and configuration options that can be configured.

Top comments (0)