In this post, the "Android-InAppBilling" open source android application sample was used that leverages GitHub Actions CI.
The Workflow:
The "Android-InAppBilling" open source android app sample is based on Gradle build system. So, the workflow will run "gradlew" script on its machine to build the app.
To accomplish this, created a new "build.yml" GitHub Actions Workflow file on:
root_repo/.github/workflows/build.yml
In the "build.yml", the name of workflow is given as
name: build
You can define your own workflow name, and you can create multiple workflows on the same project.
The project has to build the code base on:
1) whenever there is a change pushed to repository
2) whenever there is a new Pull Request created for the repository
To accomplish this, added the below changes on the workflow file:
on:
  push:
    branches: [ main ]
  pull_request:
    branches: [ main ]
After this, we have created a job where all of the work will be running on ubuntu.
jobs:
  build:
    runs-on: ubuntu-latest
This workflow uses predefined actions that will checkout to the main branch and uses JDK 1.8
steps:
    - uses: actions/checkout@v2
    - name: Set up JDK 1.8
      uses: actions/setup-java@v1
      with:
        java-version: 1.8
Then, we have granted executable permission for the "gradlew" script as "run" command to make a build as follows:
    - name: Grant execute permission for gradlew
      run: chmod +x gradlew
After this, we first try to check the code base with lint tool:
    - name: Check Lint
      run: sudo ./gradlew lintDebug
We used "sudo" here, just wanted to install missing Android SDK and the Build Tools.
If it was successful, then we try to run tests...
    - name: Run tests
      run: sudo ./gradlew test
If all the test cases passed, then we try to build the app by:
    - name: Build with Gradle
      run: sudo ./gradlew build
The complete workflow file and the repository link included here with this post as below...
Yaml File:
Link to Code:
 LiteKite
/
Android-InAppBilling
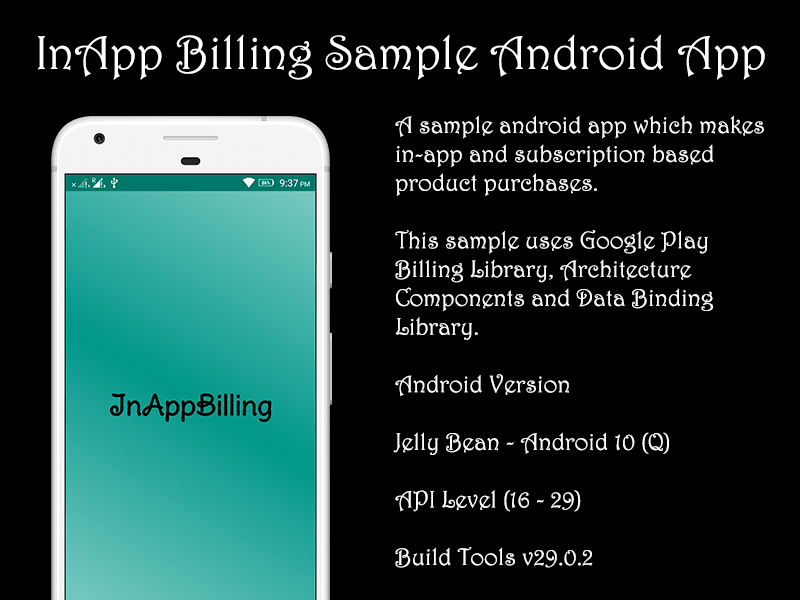
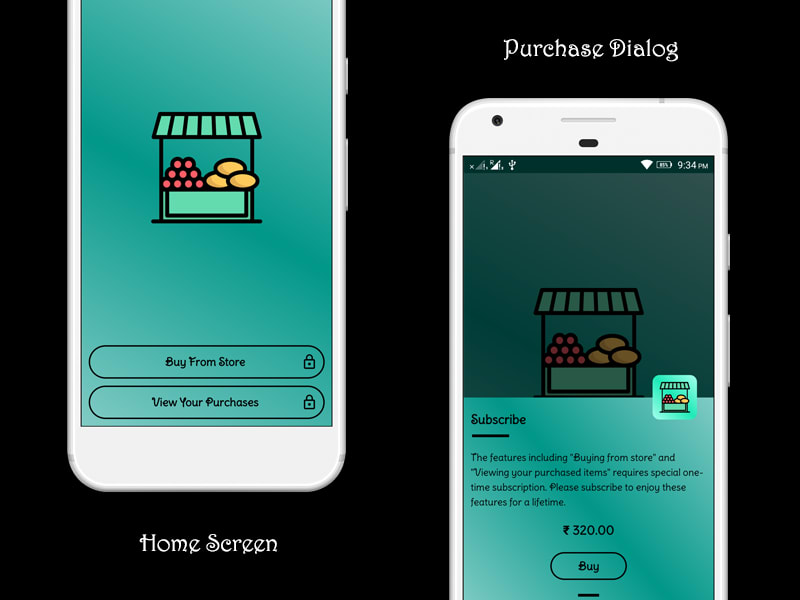
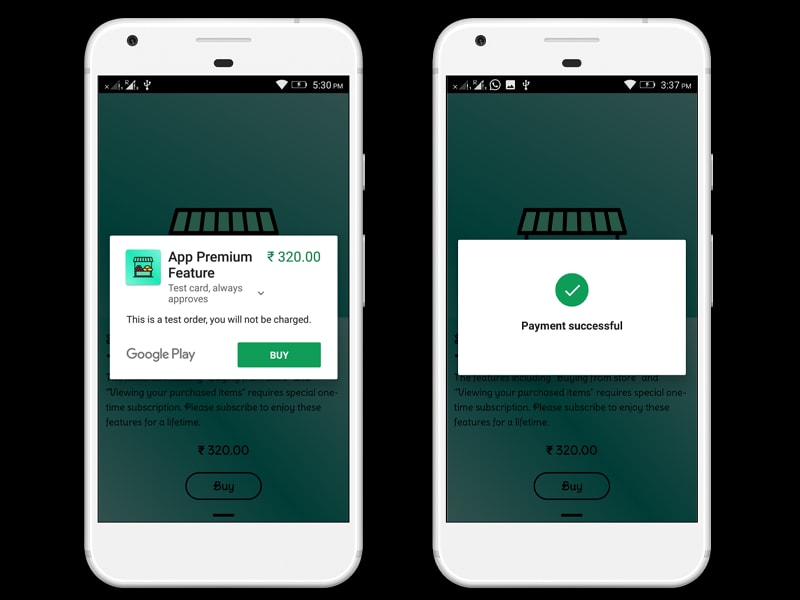
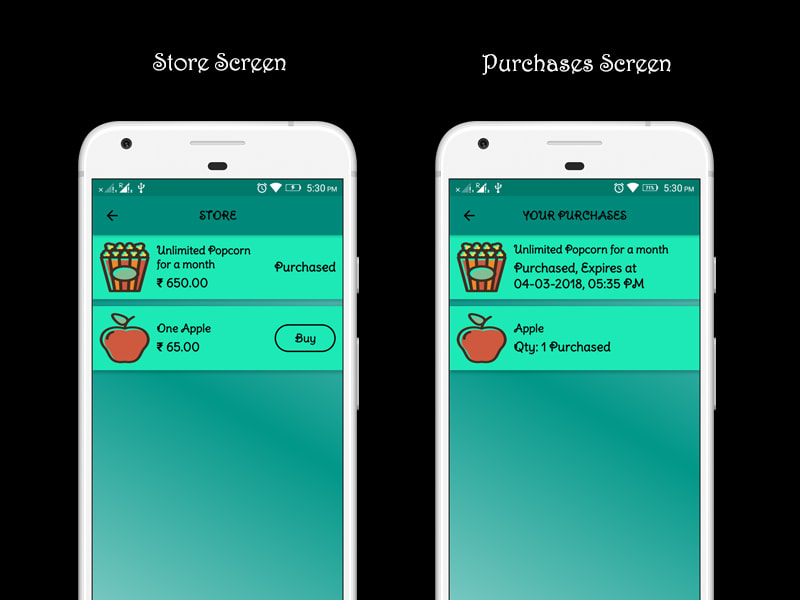
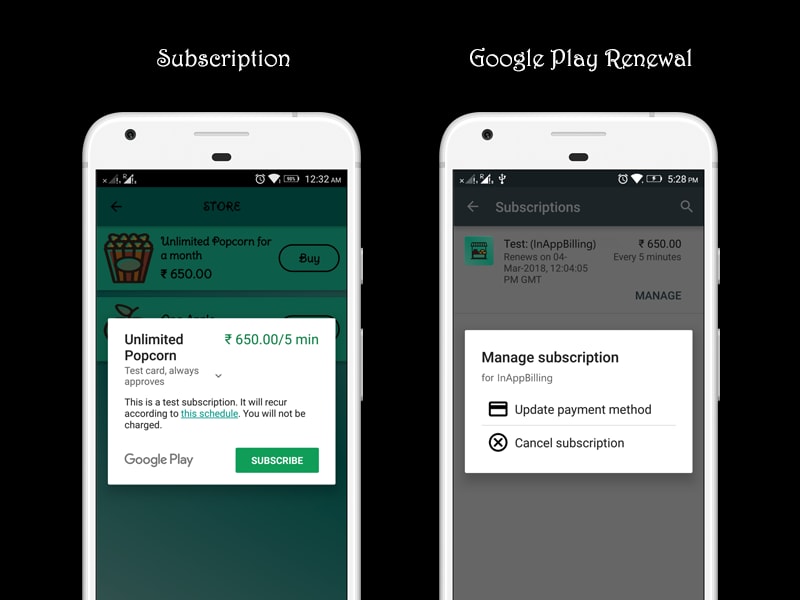
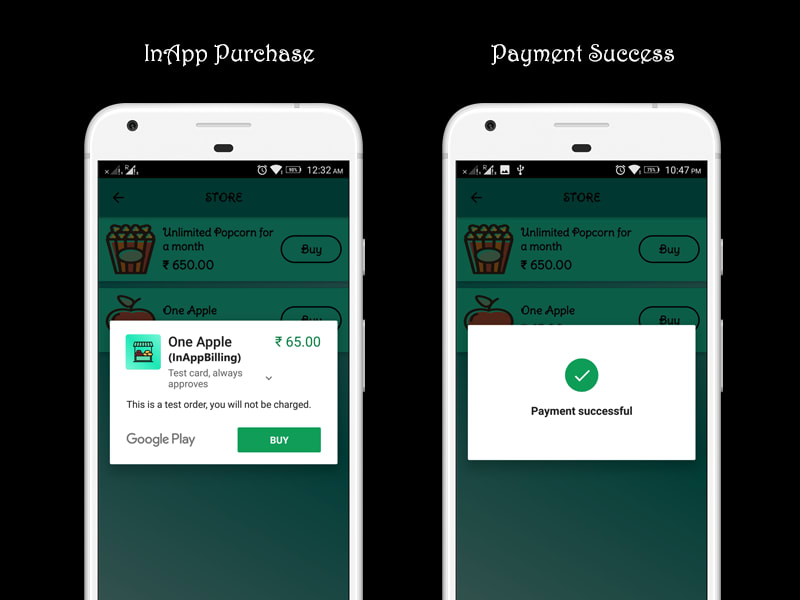
A sample which uses Google's Play Billing Library and it does InApp Purchases and Subscriptions.
Android-InAppBilling
A sample which uses Google's Play Billing Library and it does InApp Purchases and Subscriptions.
Getting Started
-
Add Play Billing Library dependency in your Android Studio Project.
-
Use the Application ID that's been used in your Google Play Developer Console.
-
Make In-app purchases by starting
BillingClientconnection, make querying purchases locally or from Google Play Store Cache fromBillingClient -
In-app product or "Managed Products" can be bought multiple times by consuming purchase before requesting another purchase.
-
Subscription based products cannot be consumed, It'll be based on some time periods that you choose and will expire after the time ends. These are all handled by Google Play Remote Server.
-
Add Tester Accounts in Google Play Developer Console -> App Releases for making test purchases and upload the initial version of your project APK including Google Play Billing Library dependency.
Libraries Used
Play Billing Library -> for making Google Play In-app…
Submission Category:
Phone Friendly



Oldest comments (0)