
A number of interesting posts here on dev.to describe how to make a dynamic Twitter header/cover and they inspired me to add this capability to Switchboard Canvas - an API-driven image generation tool.
With Switchboard Canvas, users first create a template, then use the API to create images from it with data you supply or from other tools that you already use.
In this tutorial we’ll:
- create a template
- Use Switchboard Canvas to make a connection to Twitter
- Use the API to generate an image from the template
- Use the API to actually update your Twitter header
What are the dimensions of a Twitter header/cover image?
The correct size for a Twitter header/cover image is 1500x500 pixels.
Making a Twitter header/cover template
Open the Previewer and choose Profile header from the Twitter section.

Saving your template at this point, despite it being empty, will default it to this size in the future.
Background
For a background, I chose this moon and stars backdrop from Adobe Stock. I also resized it to a height of 500px. Upload the resulting image to your Library.
Add an Image element choose the image from your Library. Make sure the API name for the image is backdrop.

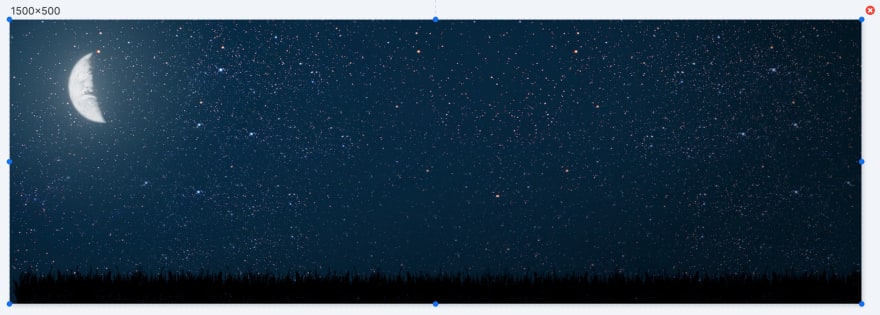
When choosing a background for a template, it’s helpful to have it fade into another color, especially if you’re going to add Text elements on top of the image.
In the template properties, set the background color to #112346:

Now we can change the Element Opacity of the background image to something around the 75% mark:

Adding a quote element
To add a quote to the image, we’re going to add a Text element. I’m using a Google Font called Sorts Mill Goudy from Google: https://fonts.google.com/specimen/Sorts+Mill+Goudy
Using pinning, we’re going to ensure that regardless of the quote we use in the Text element, it will stay centered, and won’t take up any more room than the bounding box.
Follow these steps to create and position the Text element for your quote:
- Click
Add Textor pressTto add a Text element. - Set the
API Nametoquote. - Set the
Text Colorto white. - Set the
Textto something generic such as “This is a placeholder for a favorite quote”. - Click the Bottom and Right pinning icons to enable pinning to those edges.
- Set the Top edge
pxvalue to 50. - Set the Left and Right
pxvalues to 200. - Set the Bottom edge
pxvalue to 0 and the%to 50.
The Location panel properties should look like this:
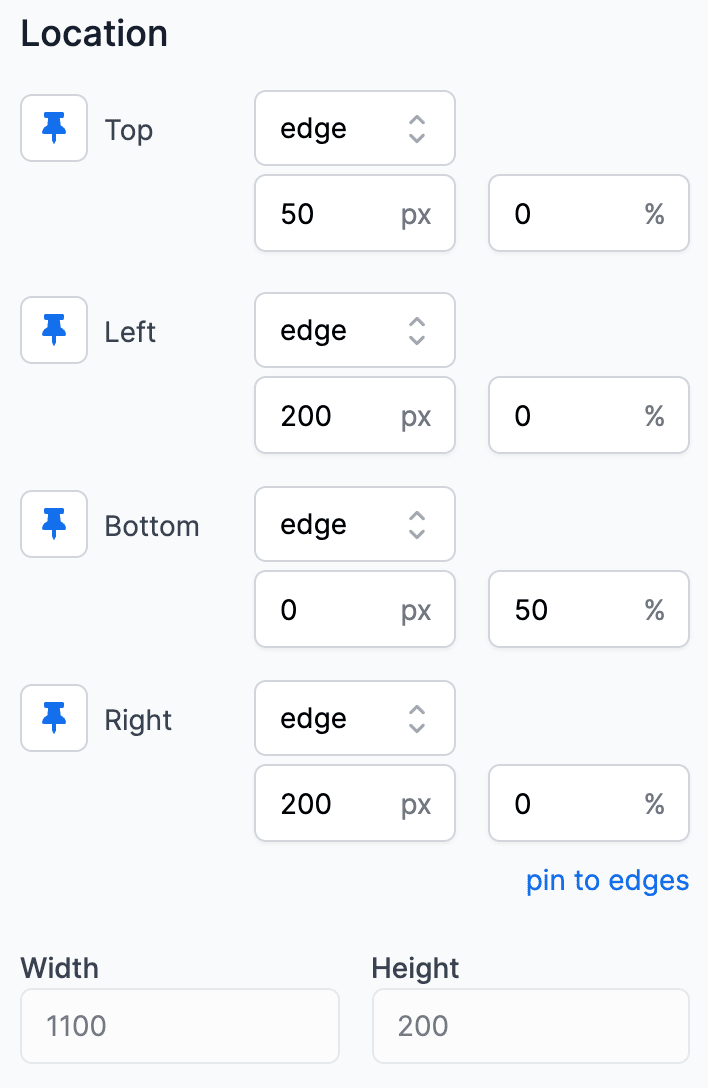
We’re pinning the Text element to 200px from the left edge, 200px from the right edge, and 50px from the top edge.
On the bottom edge we’re pinning to 50% - which is 50% of the height of the template.
Ensure the Horizontal Alignment and the Vertical Alignment are set to Center and Middle respectively. This will keep the text in the center on the bounding box in both directions.

Adding the latest follower images
The next step is to add a series of five Image elements that will show the profile pictures of our five latest followers.
This data comes from Twitter automatically, so we just need to add the elements and make sure they’re named properly.
Follow these steps to make a profile image:
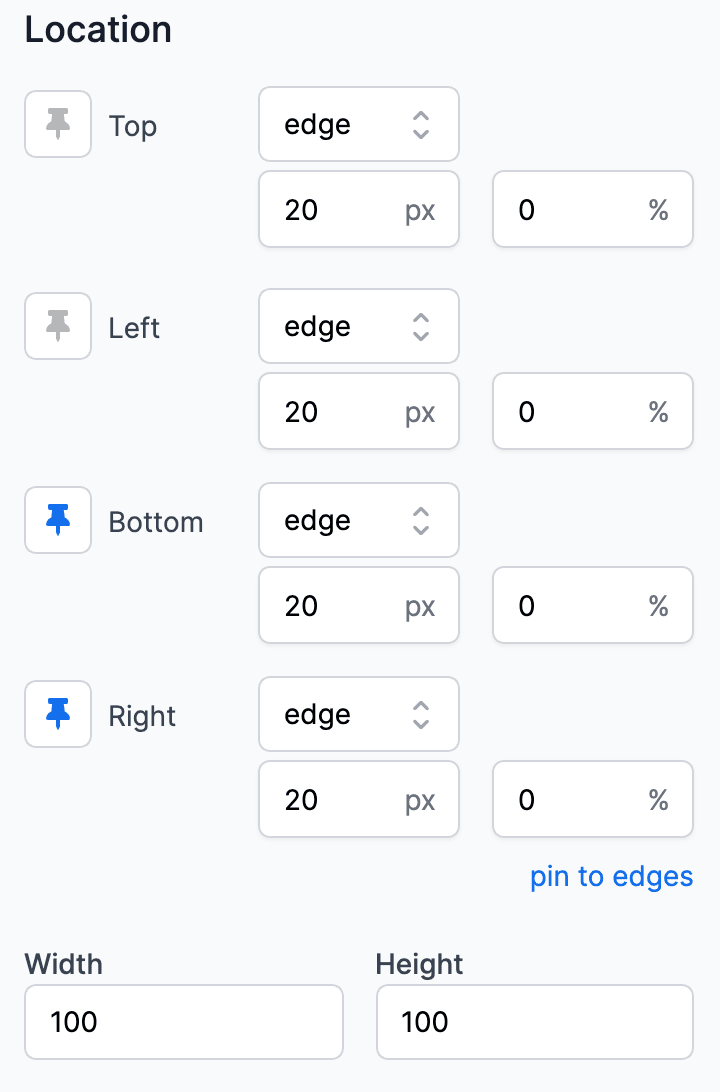
- Click Add an Image, or press
I. - Close the Library popup that appears - we don’t need an image at this point.
- Change the
widthandheightto 100. - SHIFT+Click the Bottom Pinning icon. This enables pinning to the bottom edge but also keeps the height you entered - 100 pixels.
- SHIFT+Click the Right Pinning Icon. Likewise, this enables pinning to the right edge but keeps the width you entered at 100 pixels.
- To add a little offset from the very edge, set the Right Pinning
pxvalue to 20. Before leaving this field, press SHIFT+Enter. This sets allpxoffsets to 20.
To finish off the image:
Set the Stroke Color to white, and set the Stroke Width to around 20%.
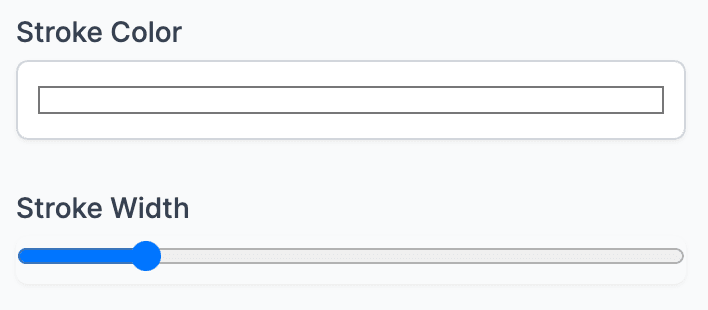
Lastly, change the API Name to follower5-image.
Your first follower image should look like this:

Making the other four follower images
With follower5-image selected, press CTRL+SHIFT+V to duplicate it.
Change the Right pinning setting as follows:
- Drop the edge selector down, and instead of edge, choose
follower5-image - Drop the side selector down and choose
Left - Make sure the
pxvalue is still 20px.
Set the API Name to follower4-image.
This pins the right hand side of follower4-image to the left hand side of follower5-image with an offset of 20px.
Repeat this process 3 more times, duplicating the element and setting the edge selector to the element you previously created.
Don’t forget to set the API Name of each new element follower3-image, follower2-image, and follower1-image respectively.

Adding a thank-you note
The last element to add to the template is a thank-you note, thanking your last five followers.
Follow these steps to add and position this Text element:
- Click
Add Textor pressTto add a Text element. - Set the
Textto something like “Thank you to my latest followers:” - Set the Left pinning edge selector down and choose
follower1-imageand set the side selector toLeft. - Click the Right pinning icon to enable it.
- Set the Right pinning edge selector to
follower5-imageand set the side selector toRight. - Set the
Heightto 60px. - SHIFT+Click the Bottom pinning icon to enable it, preserving the 60px height.
- Set the Bottom pinning edge selector to
follower1-imageand set the side selector toTop. - Set the Bottom pinning
pxvalue to 10.
These settings pin the position of your thank-you Text element to the follower images, specifically, to the left edge of follower1-image, to the right edge of follower5-image, and 10px above follower1-image.

Previewing the template in other sizes
Even though we’re making a Twitter header/cover which are always 1500x500, we can use the Preview control to make sure our template is responsive.
Press P to open the Previewer and choose some of the other sizes. The follower images and the thank-you message should always be in the bottom-right corner, and the quote should be centered at the top of the template.
Make sure we’re designing back at 1500x500 before closing the Previewer panel.
Make sure your template is saved and that the API Name for it is twitter-header.
Connecting to Twitter
Now that the template is created, visit your Profile page to connect Switchboard Canvas to your Twitter account.
Click the connect to twitter hyperlink. Twitter’s authorization page will load and ask you to accept the request. Once authorized, Canvas will indicate a successful connection.
Using the API
Now we can use the API to create an image from the template.
You can specify a quote to appear in the Text element in your template.
Using a REST client such as Insomnia or Postman, make sure your API key is added as the X-API-Key header, and send a POST request like this:
{
    "template": "twitter-header",
    "sizes": [
        {
            "width": 1500,
            "height": 500
        }
    ],
    "elements": {
        "quote": {
            "text": "Those who dare to fail miserably can achieve greatly."
        }
    }
}
This will return a response with a link to your new image:
{
  "duration": 2327,
  "usage": false,
  "success": true,
  "warnings": [],
  "sizes": [
    {
      "warnings": [],
      "success": true,
      "size": {
        "width": 1500,
        "height": 500
      },
      "url": "https://files.canvas.switchboard.ai/544d9fbe-270a-476c-8612-1b3385e9900c/xxxxxxxx-xxxx-xxxx-xxxx-xxxxxxxxxxxx.png"
    }
  ]
}

As you can see, the quote has been set but the follower images have not.
Send the request again but this time, set the updateTwitterHeader property to true:
{
    "template": "twitter-header",
    "sizes": [
        {
            "width": 1500,
            "height": 500
        }
    ],
    "elements": {
        "quote": {
            "text": "Those who dare to fail miserably can achieve greatly."
        }
    },
    "updateTwitterHeader": true
}


Thanks again to the authors of the following posts for the inspiration!


Please visit https://www.switchboard.ai if you're interested in automating image generation with an API.

Oldest comments (0)