
Two-factor authentication (2FA) is a method of enhancing the security of online accounts by requiring two types of credentials: something you know, such as a password, and something you have, such as a device. One common way of implementing the second factor is using time-based one-time passwords (TOTP), which are unique numeric codes that are generated based on the current time and a shared secret key. TOTP codes are usually displayed by an authentication app on your smartphone or tablet, and they expire after a short period of time. TOTP is an open standard that is defined in RFC 6238 and supported by many applications and services.
In this article, we will install and configure OpenLDAP on Ubuntu 22.04 and implement TOTP. To implement OTP we need OpenLDAP 2.5 or higher.
NOTICE: This guide is for educational purposes only and is NOT meant to be used in production environments.
Install and configure OpenLDAP
Run the following command:
sudo apt install slapd ldap-utils
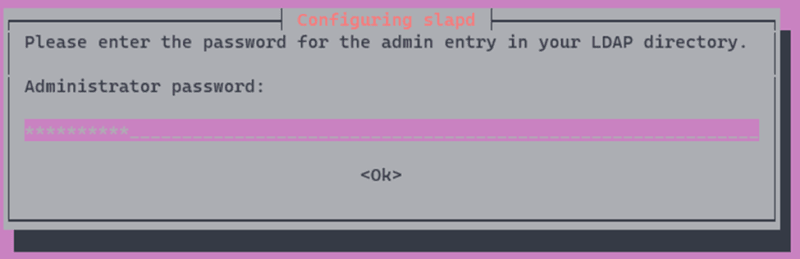
Enter a new password:
To reconfigure the default configuration, run:
sudo dpkg-reconfigure slapd
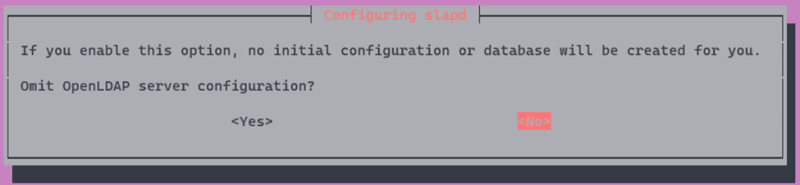
You will be asked to omit OpenLDAP configuration, select No.
Enter your domain name:

Enter your organization name:

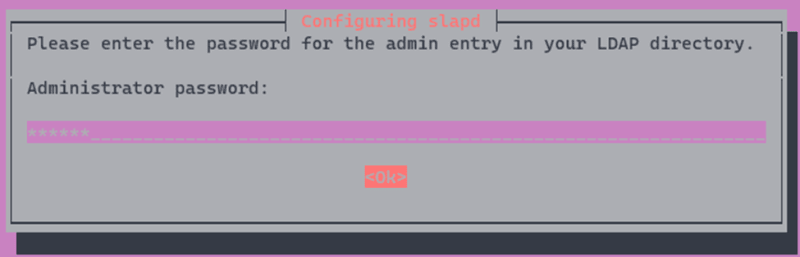
Provide the administration password and then confirm it:
For this guide, when you get prompted to remove the database when slapd is purged, select Yes:

And finally select Yes:

Open ldap.conf with a text editor:
sudo vim /etc/ldap/ldap.conf
Find and uncomment the following lines:
#BASE   dc=example,dc=com
#URI    ldap://ldap.example.com ldap://ldap-provider.example.com:666
Edit these entries, replace BASE with your domain name, and URI with the URI to your ldap server:
BASE    dc=mydomain,dc=com
URI     ldap://ldap.mydomain.com
Save the changes and exit the editor. You might need to edit the hosts file and provide the FQDN to your LDAP server and its IP address:
sudo vim /etc/hosts
192.168.1.1 ldap.mydomain.com
Creating user accounts
Create a file:
vim users-ou.ldif
Enter the following contents:
dn: ou=people,dc=mydomain,dc=com
objectClass: organizationalUnit
objectClass: top
ou: people

dn: ou=groups,dc=mydomain,dc=com
objectClass: organizationalUnit
objectClass: top
ou: groups
Save and close the file. Now run the following command:
ldapadd -x -D cn=admin,dc=mydomain,dc=com -W -f users-ou.ldif
And enter your administration password. You should see an output like this:

You can use the following command to verify:
ldapsearch -Q -LLL -Y EXTERNAL -H ldapi://
That should print something like this:

Now create a password using the slappasswd command. Run the command and enter a password, then confirm it. You should get something like this:

Copy the hash. Now create another file:
vim user.ldif
Enter the following contents:
dn: uid=johndoe,ou=people,dc=mydomain,dc=com
objectClass: inetOrgPerson
objectClass: organizationalPerson
objectClass: person
objectClass: posixAccount
objectClass: shadowAccount
objectClass: top
homeDirectory: /home/john
givenName: John
sn: Doe
cn: John Doe
uid: johndoe
displayName: John Doe
uidNumber: 8000
gidNumber: 8000
userPassword: {SSHA}eLp4NBSK1SV3VOFY3iUxI8P73vmOW/Lh
Replace {SSHA}eLp4NBSK1SV3VOFY3iUxI8P73vmOW/Lh with hash you copied earlier. Run the following command to create a user account:
ldapadd -x -D cn=admin,dc=mydomain,dc=com -W -f user.ldif
Create another file:
vim group.ldif
Enter the contents below:
dn: cn=appusers,ou=groups,dc=mydomain,dc=com
objectClass: posixGroup
objectClass: top
cn: appusers
gidNumber: 10000
memberUid: uid=johndoe,ou=people,dc=mydomain,dc=com
Apply the changes to create a group:
ldapadd -x -D cn=admin,dc=mydomain,dc=com -W -f group.ldif
You can use ldapsearch -Q -LLL -Y EXTERNAL -H ldapi:// to verify the changes or use graphical tools such as the Apache Directory Studio to verify changes and manage your LDAP server.

Configure TOTP
First otp module must be loaded. Create a file:
vim otpload.ldif
Enter the following contents:
dn: cn=module{0},cn=config
changetype: modify
add: olcModuleLoad
olcModuleLoad: otp.la
Apply the changes:
sudo ldapmodify -Y EXTERNAL -H ldapi:// -D cn=config -W -f otpload.ldif
The output should be like this:

Now the otp overlay must be added to databases. Create another file:
vim overlay.ldif
Enter the following contents:
dn: olcOverlay=otp,olcDatabase={1}mdb,cn=config
objectClass: olcOverlayConfig
Run the following command:
sudo ldapadd -Y EXTERNAL -H ldapi:// -D cn=config -W -f overlay.ldif
To set the otp parameters, create a file:
vim totp.ldif
And enter the following contents:
dn: ou=people,dc=mydomain,dc=com
changetype: modify
add: objectClass
objectClass: oathTOTPParams
-
add: oathOTPLength
oathOTPLength: 6
-
add: oathHMACAlgorithm
oathHMACAlgorithm: 1.2.840.113549.2.7
-
add: oathTOTPTimeStepPeriod
oathTOTPTimeStepPeriod: 30
-
add: oathTOTPTimeStepWindow
oathTOTPTimeStepWindow: 3
Run the command below to apply the configuration:
ldapmodify -x -D cn=admin,dc=mydomain,dc=com -W -f totp.ldif
To be able to use TOTP, users need a key. This key is shared between the server and the user. The following command can be used to generate the key:
openssl rand 80 > key
To use the key, create a file:
vim token.ldif
Enter the contents like below:
dn: uid=johndoe,ou=people,dc=mydomain,dc=com
changetype: modify
add: objectClass
objectClass: oathTOTPToken
-
add: oathTOTPParams
oathTOTPParams: ou=people,dc=mydomain,dc=com
-
add: oathSecret
oathSecret:< file:key
-
add: objectClass
objectClass: oathTOTPUser
-
add: oathTOTPToken
oathTOTPToken: uid=johndoe,ou=people,dc=mydomain,dc=com
The following command applies the changes:
ldapmodify -x -D cn=admin,dc=mydomain,dc=com -W -f token.ldif
You can use qrencode to generate the QR code. First install it with the following command:
sudo apt install qrencode
Use the commands below to generate the QR code:
base32 key > bkey
echo -n "otpauth://totp/myorg:johhdoe@mydomain.com?secret=$(<bkey)&issuer=myorg&period=30&digits=6&algorithm=SHA1" | qrencode -t ansiutf8

Now you can scan the QR code with an authenticator app such as the Google Authenticator.
How to authenticate?
Whenever you get asked to provide your password, enter your password followed by the code you get from the authenticator app. For example if your password is abcdef and the code that you get from the app is 123456, enter abcdef123456 as your password.
References and Further Reading
- https://www.ibm.com/docs/en/rpa/23.0?topic=ldap-installing-configuring-openldap
- https://www.howtoforge.com/how-to-install-and-configure-openldap-phpldapadmin-on-ubuntu-2004/
- https://ubuntu.com/server/docs/service-ldap
- https://www.symas.com/post/how-to-guide-two-factor-authentication
- https://blog.irontec.com/openldap-y-passwords-temporales-otp/
- https://manpages.ubuntu.com/manpages/jammy/en/man5/slapo-otp.5.html
- https://docs.yubico.com/yesdk/users-manual/application-oath/uri-string-format.html
- Cover image from unDraw

Top comments (1)
This post misses a key aspect of security - you need to set the access permissions on your ldap server to keep the secret key secret, just as with the user password. And it might be worth discussing what acl changes you would need to make to allow the user to perform the step of adding totp to their account, rather than the ldap admin.
Also, there's no reason to use 80 random bytes - hmac-sha1 only really needs 20.
That said, this looks like a decent article otherwise, and much appreciated.